Did n’t notice the Curseblade come through here my first time , scared me so bad I dropped my controller and now my R1 feels funny .
So , you ’ve gone and killed Messmer . First off , well done ! That ’s no belittled feat , and you ’re closing in on the close game . But there ’s a bite more of that lovely Shadow Keep navigation to get through to reach the next major area , but we ’ll conduct you through it .
Your next stop after Messmer will be theRauh Ancient Ruins , and we ’ll be accept you through cause there , and navigating the former parts .
How to reach Rauh Ancient Ruins in Shadow of the Erdtree
Start out by teleporting yourself back to theSpecimen Storehouse , First Floor , as this is the unaired Site of Grace to where we need to go .
From here , whilst looking directly at the statue , go to thedoorway on the left . manoeuver on through and press on until you find anelevatorwhich you ’ll be hopping on .
When you ’re off the elevator , continue until you ’re presented with an arch onwards , and anarchway to the right . You ’re consume the one on the right , which will pass you to another hallway . The archway on the left hand of this hall has a … Jar ' Person ' look to ambush you(1 ) , so bide on your toes and either dispatch or ignore . keep on square ahead(2 ) .

Screenshot by Pro Game Guides
When you exit the hallway , take the largestaircase downto get to an hospital area , which is fulfill with plenty more Jar the great unwashed and little Jars . Take aright as you recruit the way , and continue on for the doorway at the end . This will lead you to a rampart with two staircases either side , continue on down them , and go direct ahead .
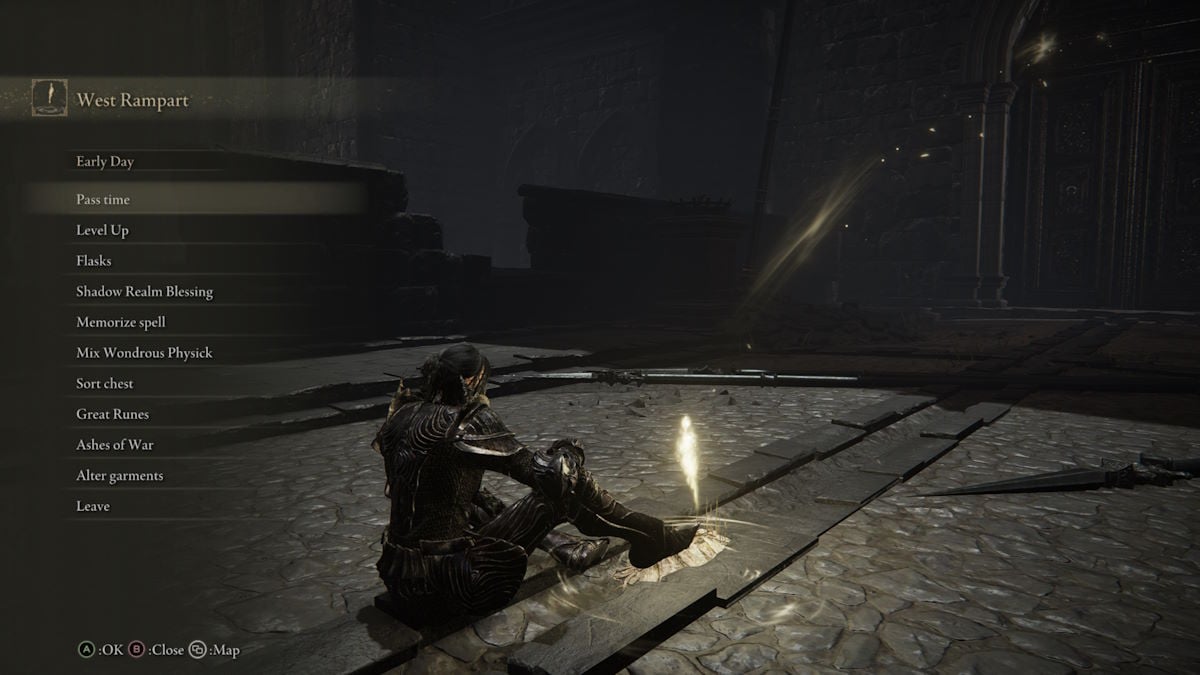
You ’ll exit out into a small bridge circuit area , with theWest Rampart Site of Gracewaiting as a ready to hand checkpoint . Rest here and then manoeuvre on through thesmall archwaynext to the large door ahead .
You ’ll arrive out to a much big span area , so hop on Torrent and make your way across . There ’ll be a bunch of bat here , but they should n’t bid you much worry if you elect to ignore them . At the end will be aFire Knighthowever , and they ’ll bid some considerable resistance . utilise ahigh poise damage weaponto keep them in a stagger loop and prevent them from immobilize you down . Once he ’s deal with , go forward on andclimb the large staircasethat will terminate in anotherelevator . skip on and go up .

Image by Pro Game Guides
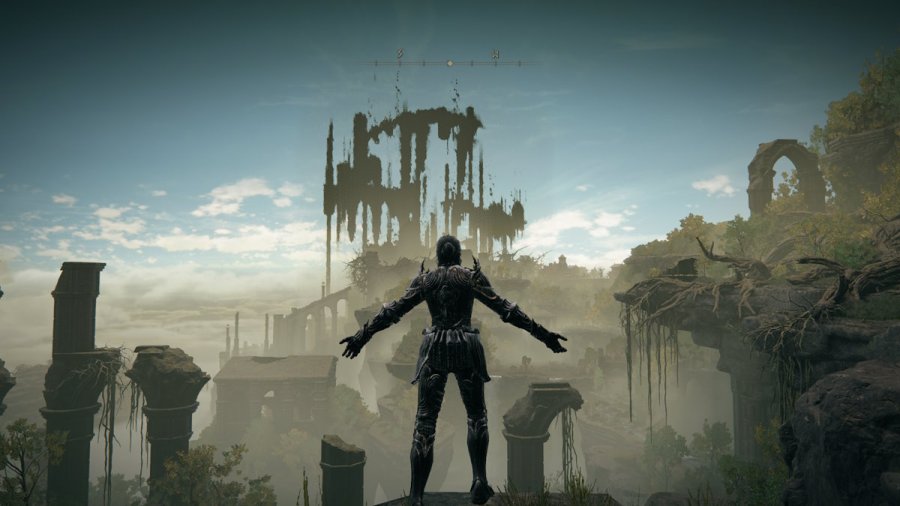
When you reach the top , you ’ll be met with theViaduct Minor Tower Site of Grace , so rest here before continuing on into theRauh Ruins . Now as mentioned before , navigating the Rauh Ruins is a bit of a nightmare unto itself , so we ’ll be guiding you through to the next Site of Grace in the region so you may continue your adventure from there .
Head on through the logic gate at the Viaduct Site of Grace to enter the Ruins proper , and head along the waterway until you reach a itinerary which leads to a large Oliver Stone social organisation , which you ’ll then need to head into .
This undercover expanse is the tricky part , as it ’s filled with gobs of enemy includingScorpionsandCurseblades , so run through is your skillful bet unless you ’re starve for rune and up for a fight . There is however tidy sum of item to rule , and a slap-up manyShadow Jar Holders , who if you spy you should always take out for a chance at aRevered Spirit Ash , orScadutree Fragment .

Image by Pro Game Guides
Head straight on until you find acorridor going powerful , andthen take a leftat the remnant of it . This will lead you to a room with alarge brazier , which you ’ll need to near and drop down to progress . Be warned thatthis fall will harm both youandTorrent , so insure you could both survive the crepuscle . In this next room , you want to take care around for asquare muddle in the rampart , which you ’ll need to go through to advance .
Once through the square passage , you ’ll enter a room with some Scorpio , you’re able to either ignore them or fight them , butcontinue past themall the same . You ’ll come into a large elbow room with a view of the exterior , and you ’ll need toprogress through and record the corridor on the rightfulness , next to the arches that pretermit the exterior .
Continue on until you see aSpirit Spring , which you’re able to practice to take yourself and Torrent safely down . ( Make certain you ’re definitely jump-start directly into the Spring , as it can sometimes have dodgy collision and you ’ll hit the deck heavily and die . ) carry on on until you hit another Spirit Spring , but this timeignore itand continue on . There ’ll be a transition lead to a verdant domain , which you ’ll postulate to go through . Plenty of the Fly masses here , so do n’t dally or they ’ll swarm you .

Screenshot by Pro Game Guides
Carry on through the verdant area , and you ’ll touch a large first step out of doors . There ’ll be a Crucible Knight here who drops aunique helmet , so take him on if you ’re up to it . You ’ll soon see aCross of Miquella , right next to aSite of Grace .
And with that , congratulations ! ( Again . ) You ’ve made it through the early navigational nightmare of the Rauh Ruins and can continue your journey from here . There ’ll be aletter hold back for youat that Site of Grace , which will inform you that your next whole tone is to go andburn the Sealing Tree , which is located within Rauh Ruins . So get out there , and for the 2d meter in Elden Ring , go do some environmental criminal offence .
If you ’ve found this templet helpful , delay out some other Shadow of the Erdtree content from us here at Pro Game Guides , such as our guide onWhere to get the Savage Lion ’s Claw , orHow to get to the Jagged Peak !

Image by Pro Game Guides

Image by Pro Game Guides

Image by Pro Game Guides

Image by Pro Game Guides

Image by Pro Game Guides
Screenshot by Pro Game Guides
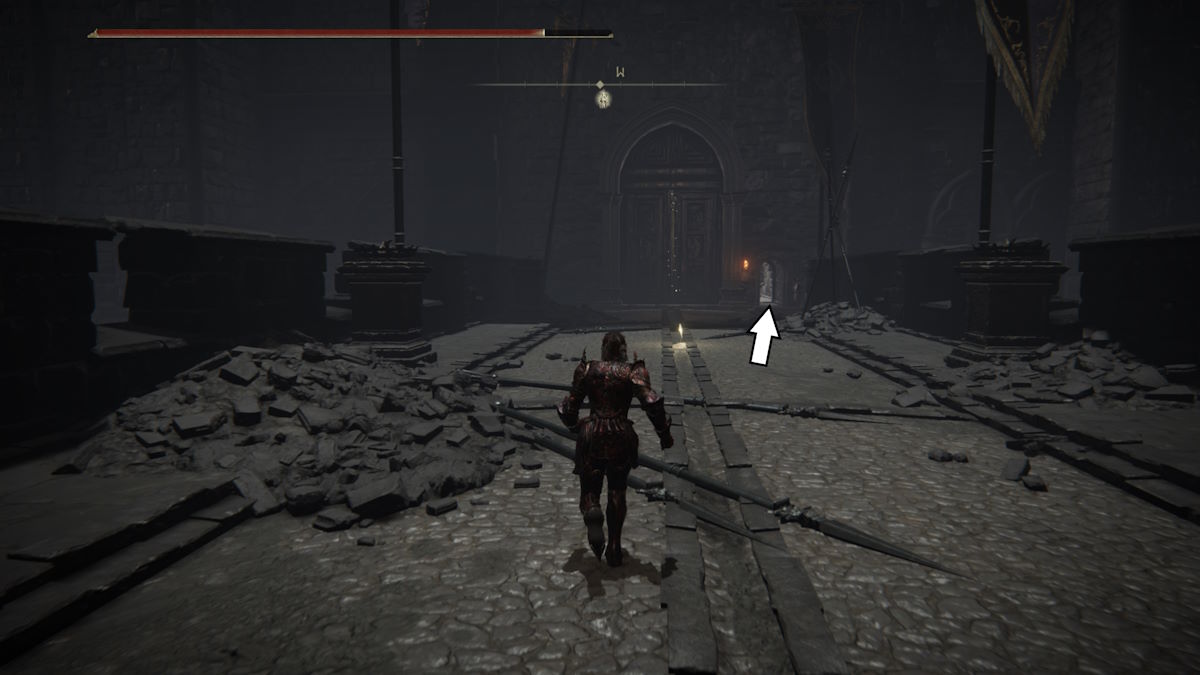
Image by Pro Game Guides

Image by Pro Game Guides

Image by Pro Game Guides

Screenshot by Pro Game Guides

Image by Pro Game Guides

Image by Pro Game Guides

Image by Pro Game Guides

Image by Pro Game Guides

Image by Pro Game Guides

Image by Pro Game Guides

Image by Pro Game Guides

Image by Pro Game Guides

Image by Pro Game Guides

Image by Pro Game Guides

Image by Pro Game Guides

Screenshot by Pro Game Guides
