A button - flirt beat-‘em - up plot with cosy vibe .
If you were a fan of the first Lost Castle , you ’re likely ascertain out Lost Castle 2 with gamey hopes . In this Lost Castle 2 walkthrough , you ’ll obtain guides to pulsate every chief , get every achievement , and where to find thing like the Stylist and Mixtures for your talisman .
Lost Castle 2 Walkthrough - Boss Guides & Achievements
What is Lost Castle 2?
mislay Castle 2 is a 2D rogue - lite beat-’em - up subsequence to 2016 ’s Lost Castle game . The secret plan is one uninterrupted and repeating risky venture , where demise does n’t imply you respawn - it means you begin back at the source of your route with all of your money in - tactfulness .
That ’s it , though ! You ’ll have to forge your way up to expert armour and weapons through each adventure , taking on zombie , rock constructs , and other monsters wielding bow and knives . Do n’t worry , you ’ll be able to use a morsel of your own hack - and - slash scheme to get through the minion , while the big male child will require you to think on your feet before a bomb throw you halfway across the map .
Weirdly , lose Castle 2 has some cozy vibes , despite the gargantuan scissor - wield political boss who patently never heard that you should n’t bunk with scissor hold .
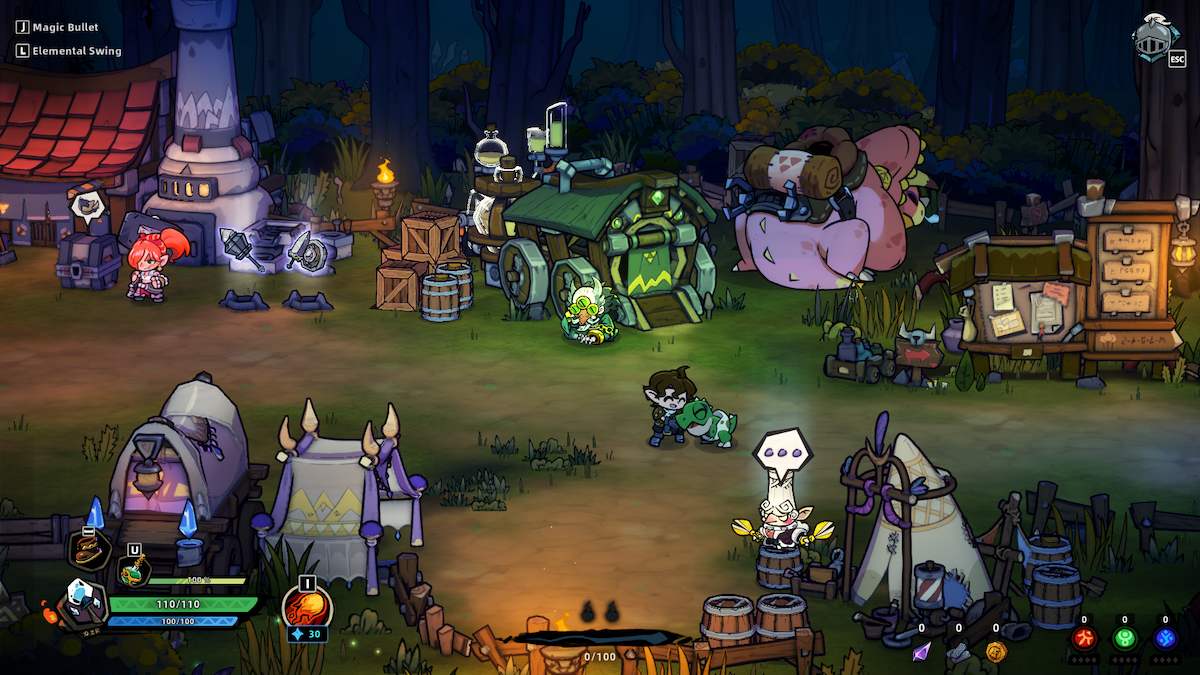
Screenshot by Pro Game Guides
Lost Castle 2 Trailer
What is the release date for Lost Castle 2?
Lost Castle 2 was released for Early Access on Steam on July 25 , 2024 .
How much does Lost Castle 2 cost?
Lost Castle 2 launch Leontyne Price is $ 14.99 USD . A special Early Access price was offered at $ 13.49 USD during the launch period .
What platforms is Lost Castle 2 available on?
lose Castle 2 is currently only available onSteam . That say , the original Lost Castle plot did finally make its agency to PlayStation and Switch , and the game play like it would translate to the Nintendo Switch very well .
Is Lost Castle 2 multiplayer?
Lost Castle 2 is an on-line atomic number 27 - op secret plan , meaning that you may play with up to three friends online , provided you all have a copy of the game . you may also play the biz as a single player .
Does Lost Castle 2 work on Steam Deck?
There is currently no information about Lost Castle 2 being Steam Deck Verified . This section will be update as soon as it is .
Are there Twitch Drops for Lost Castle 2?
There is presently no information about Lost Castle 2 having Twitch Drops enabled . This section will be update if there is .
What is the Discord link for Lost Castle 2?
There is n’t a specific liaison for Lost Castle 2 , but you may join theDiscordfor the publisher of the plot , Neon Doctrine . The game has been discussed in their Discord by fan and the publisher .
What are the accessibility features for Lost Castle 2?
As well as being able to shift between keyboard and controller , you may alter the key / clitoris bindings to make your biz more accessible to your preferred style of free rein . to boot , there are caption available , and you could switch between leisurely and hard mode .
Do you need to use a controller for Lost Castle 2?
you’re able to apply a keyboard and shiner for Lost Castle 2 , but having play the game with both a controller and a keyboard , I recommend using a controller . It ’s a much smoother experience , and the devs advocate a accountant , too .
How to change your avatar’s appearance
While you may change the coming into court of your avatar right at the start of the game , it ’s also potential to modify it later on . If you learn to switch up your hairstyle , hair colour , eye color , or any other feature , you may utter to the Stylist when you ’re in camp before or after an adventure .
The Stylist is find at the bottom of the camp , opposite the caldron . Speaking to him will take you back to the same part creation CRT screen you had at the showtime of the secret plan , allowing you to alter your coming into court as often as you ’d like .
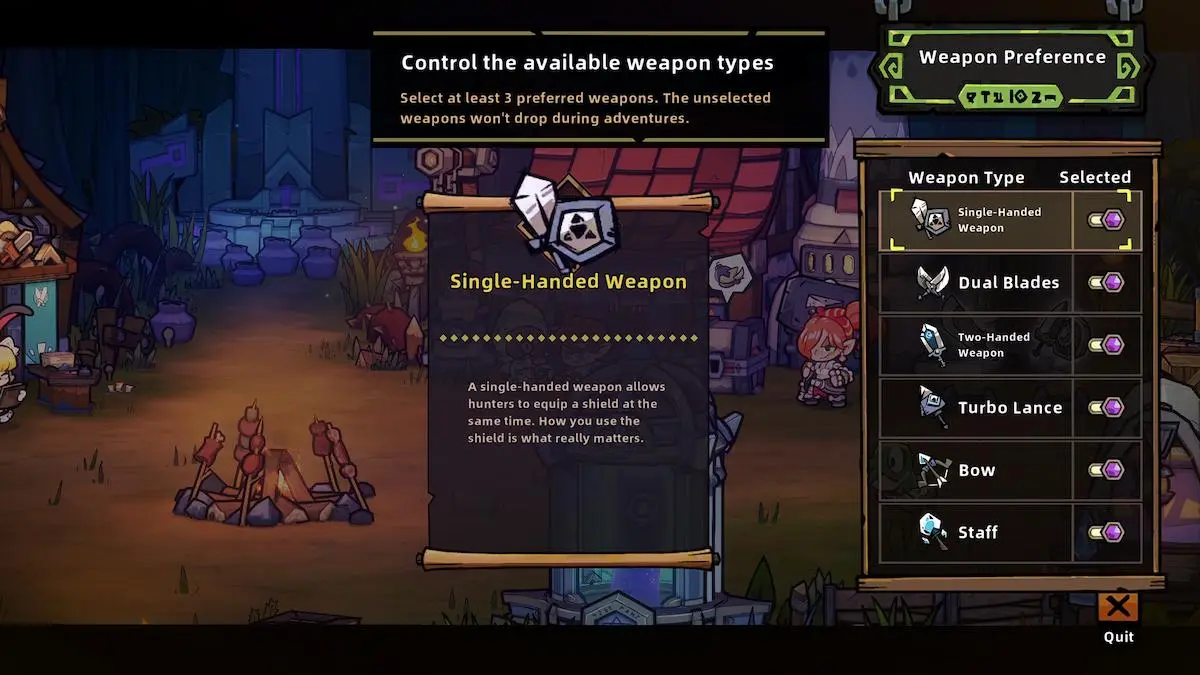
How to change your weapon drop preferences
If you do n’t want to go on an dangerous undertaking with all six types of in - biz weapon active , you may change your artillery drop preferences before you leave the camp .
To change which weapons drop during your adventure , verbalize to Serena the Blacksmith when you ’re in bivouac . you could find her across from the blonde NPC with the rabbit spike , she has mint - green hair and wears a hood .
You must pick out at least three type of weapons from the list , but you may convert your preference any prison term you ’re back in clique .

Screenshot by Pro Game Guides
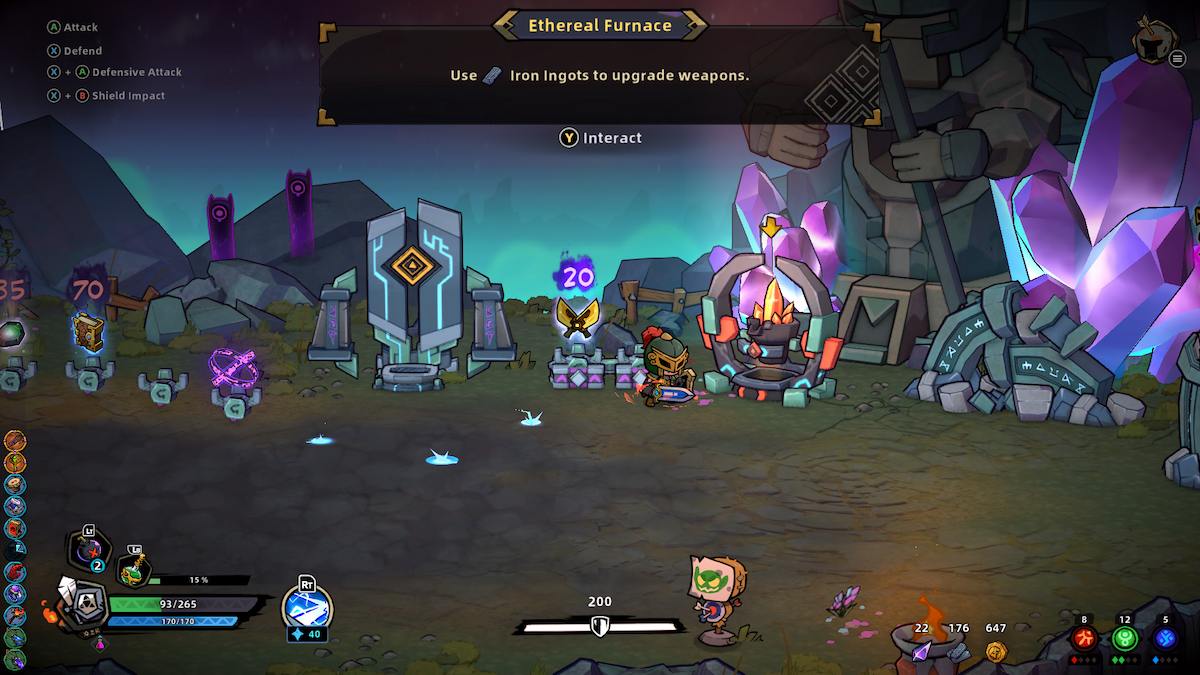
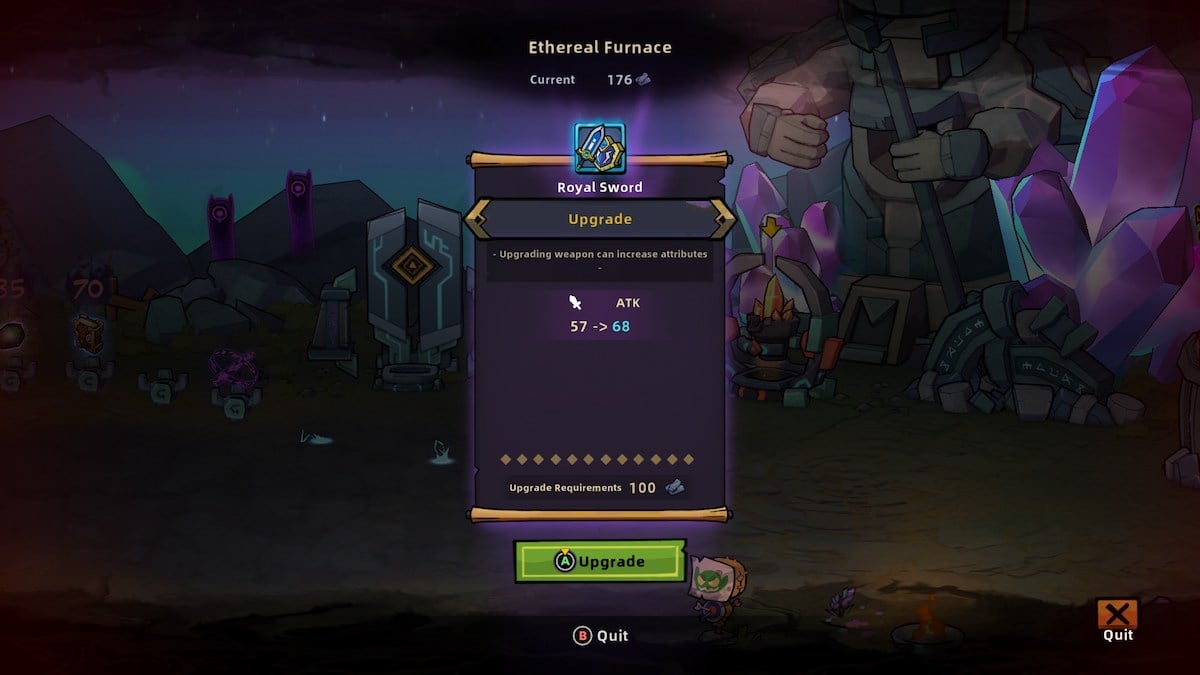
How to upgrade your weapon
To raise your weapon , you ’ll need to find an Ethereal Furnace . These are found in the merchant ’s arena during your escapade , and have orange crystals in the heart of a circle .
You will require to spend Iron Ingots to apply the Ethereal Furnace , which you could get by dismantle artillery , armour , and other items at the destruction of any area .
The first ascent you do will cost 70 Iron Ingots , the second costs 100 , and the Leontyne Price uprise from there with each upgrade . It ’s best to get your best-loved weapon before you kick upstairs one because of the eminent monetary value .

Screenshot by Pro Game Guides
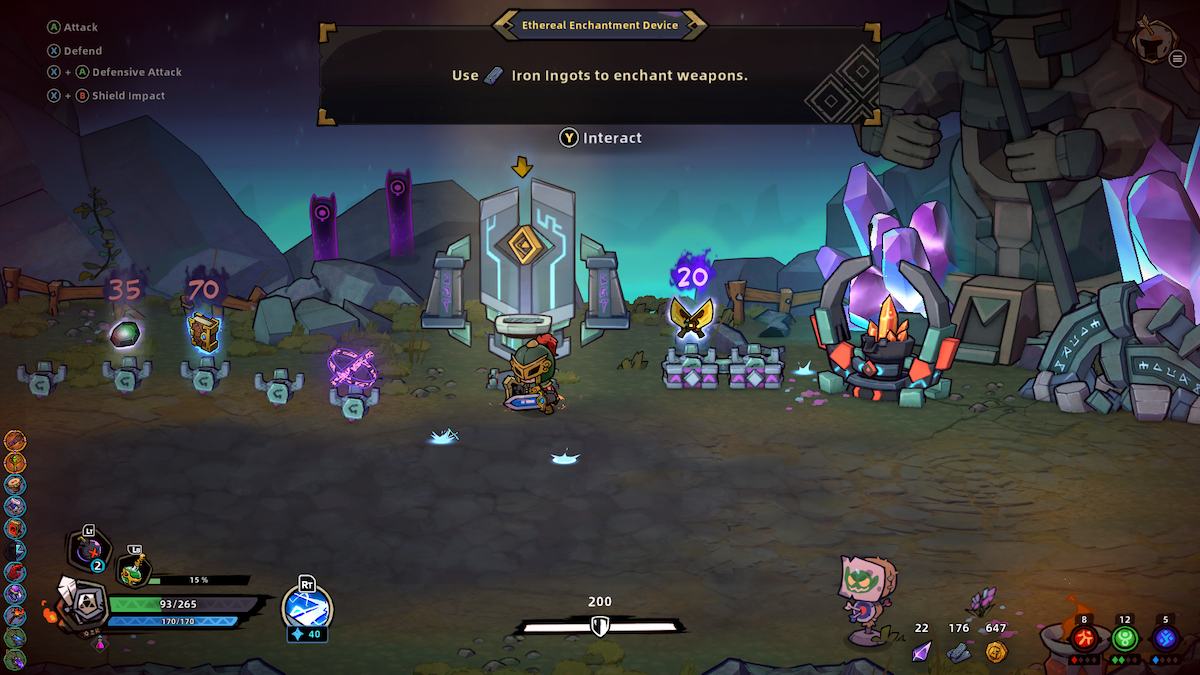
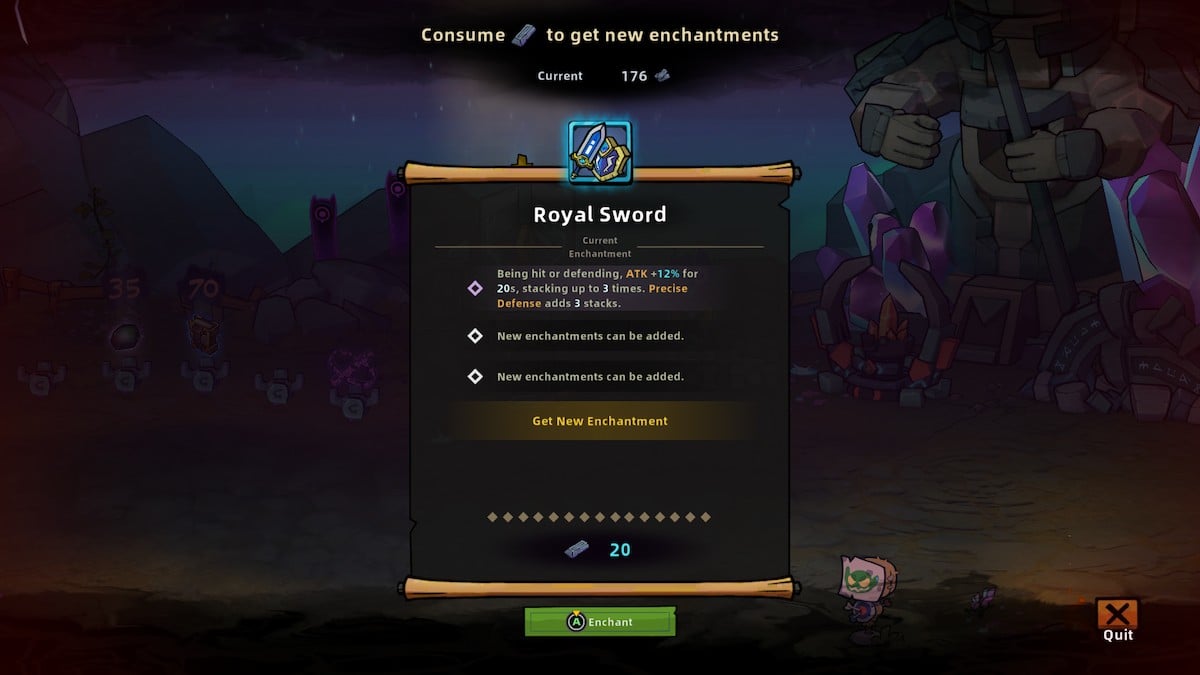
How to enchant your weapon
Like the Ethereal Furnace , you will involve to find an Ethereal Enchantment equipment to enchant your weapon . The first one of these appears in the peck , so you wo n’t be able to bewitch any weapons until you contact this percentage point on the map .
enchant weapons costs Iron Ingots , and you may have up to three enchantments on any one weapon . If you decide to bewitch the weapon further , you will need to choose an enchantment to erase so that you’re able to have the new one on your weapon .
It costs 20 Iron Ingots to enchant a weapon .
Screenshot by Pro Game Guides
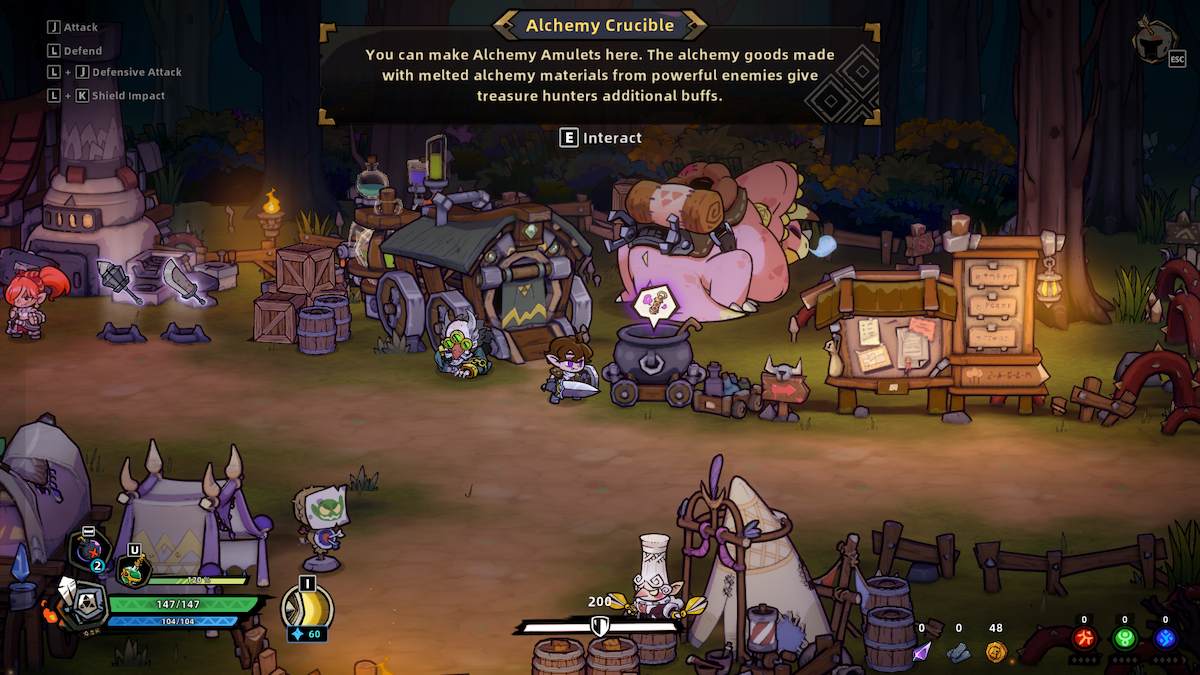
How to use Alchemy Mixtures
Alchemy Mixtures can be break up up after clearing an area of monsters . They are exceedingly rarefied because there are only 11 of them to collect .
When you find an Alchemy Mixture from a treasure thorax , it gets added to your compendium back at camp .
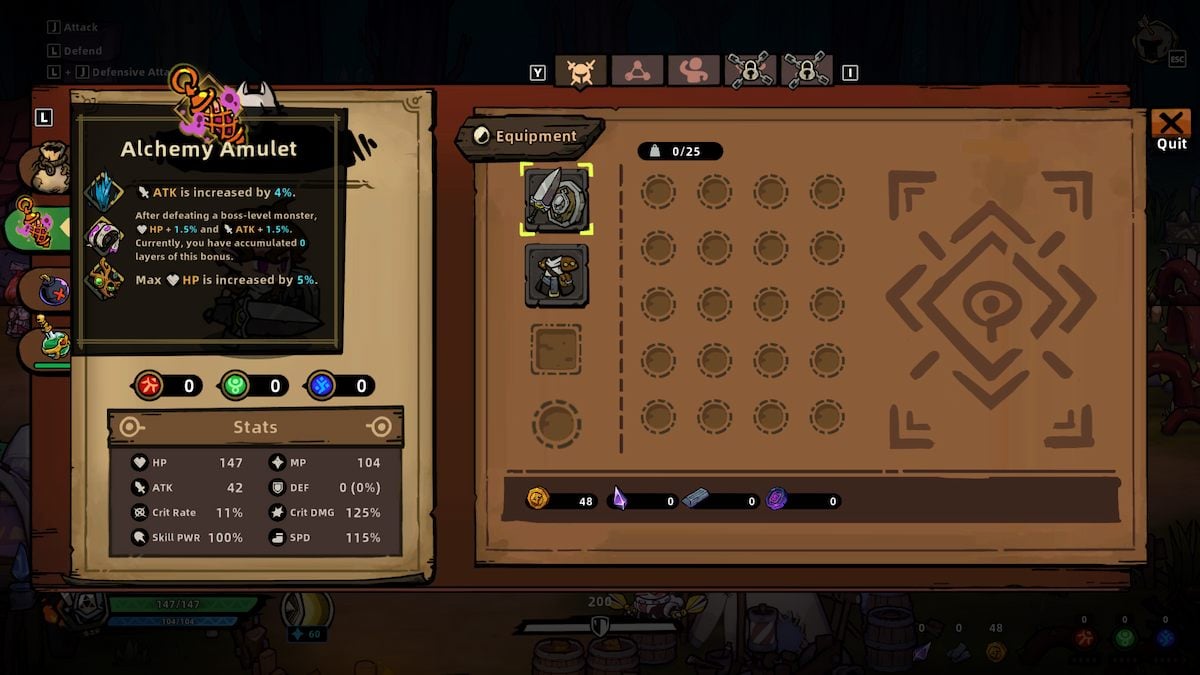
To practice any of the Mixtures , you just need to have it in your Alchemy Amulet before you go on an adventure . You ’ll be able-bodied to see if there ’s a Mixture in your Alchemy Amulet by going into your inventory and navigating down to the relevant slot on the far left .
Screenshot by Pro Game Guides
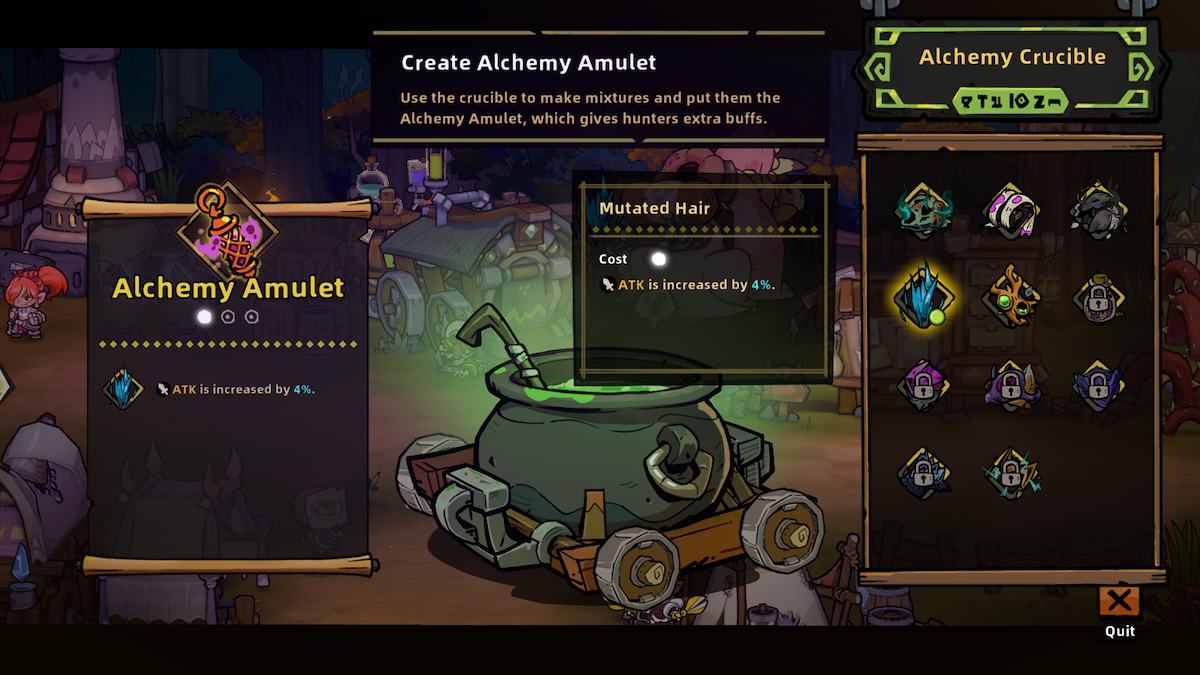
How to change the Mixture in your Alchemy Amulet
To change your Alchemy Mixture , you will need to be back in camp . Locate the cauldron in the middle of the coterie and interact with it - you could also interact with the Alchemist next to it , but he ’ll open up the same daddy - up with all of your Mixtures on display .
At the beginning of your risky venture , it ’s probable that you ’ll only have - and be capable to practice - one Alchemy Mixture .
To put it in your talisman , you just need to take it so that a green dot look on the Mixture in the menu .
Screenshot by Pro Game Guides
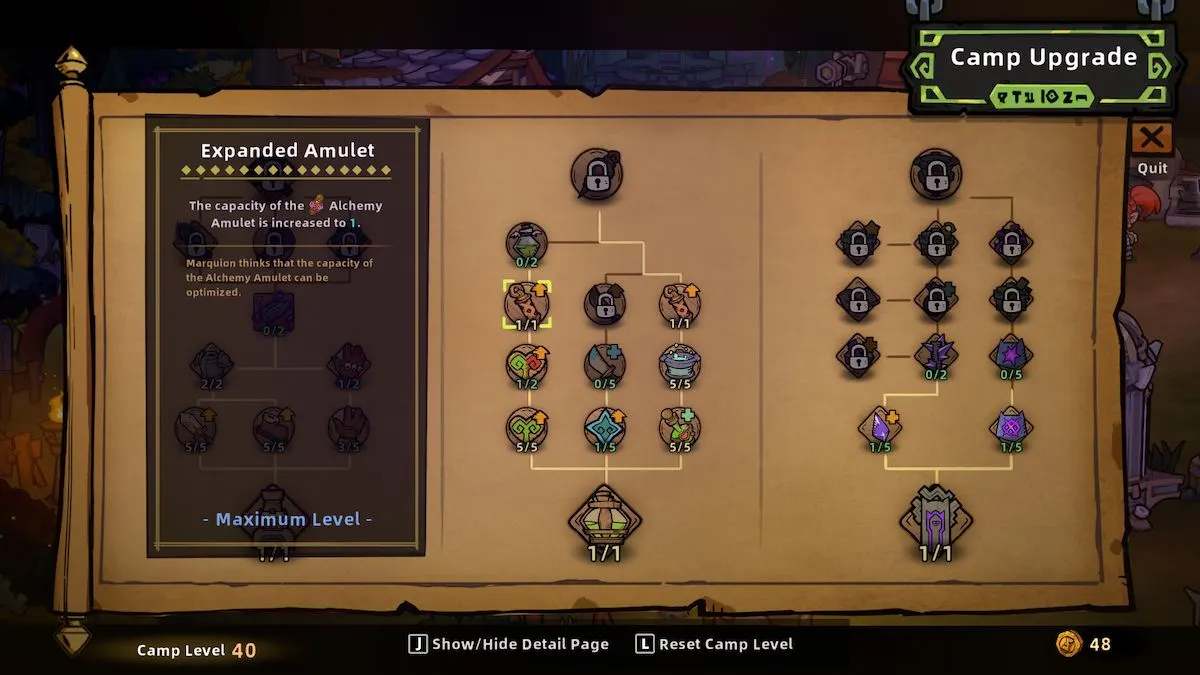
If you want to be able-bodied to take hold more than one Mixture in your Alchemy Amulet , you ’ll need to give for some coterie upgrades .
In the center section of the camp rise menu , fix the Alchemist ’s Hut , and then raise the various items until you reach the third rowing up . This row has two Expanded Amulet upgrades that you’re able to use to have up to three Mixtures in your Alchemy Amulet at any one fourth dimension .
Lost Castle 2 Walkthrough - How to beat all bosses
Beating any of these knob will give you one of the achievements available by playing Lost Castle 2 through Steam .
Each chief has their own annoying mode of attacking , from charge with scissors grip to bemuse jumbo boulder . By using the guides below , you ’ll lie with what to carry from each boss before your fight and how to beat them .
How to beat the Goblin Champion
The Goblin Champion is a hard - hitter . You ’ll experience falling rocks , a send monster who can rap you down if you ’re in its path , and more .
Thankfully , there is a pattern to this utter wipeout . The Goblin Champion will beat the undercoat in the direction you last stood in , and it ’ll do this twice . you could dodge by tramp out of the style or just course outside of his mountain range ( for the thud , that ’s straightaway next to the Goblin Champion ) .
Next is the hard part . Several purplish targets will appear on the priming coat to indicate that rocks are about to descend . While they ’re come down , the Goblin Champion will consign at you . To invalidate these two incidences , you ’ll need to avoid the target areas of the rocks , and then duck in the diametric way of the Goblin Champion just before he reaches you . It might take you a couple of tries to get the timing down , but do n’t take much longer than that , or you ’ll die faster than you want to .
Screenshot by Pro Game Guides
After charging three times , the Goblin Champion will hit his head and strike to the ground . This is one of your only chances to round and it go mere seconds . As presently as he gets up , the rhythm set out again .
you’re able to hit the Goblin Champion at other here and now . I suggest between thumps . You will also have to consider with short minion goblins that he muster up , but they ’re easy to kill .
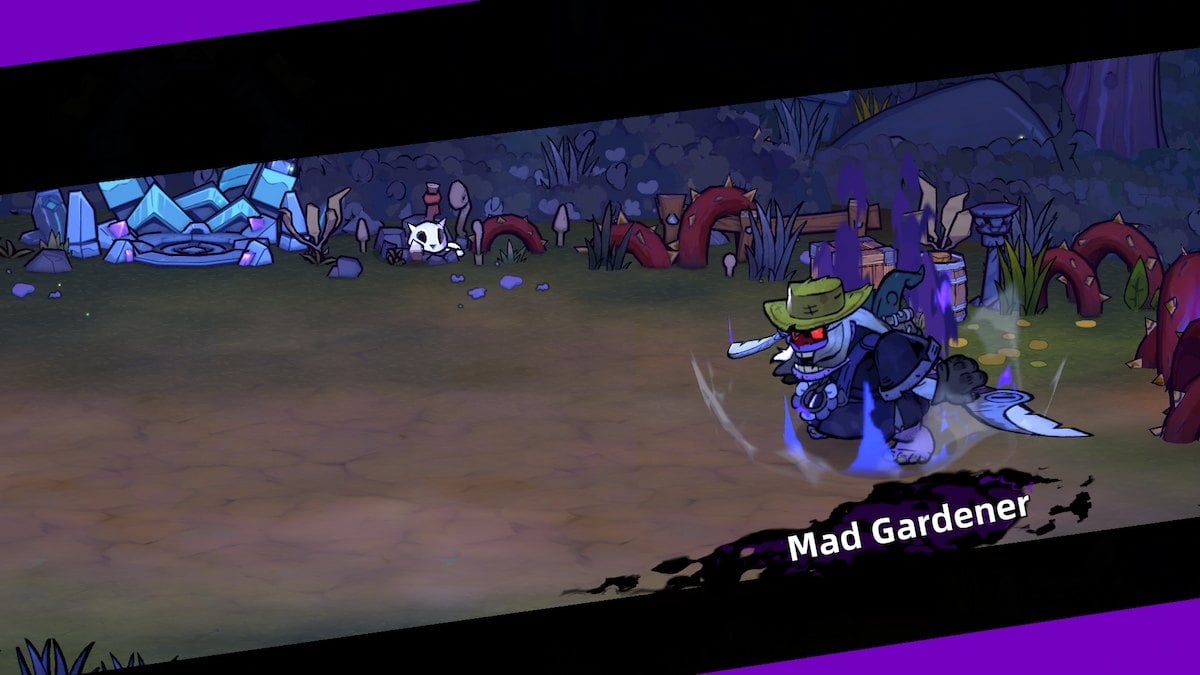
How to beat the Mad Gardener
Remember those scissor hold I mentioned ? The Mad Gardener is the one who runs around with them . Despite this , I actually rule him the easiest chief to circumvent in the game .
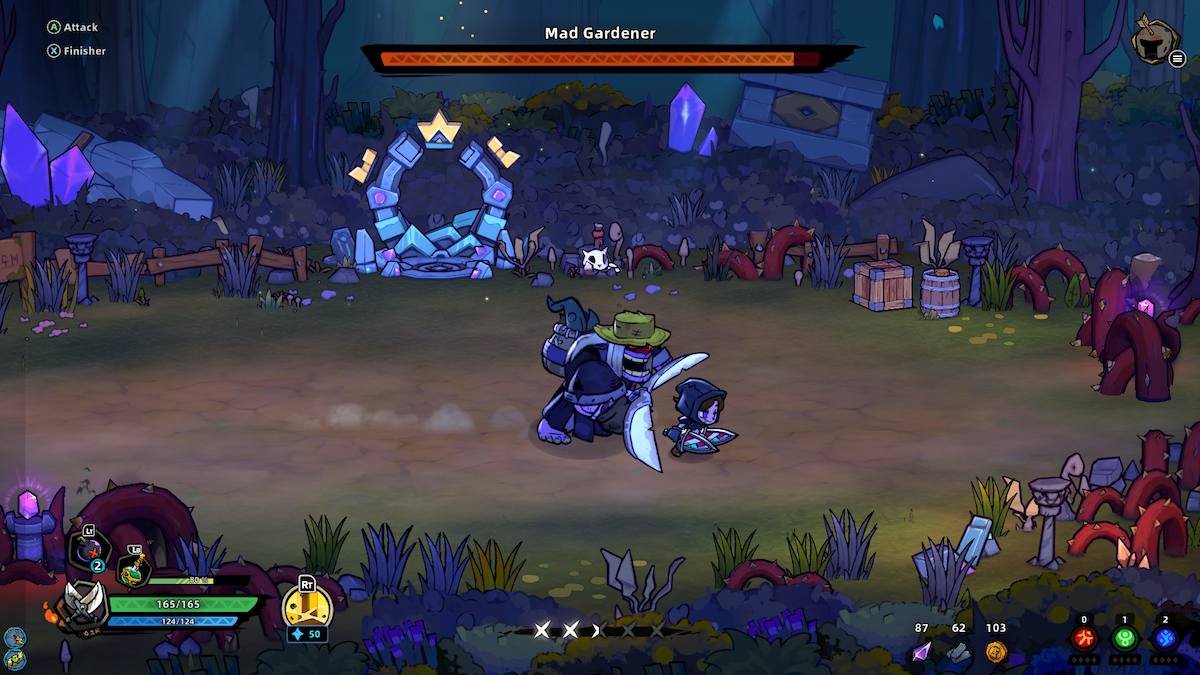
The Mad Gardener has two stage - the first is very chaotic and random . You ’ll demand to clock your attacks to make certain you do n’t get trance in any of his whirling scissor attacks or the scissor commission . Never get as close to the scissors as I was in the screenshot above ; that was a misunderstanding and I got get in the attack .
Instead , avoid the Mad Gardener ’s attack by dodging in the opposite direction of his itinerary as he arrive towards you .
Screenshot by Pro Game Guides
After you take his horsepower down to zero , he ’ll kibosh , spring up some toxicant - spitting flowers , and gain all his wellness back .
There are intermittent point during his attacks where he intercept to rest ; this happens after a barrage of toxicant has been spat in your direction and all over the rest of the area .
He will visibly droop and blockade moving . It ’s at this precise consequence that you postulate to assault with everything you have .

Screenshot by Pro Game Guides
you could also assault him while he ’s let the flowers spit poison at you . Just go behind his back and attack him from behind . Get a few strikes in , put off , and straightaway start move again . You should almost always be moving when facing the Gardener .
How to beat the Forest Guardian
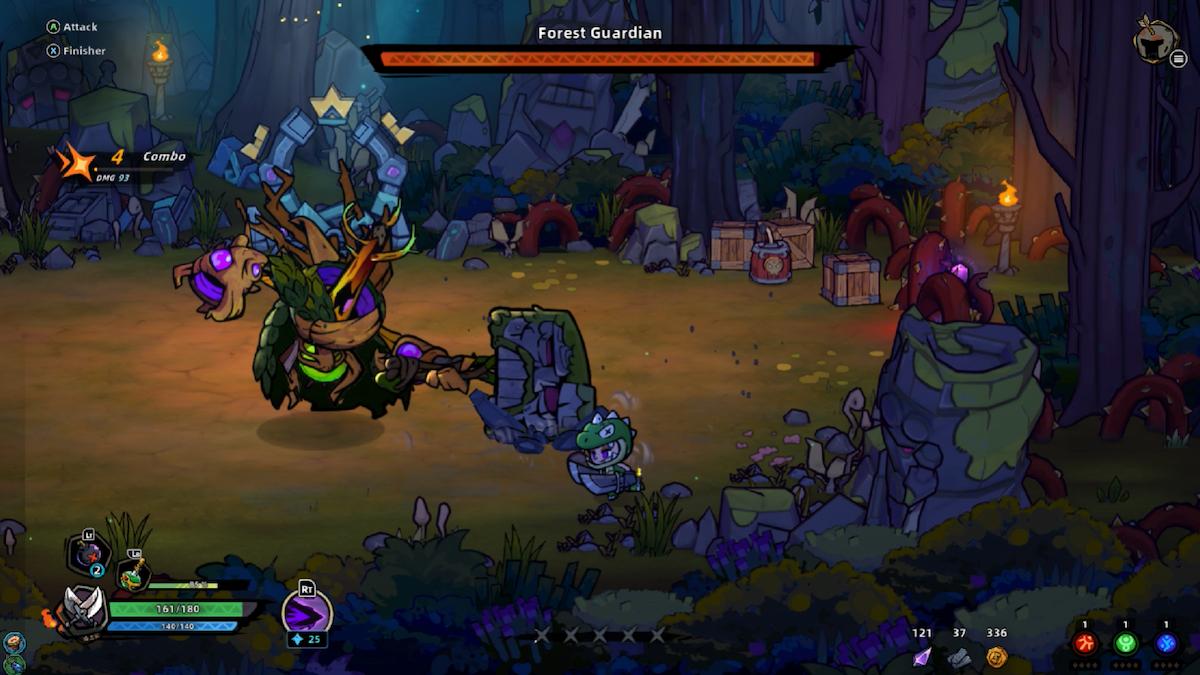
To bewilder the Forest Guardian , you ’re going to involve to be fast .
As well as thrash their hammer into the earth , the Forest Guadian throw off toxicant all over the field in vast amounts .
There were two primary attack I used to take down the Forest Guardian : bombs and charge attacks . I direct a few endangerment , throwing bomb while poison was fall and then speedily moving out of the means with a dodge .

Screenshot by Pro Game Guides
Charge attacks are stark to use while the Forest Guardian is using the poison attacks , you may run from the side they are n’t face for better results .
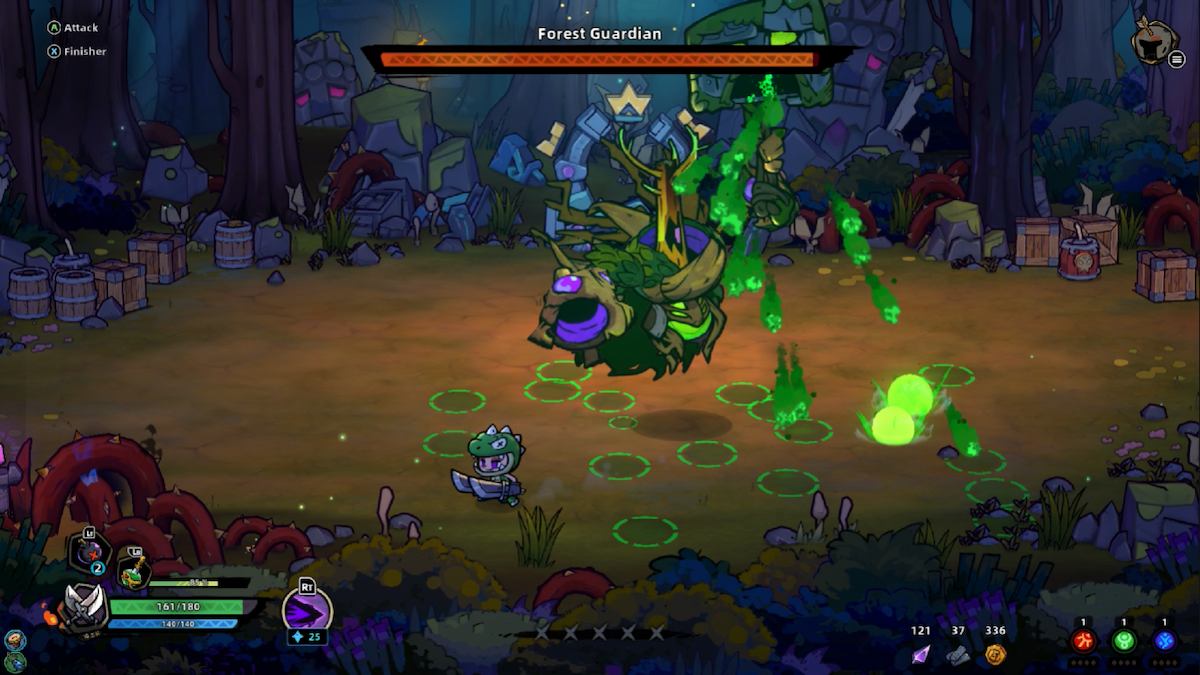
After the Forest Guardian gets down to half their HP , they will stop , change manikin , and start throwing even more toxicant . aim your attack towards the bulbs of poisonous substance at the base of the tree diagram ( on both sides ! ) .
After you take out the toxicant bulbs , the Forest Guardian will summon Sir Herbert Beerbohm Tree roots across the area . head off these , they ’ll pin down you .
Screenshot by Pro Game Guides
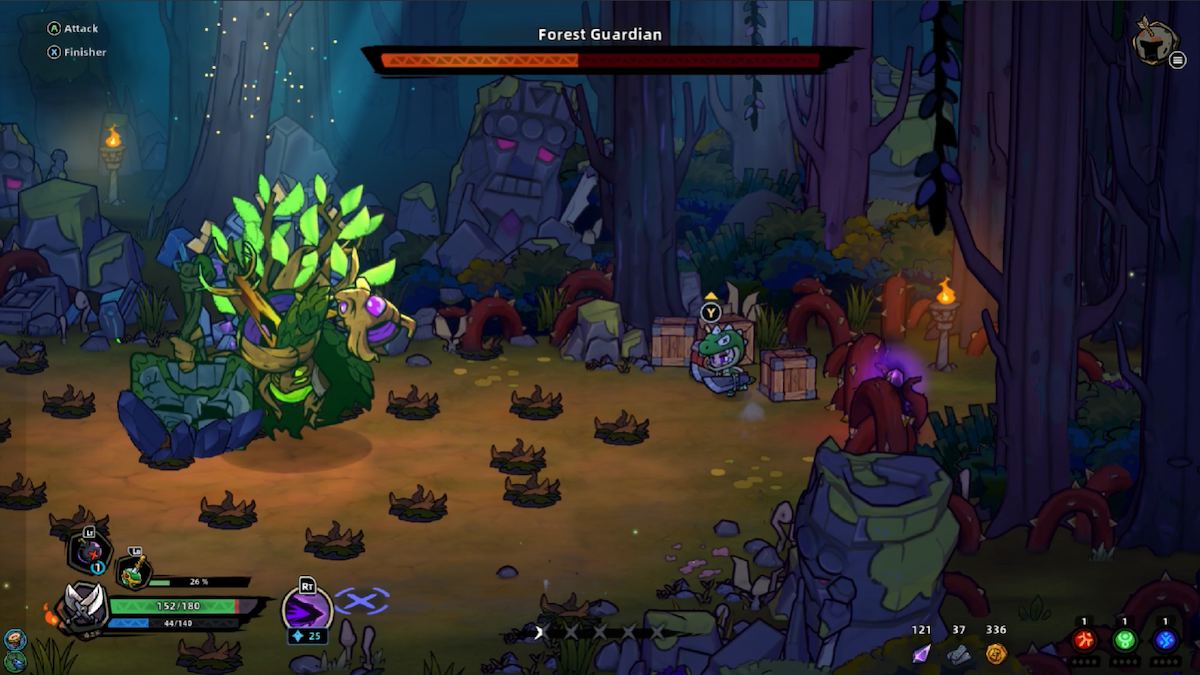
The last part of the fight is more hammer - shattering and toxicant - throwing . Avoid , drop dud and/or charge , and duplicate until the Sir Herbert Beerbohm Tree dies .
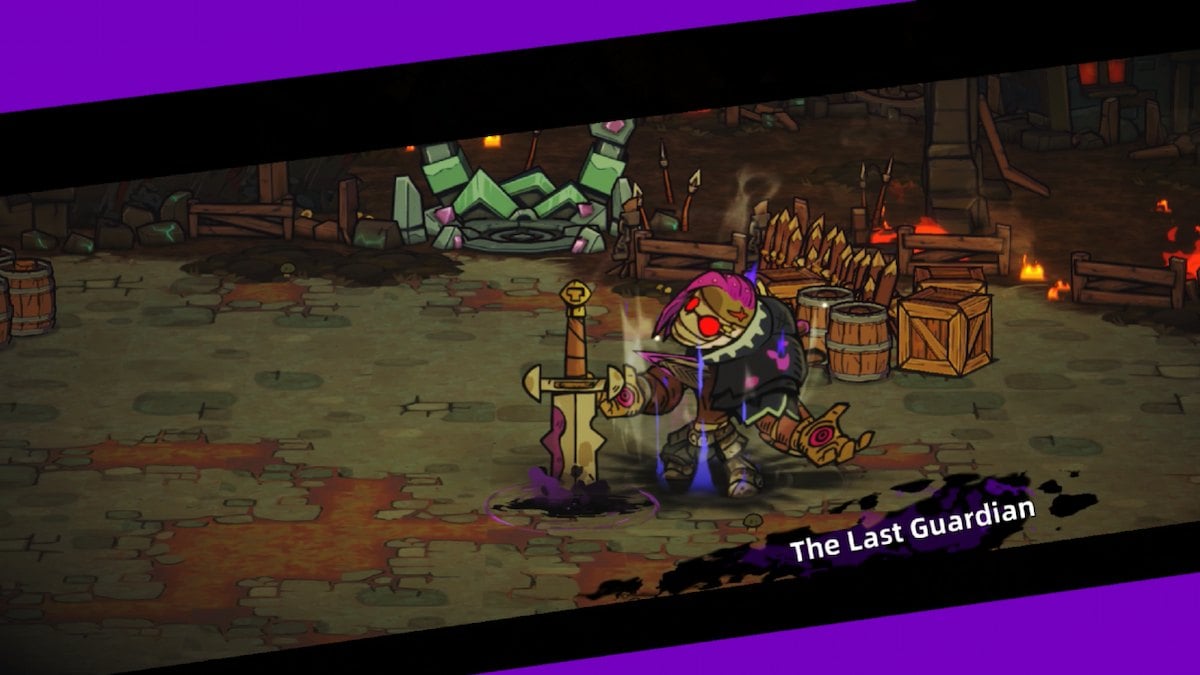
How to beat The Last Guardian
The Last Guardian wields a mammoth sword , so get your dodging push button ready .
No , literally , because he ’ll just charge at you with it the 2d the intro to the fight is done .
As well as charge , The Last Guardian will sway his sword from above , to the side , and in a whirlwind attack . you could easily hedge all of these by just staying out of the way .
Screenshot by Pro Game Guides
There are a couple of second between a charge attack and a whirlwind attack where you could throw a turkey at him or assail him . If you ’re using any melee artillery , hit and run .
The ultimate attack of this genus Bos is a sequence of power attacks . First , The Last Guardian will drop two waves of power across the map . Then , he ’ll endeavor to draw you in - when this happen , remain on the edge and keep using your scheme move to avoid being pulled towards him .
in the end , watch out for hoards of zombies .
Screenshot by Pro Game Guides
To get The Last Guardian , you just need to clock your attacks and ensure you hit him between that charge and whirlwind attack . Between attacks is the best way to kill him off .
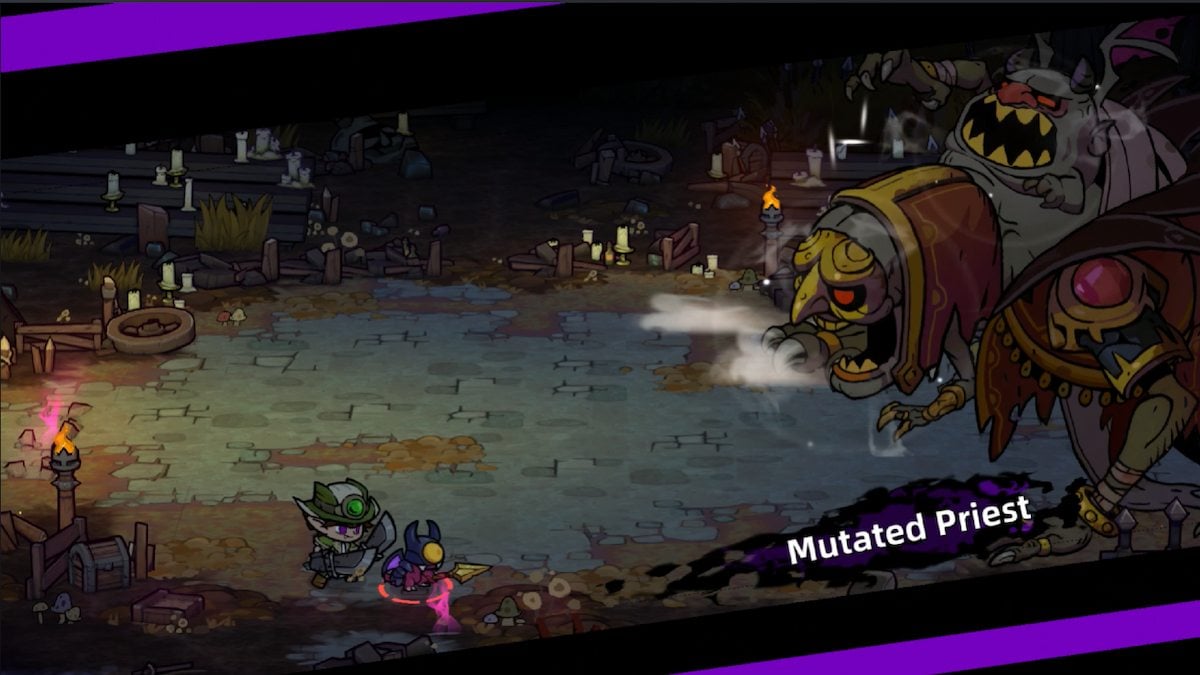
How to beat the Mutated Priest
You will fight three type of monsters during this boss competitiveness : zombie minion , red - habilimented summoners , and the guys that throw tree . You will often look two summoners and a tree - thrower at the same prison term .
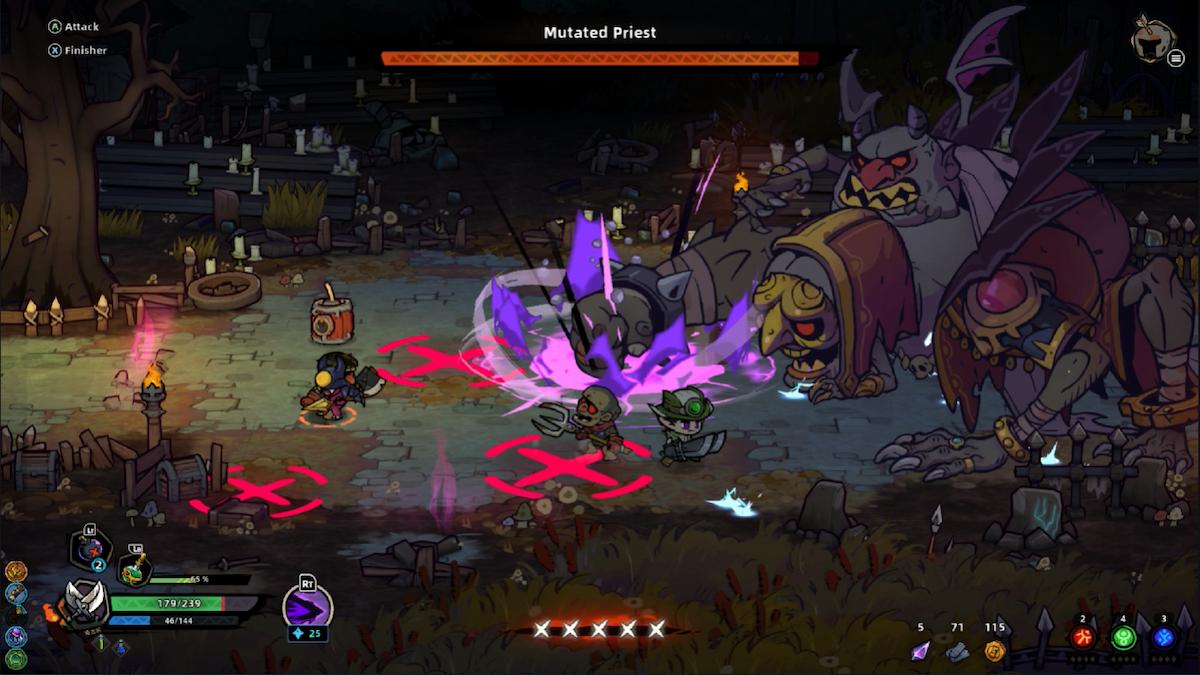
Between mobilise these monsters during the battle , the Mutated Priest will throw rocks and crash one of his hands into the ground . You get enough of a monition for both of these situations to wave out of the fashion .
at times , the ruddy explosive will appear in the orbit , and you may nibble these up to throw at the Mutated Priest . However , you’re able to in reality do more scathe by in the main centre on his left hand ( bottom rightfield of the orbit ) . I ’ve demonstrated this in the Youtube video above .
Screenshot by Pro Game Guides
Keep reverberate back and forth between this spot , make bomb , and kill the other colossus . There ’s no second microscope stage to the Mutated Priest , so you ’ll beat him soon enough .
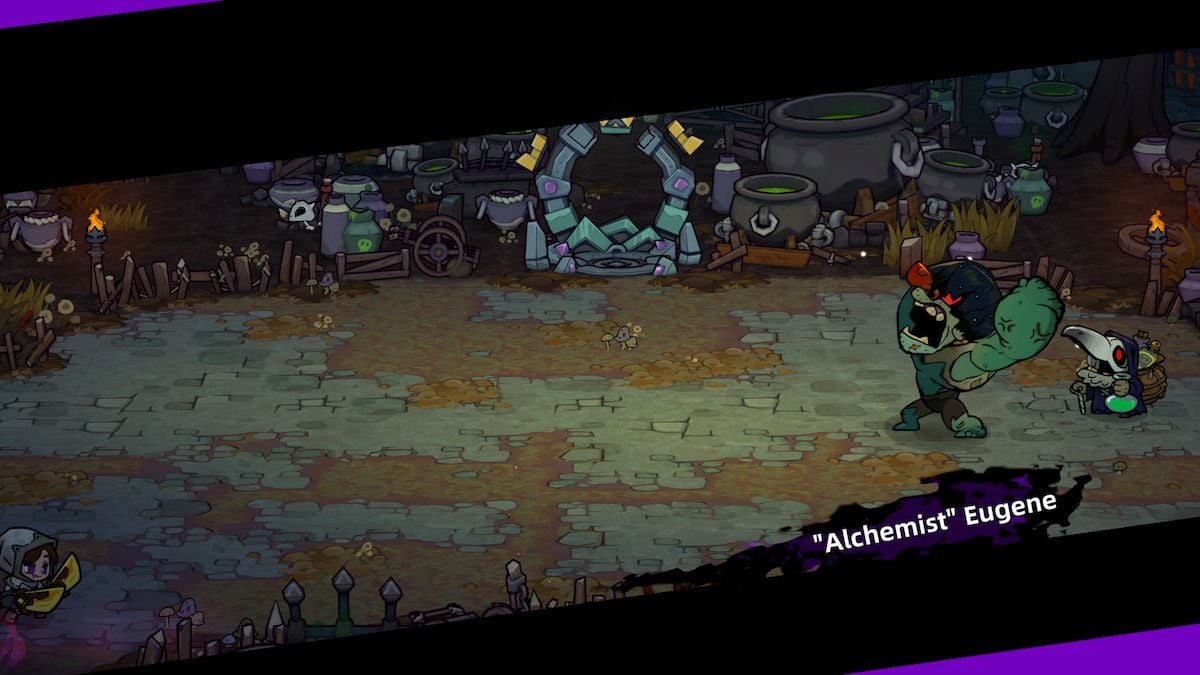
How to beat “Alchemist” Eugene and “Mad Dog” Bobby
" Alchemist " Eugene and " Mad Dog " Bobby are a bit of an odd pair to contend . consume two boss to focus on might seem more hard than it actually is .
While Eugene will throw poison potion around , which acres on the earth and make puddles , Bobby pretty much just charges back and forth . This make him seem like the correct target , but you actually need to take out Eugene first .
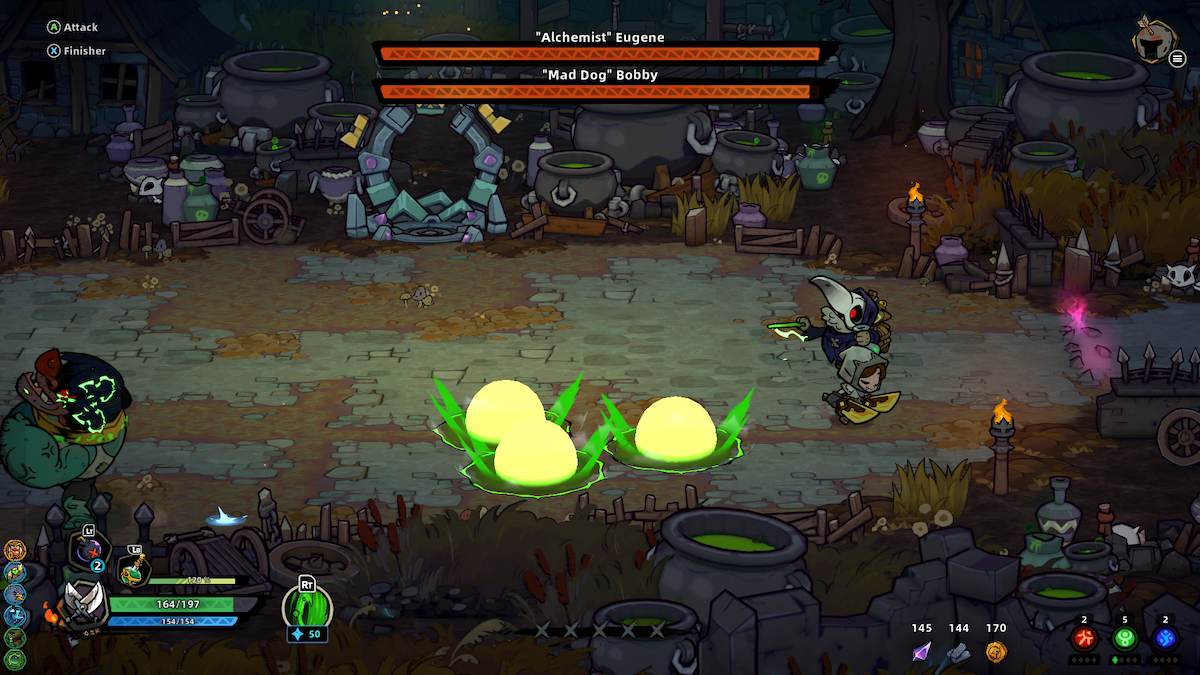
To get Eugene out of the equation , be sure to dodge his poisonous substance , and hit him from behind . He does n’t lie at any power point , but he will occasionally tear Bobby back towards him , which means that you ’ll get charged at soon after .

Screenshot by Pro Game Guides
Quick warn : As Eugene come towards the end of his HP , he ’ll start throwing wrangle of potion at you . Move quickly .
Once Eugene is drained , Bobby gets even Rubia tinctorum and transforms .
He ’ll get going shake off track of rock music and fire at you . He does this a few times , and then hold on motivate . Take this opportunity to beat him down . Like other chief , you’re able to also attempt to hit him at other points , but he charges around so much that it ’s not deserving the risk of being attacked .

Screenshot by Pro Game Guides
Bobby ’s flaming skill seemed to bring down damage on himself when I struggle him . He still had a slight HP left , regurgitate another rush of fervor , and just fell over . Something to look out for in your own adventure .
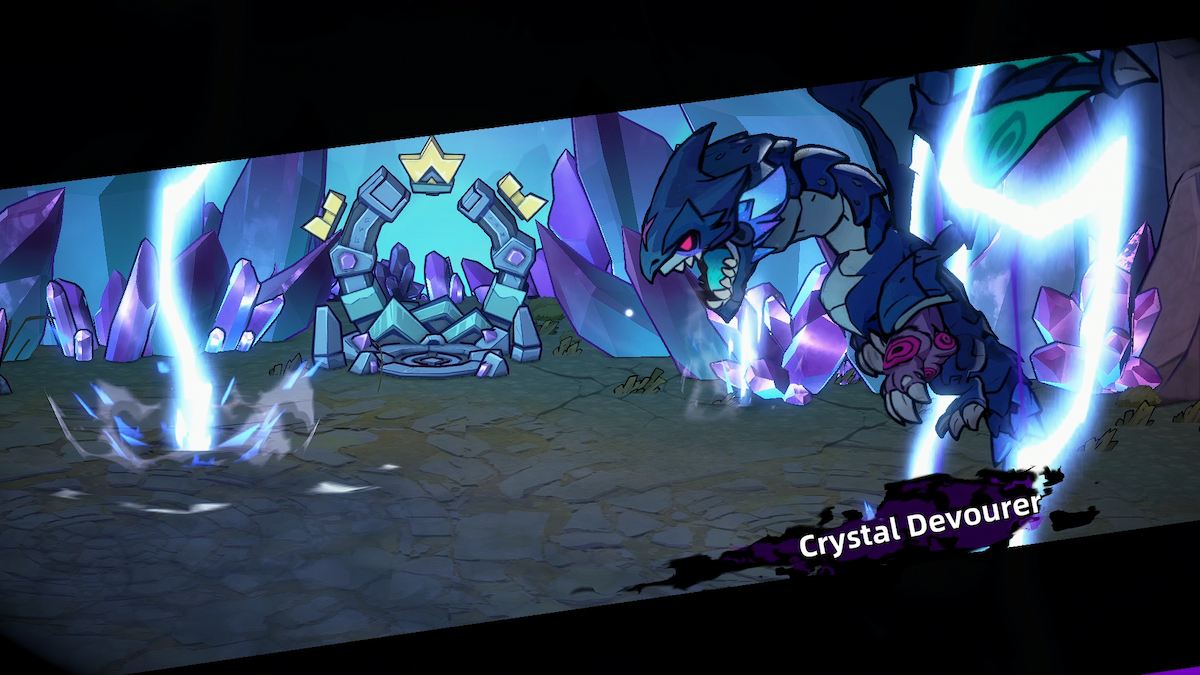
How to beat the Crystal Devourer
The Crystal Devourer is a lovely blue dragon who ’s on a foreign mission to utterly destroy you . My advice with this boss is to go for the tail , but be mindful that he can also attack with his tail assembly . You desire agile rogue - like attacks ; get in , get out .
He ’ll mostly endeavor to stamp on you , charge at you from the sky , or set off roundabout of lightning . He ’s fast , though , and that ’s the problem with this honcho .
There is also a move where he brings up shard of rock from the basis , but it ’s well - choreographed and easy to dodge .
Screenshot by Pro Game Guides
I ’m going to show a slightly longer TV here , which includes the timing to attack his tail and what I consider to be the Crystal Devourer ’s ultimate blast - which is pretty long . As well as giant circle of lightning , you ’ll want to hedge the smaller one , the rocks , and the Crystal Devourer ’s own onset .
In between attacks , expend your bomb to damage the tartar or get behind him and fall upon him a couple of time before charging or dodging off .
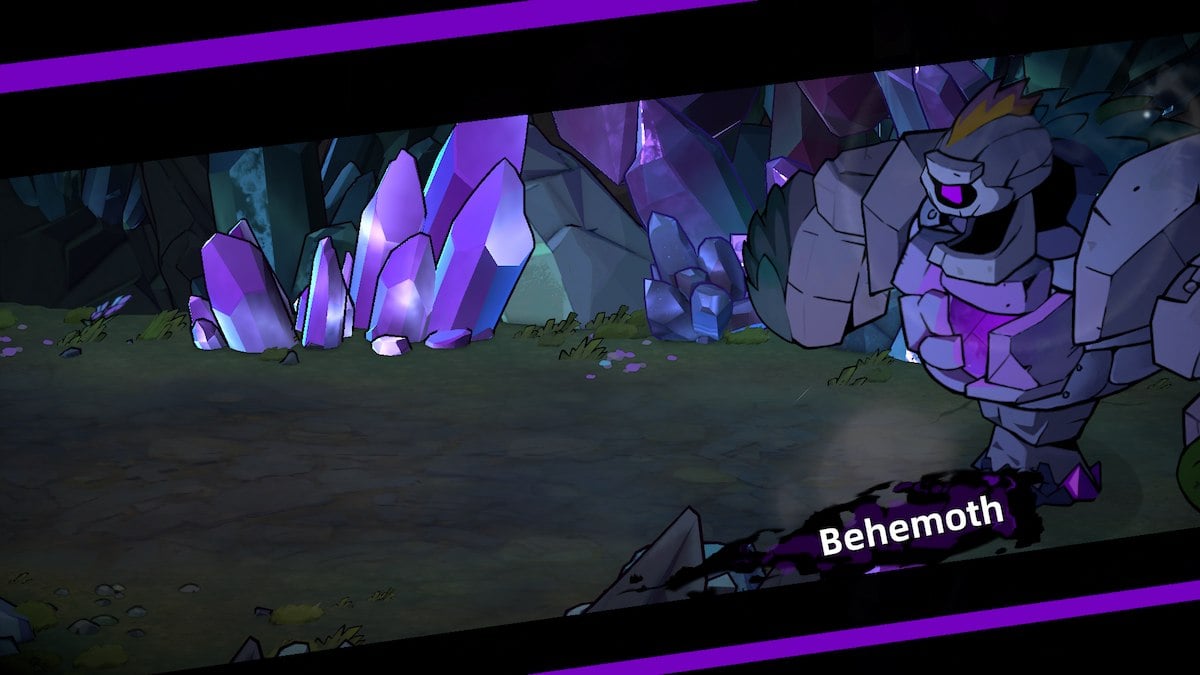
How to beat the Behemoth
The Behemoth is an intimidating engagement , but there is a caper to beating it . A few , actually .
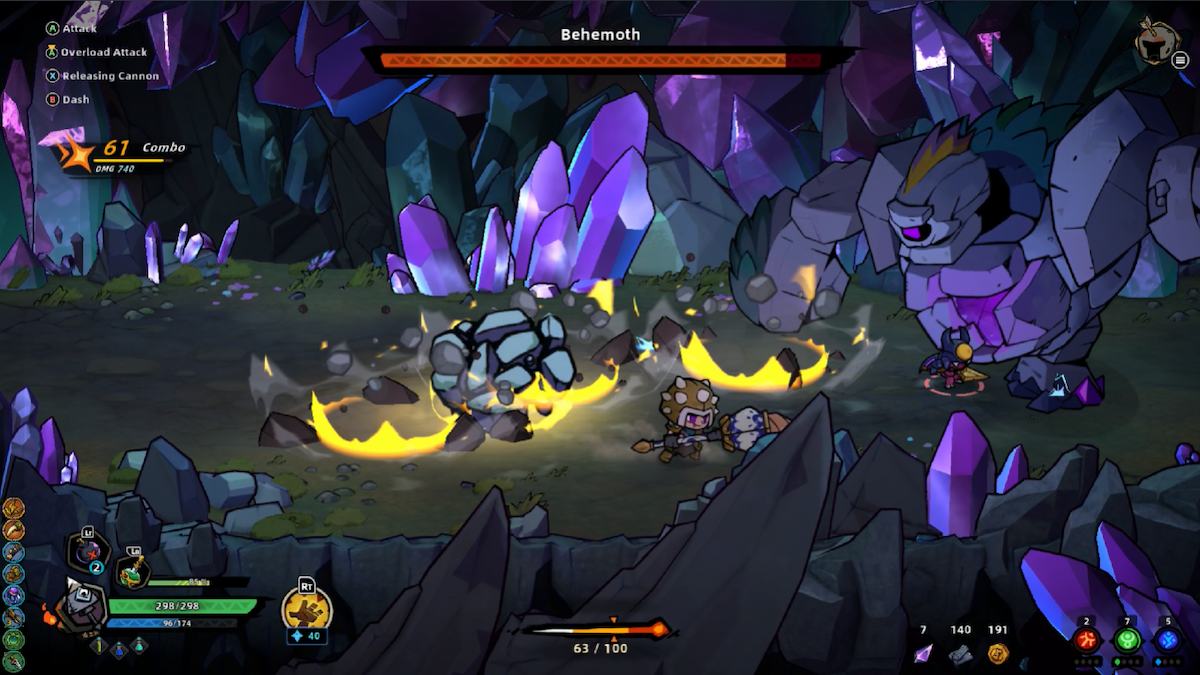
First , you need to put off any of the rocks that fall from the sky . You ’ll be using your dodge push a lot , but just get out of the way . While rocks are falling , you ’ll see some intimate pink orb fall from time to time . You ’ll know from struggle through the mountains that you ca n’t let these grow into rock monsters ; they take ages to pop and you really do n’t have time to conduct with them here .
Instead , pick them up and throw them at the Behemoth . You ’ll see the rocks around the crystal at its inwardness luminance up - this is the Behemoth ’s light point . As well as the pink orbs , some spiky gloomy stones will fall that you’re able to throw , too . These come less often , though .
Screenshot by Pro Game Guides
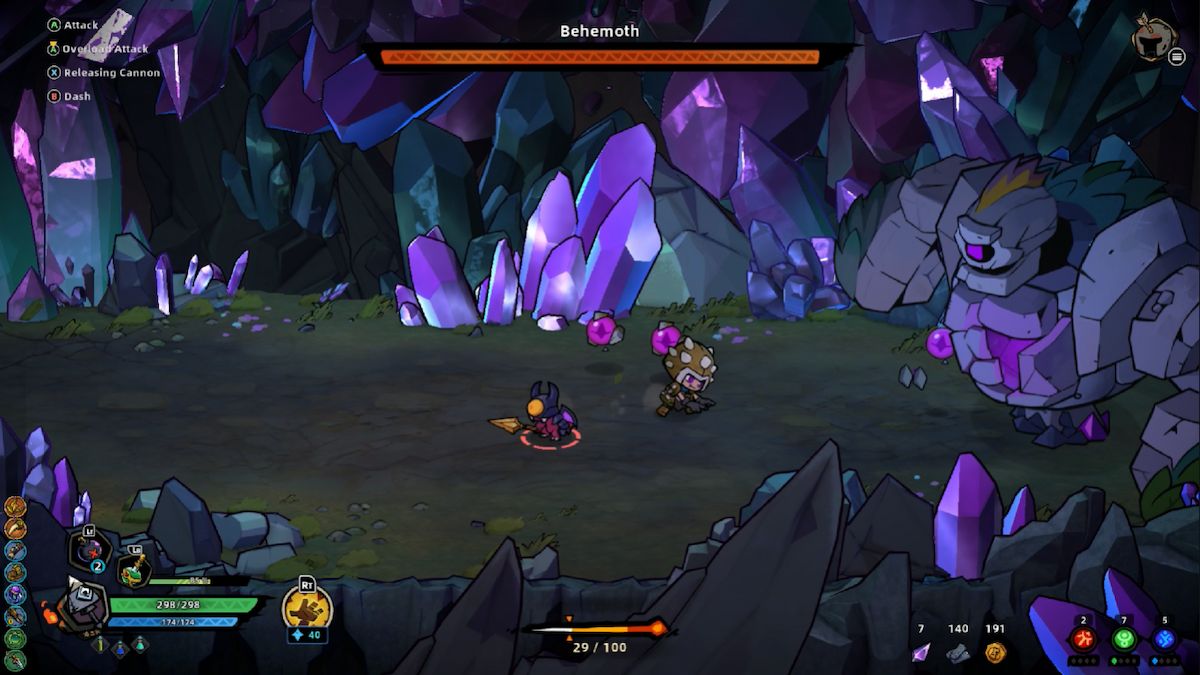
When you could , get near enough to hit the Behemoth a few times to step on it up the battle .
Otherwise , just keep hedge rocks and throwing things at it until it slump over to rest . This is when you could use the most equipment casualty .
Unfortunately , when the Behemoth gets back up , you could expect some brawny attacks . You ’ll be project to the other side of the area , have a few more rocks thrown at you , and then have to take a bit of a battering from the sheer figure of rocks that get dropped on you . It ’s nearly unimaginable to dodge the final part of this barrage because the rocks fall three clock time .

Screenshot by Pro Game Guides
Just get back up and keep attacking . The shape somewhat much repeats , with some variation on the rock’n’roll falling . Be sure to get into any gaps you see or dodge if you could .
How to beat the Thunder Sprite
In my legal opinion , the Thunder Sprite is the hard boss to beat . There are very few opportunity to lash out her because she has a shield and constantly casts lightning and scag spells .
You demand to avoid every glowing blue circle , every lightning rap , and every red target dress circle .
You will see diamond - work watch crystal at times . The Thunder Sprite summons these , despite them being one of the only way to spite her . snap up them and confound them at her whenever you get a opportunity to ruin her buckler .
Screenshot by Pro Game Guides
Once her shell is down ( which takes two / three rhomb crystals ) , the battle gets a lot more chaotic . If you come across any Ethereal Treasures that can revive you when you pass away - such as the Rebirth Amulet - make certain you buy it because you will drop dead in this fight .
Continuing throwing the adamant crystals at her whenever you get a prospect - she will occasionally elevate them up out of your reach .
Another affair to see out for is her pounce charge attack . If you do n’t dodge it and she pink you over , it ’s more than likely that you ’ll also get hit with lightning .
Screenshot by Pro Game Guides
The second leg of this combat introduces more powerful attacks . Keep throw those crystal at her and using charge attack to stay put out of her mode .
The Thunder Sprite has an ultimate attack that covers almost the entire area in lightning . Avoid the circles , wait for her to fall to rest , and onset ! She gets her shield back after this rest menstruum .
The third stage introduces three rows of lightning that travel across the country . wind between them ( they ca n’t be dodge through , as you may see from my error in the video recording ) , and then keep attacking and throwing crystals until you get the better of her . I ca n’t give you any more advice than that . practiced luck .
Screenshot by Pro Game Guides
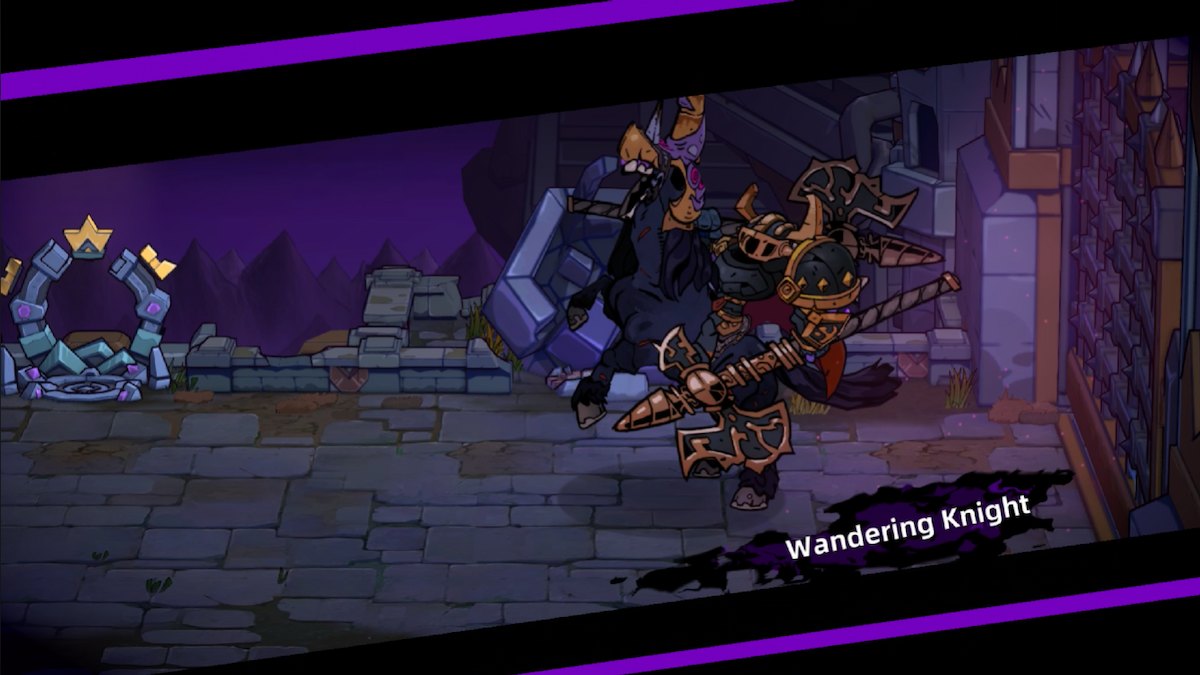
How to beat the Wandering Knight
I was stick on the Wandering Knight for AGES . I finally shoot down him with a bow , but I think any ranged weapon is a just idea when you ’re facing him .
The Wandering Knight has two leg : Horseback and armored . When the Knight is on horseback , you may anticipate a mickle of charging attacks and rushes of rock candy that jaunt towards you . Dodge WIDE , or you ’re move to get hit . I ’d have your bombs fit for this fight , you ’re going to necessitate them to do more ranged damage .
If you are n’t using a prow , apply a artillery that allows you to charge . When using a prow , you should attack from behind and be fain to move . When using a charge skill , you’re able to break loose quicker than you’re able to with a bow , but it ’s still easy to dodge the Knight ’s attacks if you stay above or below him when you ’re not actively attacking .
Screenshot by Pro Game Guides
When you ’ve finally de - horsed the Knight , you get to expend some clip run around to evade his whirlwind attacks . He wields a gigantic two - handed sword , which has more of a compass than you may retrieve . Again , keep using bomb and time your attack for his rest period - it ’s light , though . Really , really short .
Keep your length , keep roll or charging out of the way , and use your bomb calorimeter to get the most effective damage .
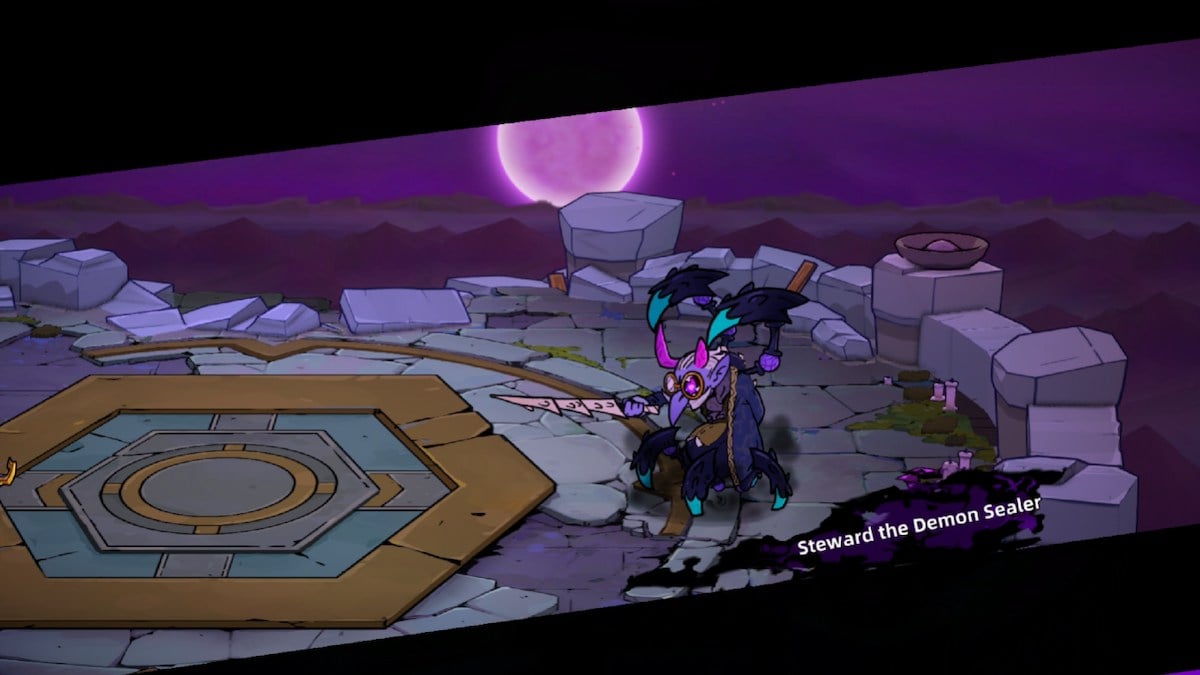
How to beat Steward the Demon Sealer
The Demon Sealer is n’t the military issue , it ’s the demon that is summoned later , but Steward is still annoying to nonplus .
Mostly , the return is his ultimate attack , which ca n’t be dodged . You want to go into this fight with max wellness and as much Alchemy Elixir as possible .
Where possible , stay put behind Steward ’s back as much as you may . His attacks are firm , and getting caught in any of them is a uncollectible idea .

Screenshot by Pro Game Guides
The best point to round him is when he stops to rest . There is a succession to calculate out for where he assault , balance , flies upwards , rests , and then moves into his ultimate . The 2d resting full point here is the longest , and I highly recommend taking advantage .
Once you ’ve at long last taken Steward out , the literal final boss appears .
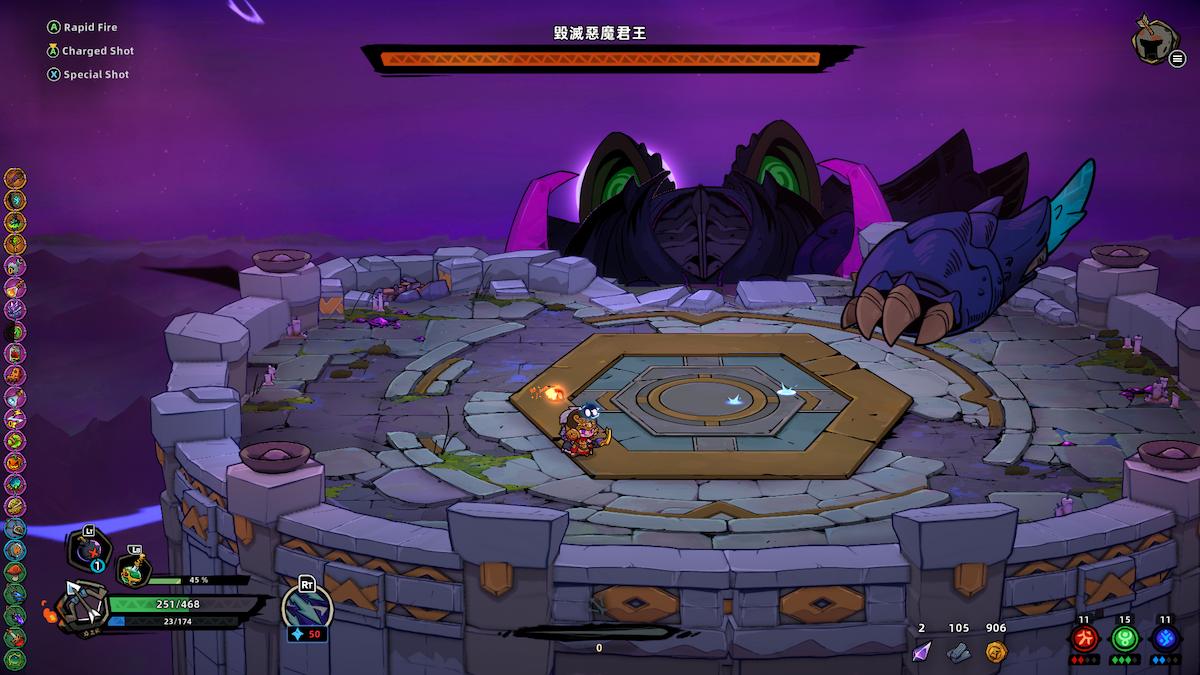
How to beat the final boss in Lost Castle 2
A word of word of advice : Do not attempt to set on the final boss ' arms . It ’s not deserving it .
For this boss , you ’ll desire to centre on attacking his other appendages and , when the meter comes , his head . Like Steward , there ’s a lot of evade and running around involved . This guy has lightning , lasers , and a bunch of other damaging onslaught .
There are two independent points in the scrap you want to wait for so that you may attack . One is much safer , but less frequent because the demon needs to lose wellness first for it to find .
Screenshot by Pro Game Guides
As such , here ’s the first one . you could set on the fountainhead for the first fourth dimension flop after this , but the next few attacks to the head are much more hard to get to .
You ’ll have to make it through this second sequence , which is significantly more troublesome .
The 2nd he raises his forefront again , get out of the style .
Screenshot by Pro Game Guides
Here are the best damage - dodging techniques for this boss :
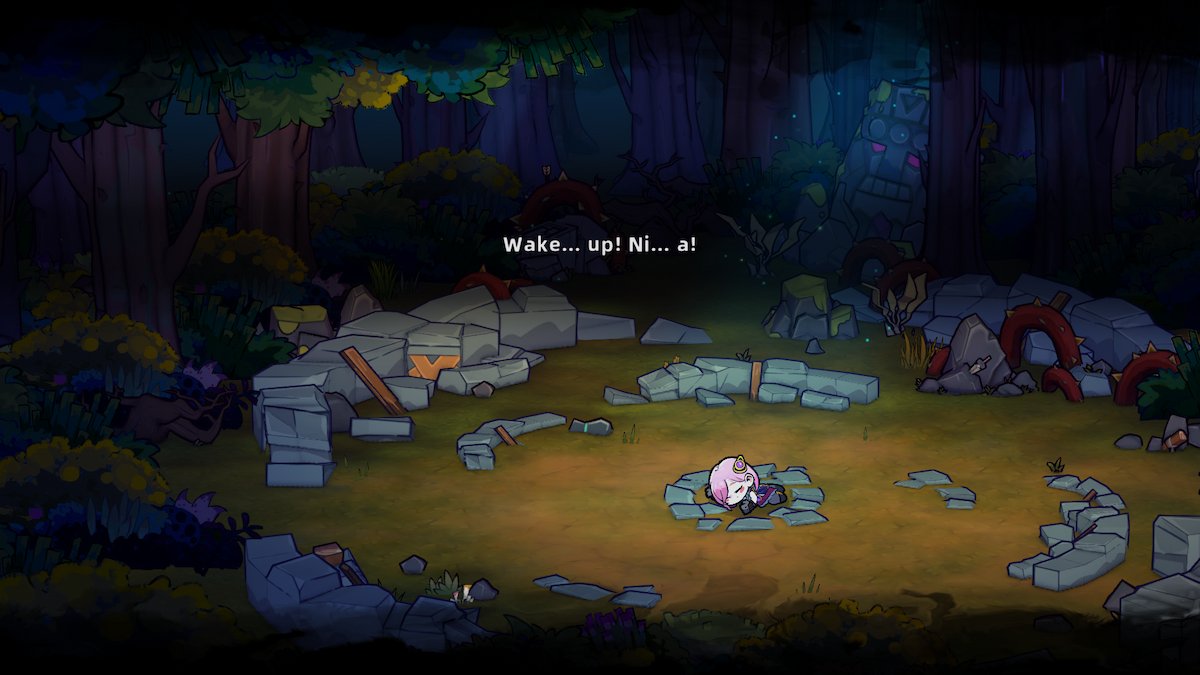
What to do when you beat the final boss in Lost Castle 2
Once you ’ve beat the final boss , you may simply continue to playact the biz . The last achievement in the game ’s plot line is to save Nia and overcome Steward the Demon Sealer . The final gaffer is a demon that pops up after you defeat Steward .
There are other achievements that you may crop on if you ’re a completionist . There are accomplishment for beating the game using each weapon case , so that ’s something you could aim towards . There are also over 100 Ethereal Treasures and almost 200 Weapons in the game , so you could test to find all of those , too , but you wo n’t get any achievements for attain those numbers .
My advice is to strain out co - op mode or just continue enjoying the plot solo . There are plenty of Camp Upgrades to work on , too !
Screenshot by Pro Game Guides
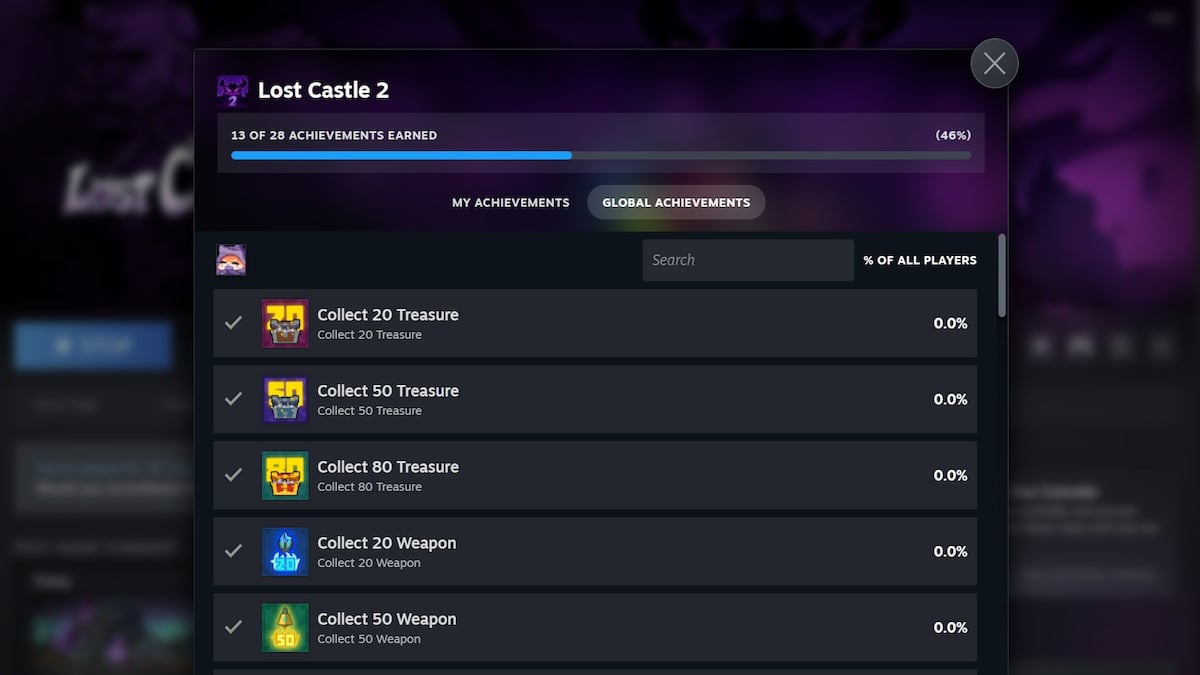
All Achievements in Lost Castle 2
There are 28 accomplishment that you may unlock on Steam while playing Lost Castle 2 . To unlock all achievements in Lost Castle 2 , complete these actions :
Additional Guides
need to check out other roguelike games ? Head over toTop 10 Best Roguelites and Roguelikes in 2024on Pro Game Guides .
Screenshot by Pro Game Guides
Screenshot by Pro Game Guides
Screenshot by Pro Game Guides
Screenshot by Pro Game Guides
Screenshot by Pro Game Guides
![]()
Screenshot by Pro Game Guides
![]()
Screenshot by Pro Game Guides
![]()
Screenshot by Pro Game Guides
![]()
Screenshot by Pro Game Guides
Screenshot by Pro Game Guides
Screenshot by Pro Game Guides
Screenshot by Pro Game Guides
Screenshot by Pro Game Guides
Screenshot by Pro Game Guides
