Life Is Strange : Double Exposure is a slice - of - life meets supernatural mystery adventure game that puts us back in the shoes of Max Caulfield , a young woman with sinful abilities behind a television camera lens system and within the fabric of time . There are numerous enigma to reveal at Caledon University , and our walkthrough will help you discover them all .
Life is Strange Double Exposure Chapter 1 Walkthrough - All Choices
In the following walkthrough for each chapter , we ’ve provided a concise and sequent guidebook for all objective lens , collectibles , crucial dialogue choice ( including possible consequences ) , and Snapshot locations .
Nebula Bowling Alley
Snapping Turtle Bar
Astronomy Roof and Finding Safi
Max’s Dorm and Reggie’s Box Puzzle
Admin Building
Fine Arts Building, Moses at the FAB Cafe, and Max unlocks new abilities
Life is Strange Double Exposure Chapter 2 Walkthrough
From this chapter onward , you need to make function of yourPulseandShiftabilities at every opportunity to explore the’Living ' and ' Dead ' worlds(Safi is active in the ' Living ' world and idle in the ' Dead world ) and bring out all possible clues and collectibles .
Snapping Turtle
Vinh and Diamond at North Quad
Lucas' Briefcase and the Restraining Order
Gwen’s Office
Cracking Vinh’s Phone
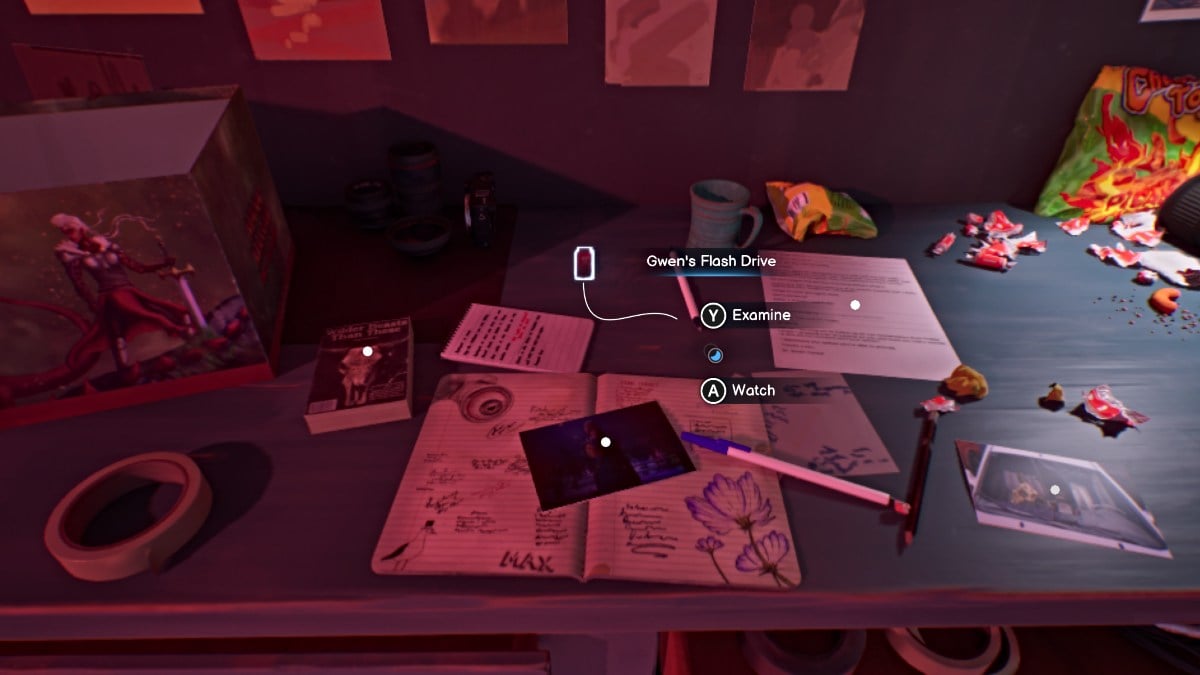
The Overlook and Gwen’s Flash Drive
Breaking Into Moses' Office and Constellation Puzzle
Box Puzzle (Part 2) and the Dark Room
Life is Strange Double Exposure Chapter 3 Walkthrough
Dark Room and Max Rewinds
The Overlook and Alderman’s Fate
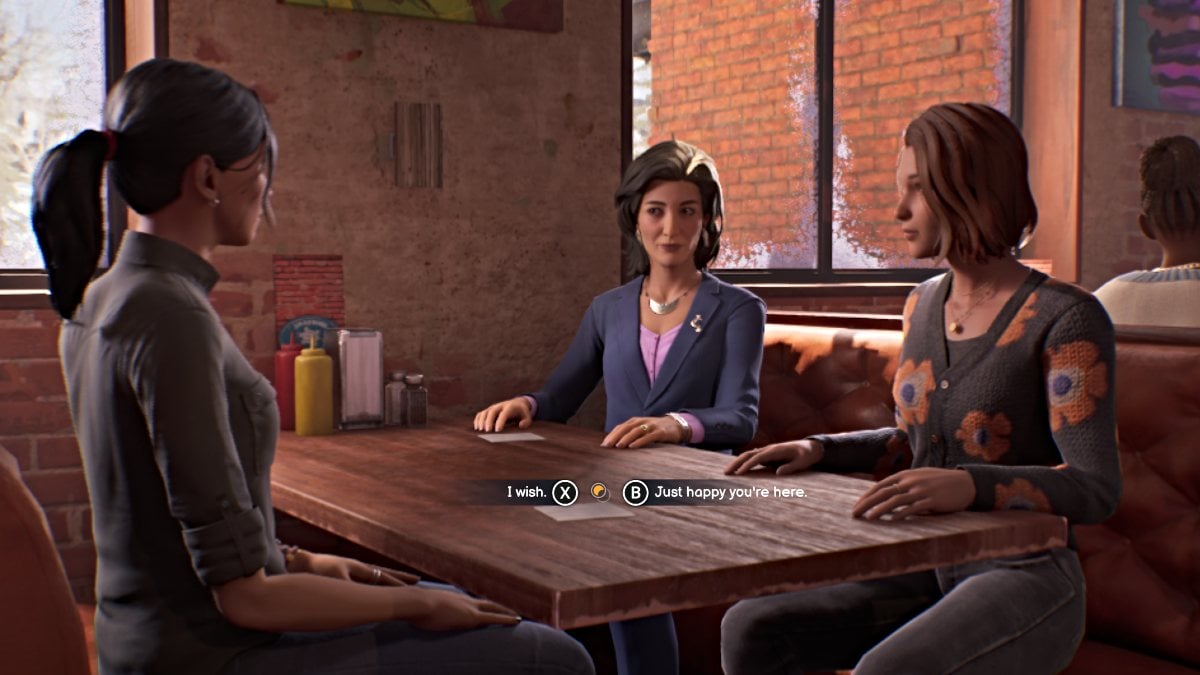
Meeting Gwen and Yasmin
Vinh and Diamond
Search Lucas' Office
Wrecked Dorm and Chasing Max’s Doppelganger
Life is Strange Double Exposure Chapter 4 Walkthrough
Confront Safi
Snapping Turtle Krampus Party and Operation Expose Lucas
Find Safi in the storm
Life is Strange Double Exposure Chapter 5 Walkthrough
The Eye of the Storm
Blackwell Academy and Nebula Bowling Alley
Snapping Turtle, The Motel, and Back Again
Free of the Storm
Life is Strange Double Exposure Endings Guide
There aretwo endingsin Life is Strange : Double Exposure , and both are primarily influenced by the major determination you make in Chapter 5 with Safi .
There are also various issue for the secret plan ’s brook characters ( for example Yasmin , Gwen , Loretta ) that hinge on how you interact with them throughout the game and any decisions you make that otherwise affect them . you’re able to witness those outcomes by talking to all of those characters after the storm in Chapter 5 .
Ending 1 - Safi feels betrayed and recruits Diamond
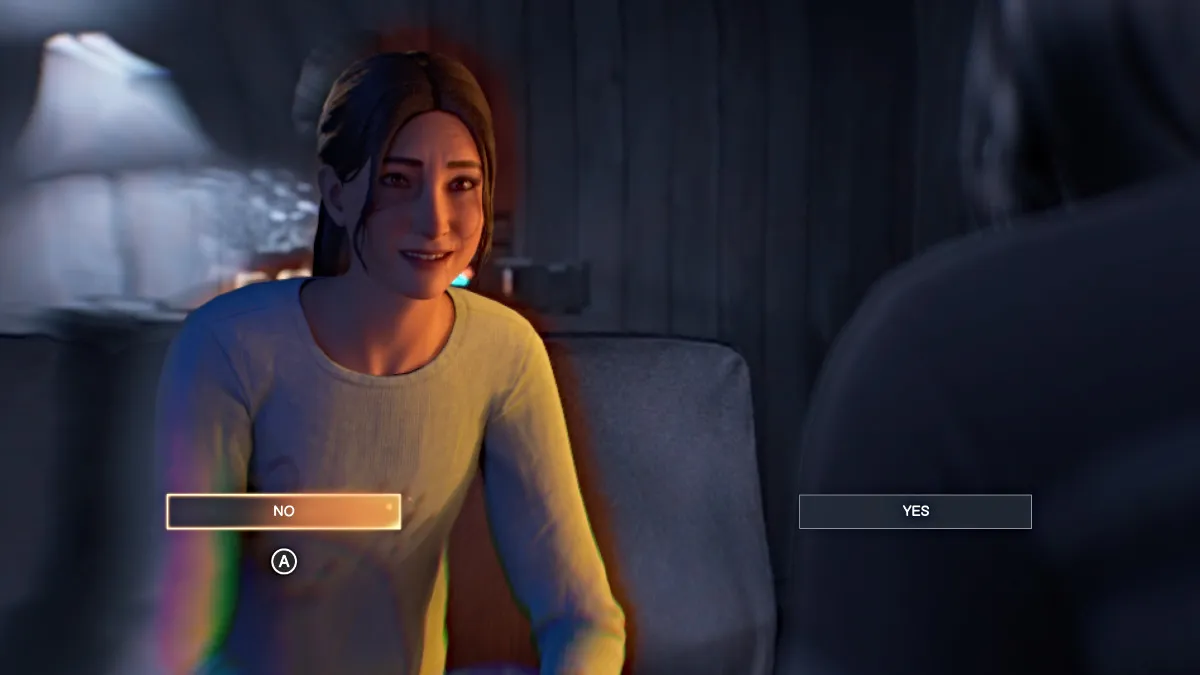
You will encounter this endingif you ' Refuse ' to support Safiin the first half of Chapter 5 when she ask Max to stay by her side when she returns from her journey .
Safi will palpate abandoned by Max , shapeshift back into " Other Max " out of spite , and leave Caledon alone .
After the credits , Diamond find herself get nosebleeds , revealing that she has top executive of her own ( though they are n’t explicitly show ) . She panic and Safi suddenly appears behind her , offer another hankey and a chance to understand what ’s happening to her . ball field leaves with Safi and the tantrum ends .

Ending 2 - Safi trusts Max and recruits Diamond
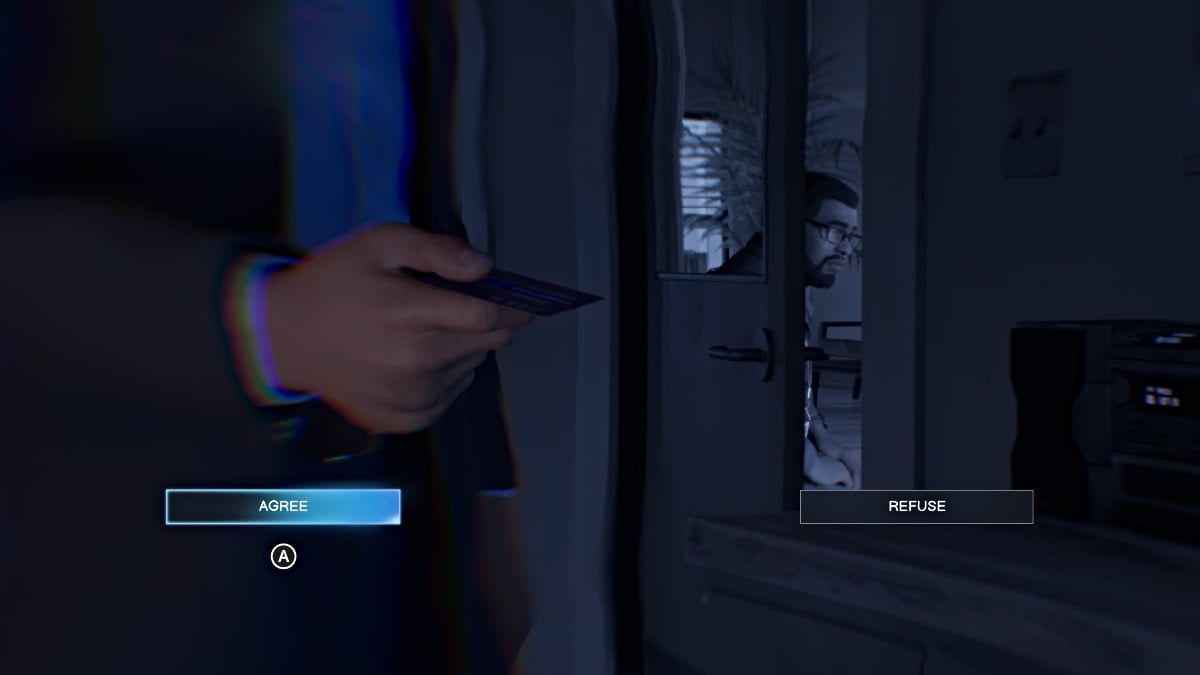
You will receive this endingif you ' Agree ' to support Safiin the first one-half of Chapter 5 when she asks Max to stay by her side when she returns from her journey .
Safi will feel jutting and continue to bank Max , giving her a hug before she impart Caledon alone , as herself .
Be sure to check out all of our modish play usher and news for Life is foreign two-fold Exposure here at Pro Game Guides such asLife is Strange : Double Exposure has a new feature for completionist players .

Max Caulfied - Screenshot by Pro Game Guides
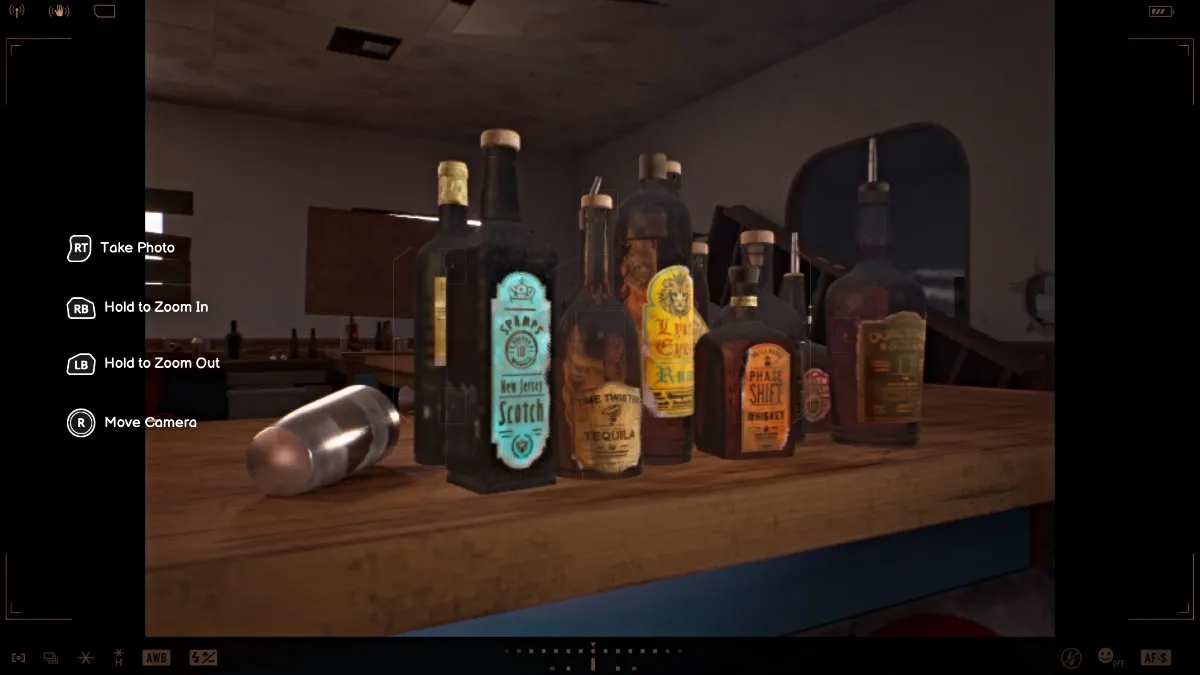
Camera Menu - Screenshot by Pro Game Guides
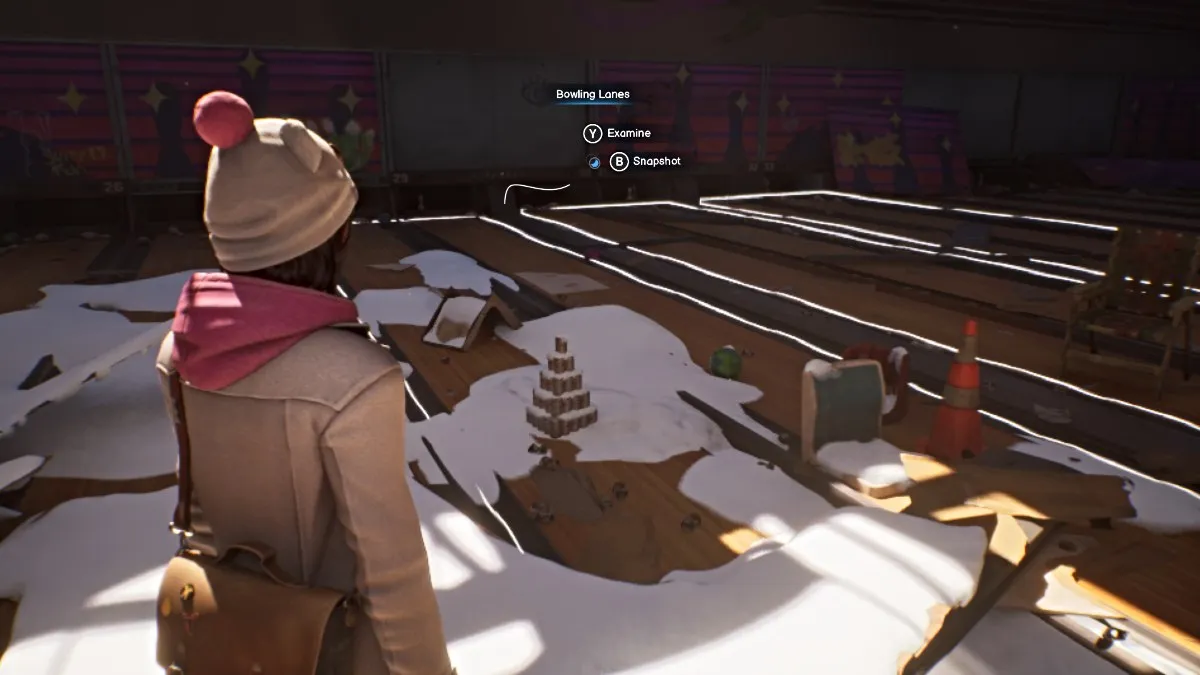
Bowling Lane Snapshot spot- Screenshot by Pro Game Guides
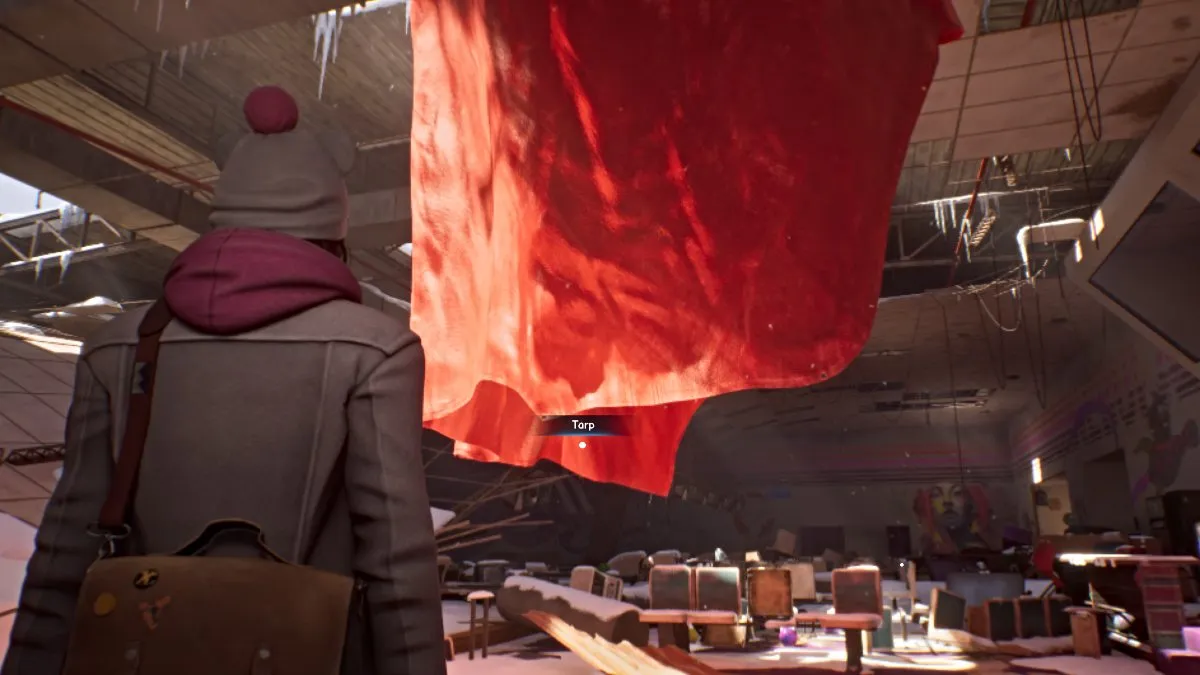
Pull the Tarp objective - Screenshot by Pro Game Guides
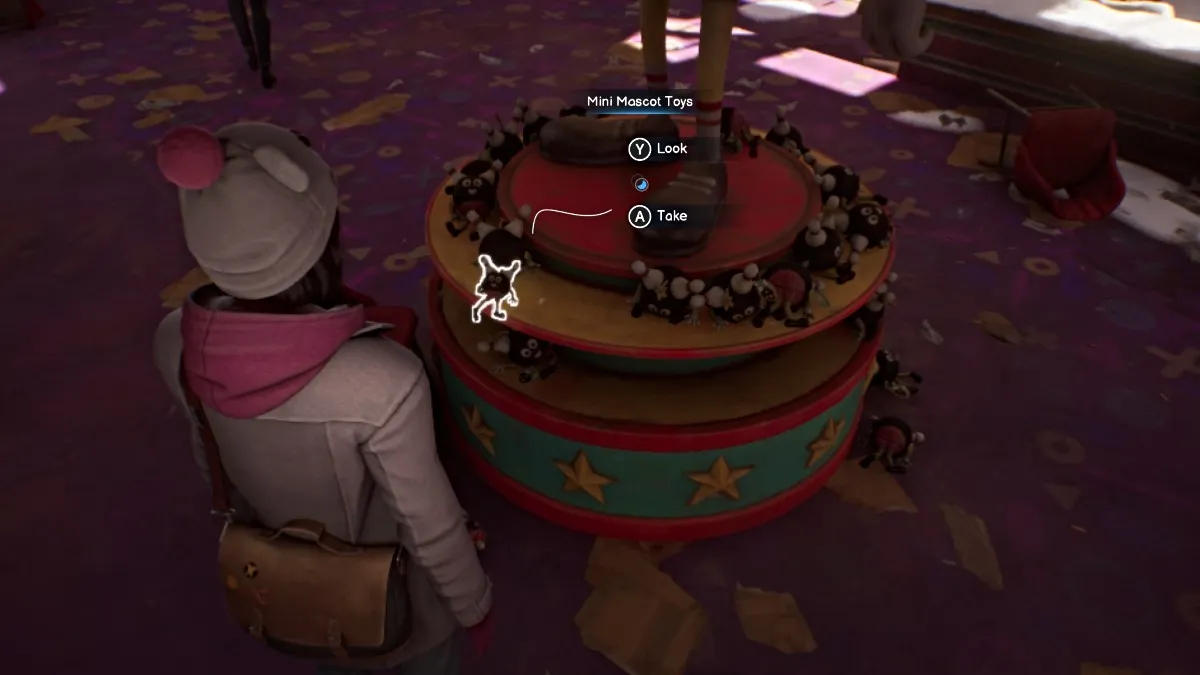
Mini Mascot Toy - Screenshot by Pro Game Guides
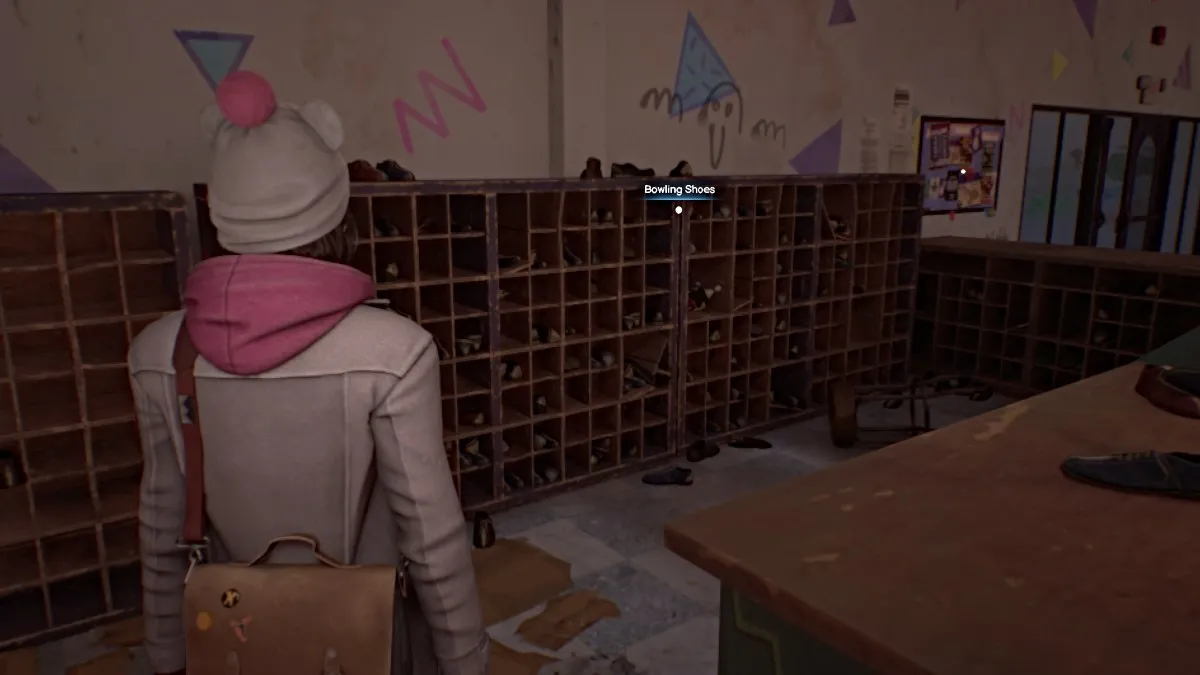
Bowling Shoes Snapshot point - Screenshot by Pro Game Guides

Shortcut to second floor - Screenshot by Pro Game Guides
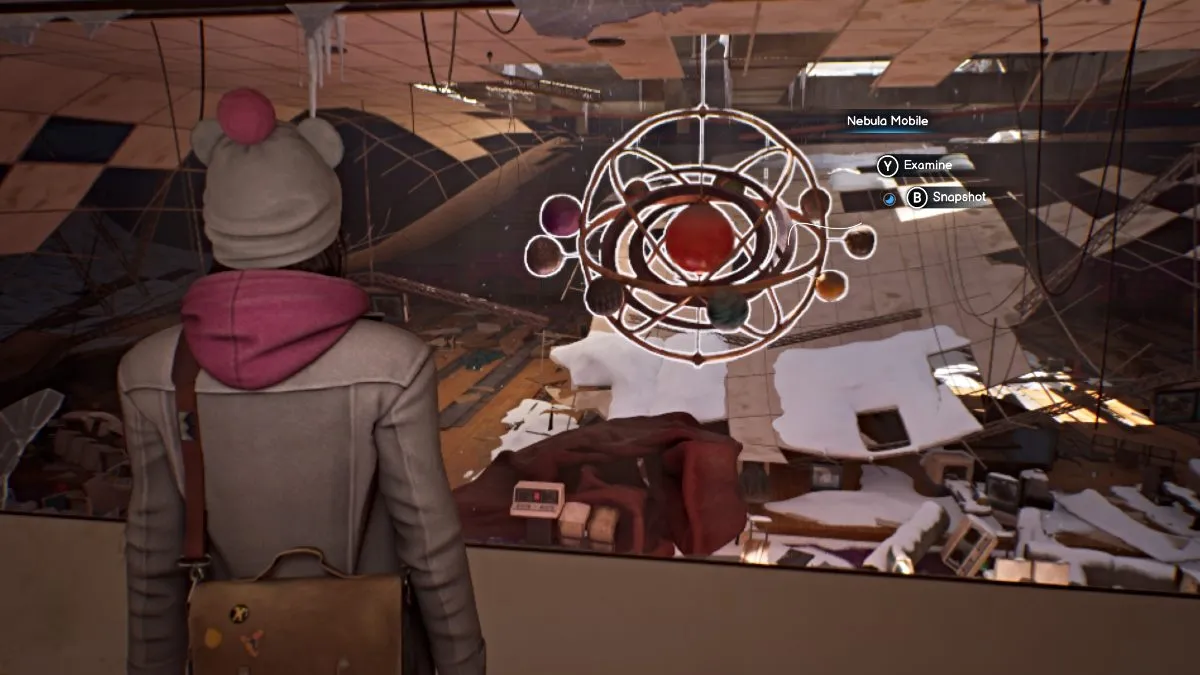
Nebula Mobile photograph spot - Screenshot by Pro Game Guides

Truth about Chloe Price choice - Screenshot by Pro Game Guides
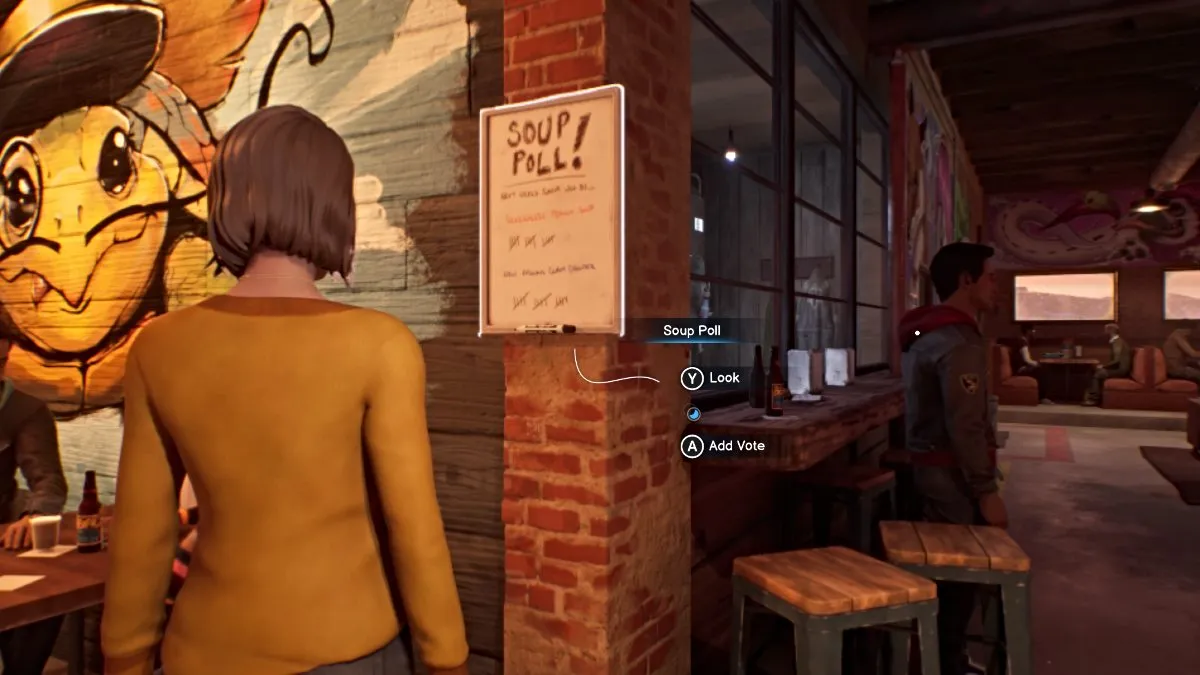
Vote in the Soup Poll - Screenshot by Pro Game Guides
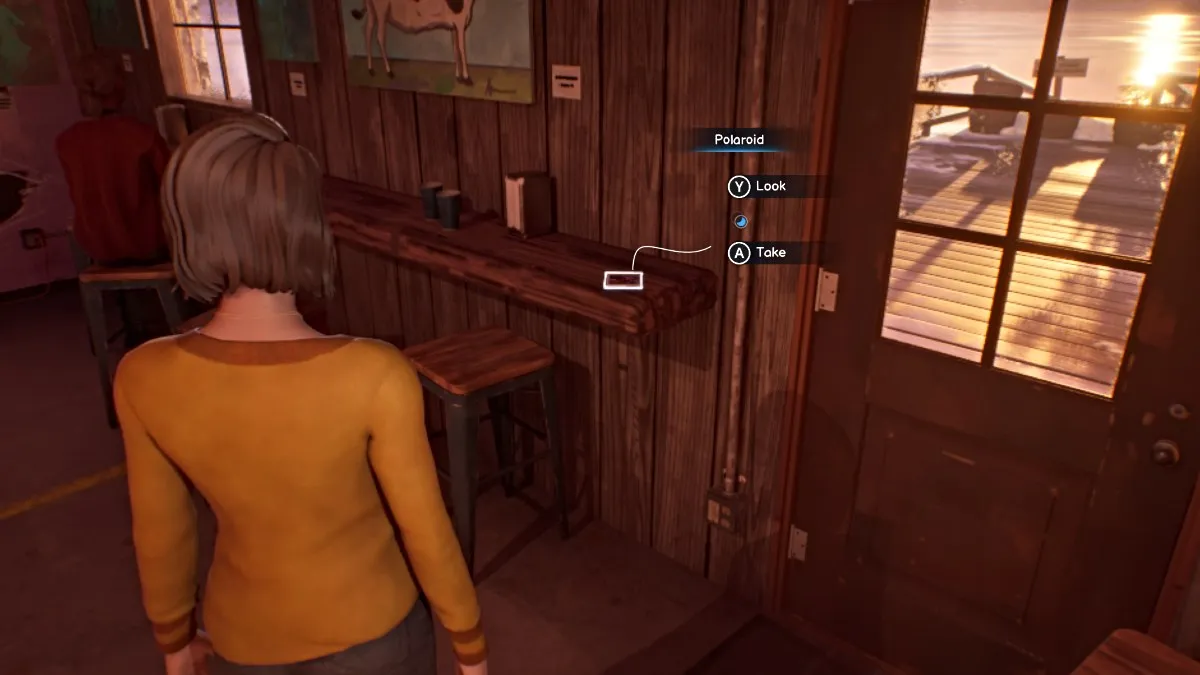
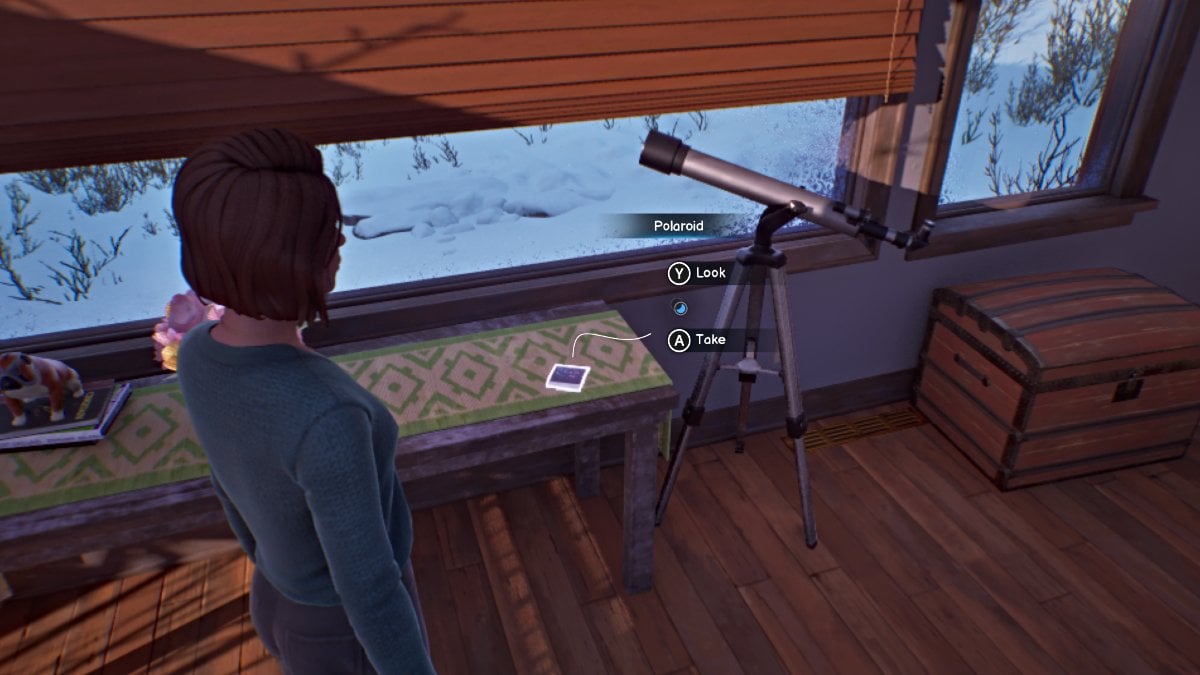
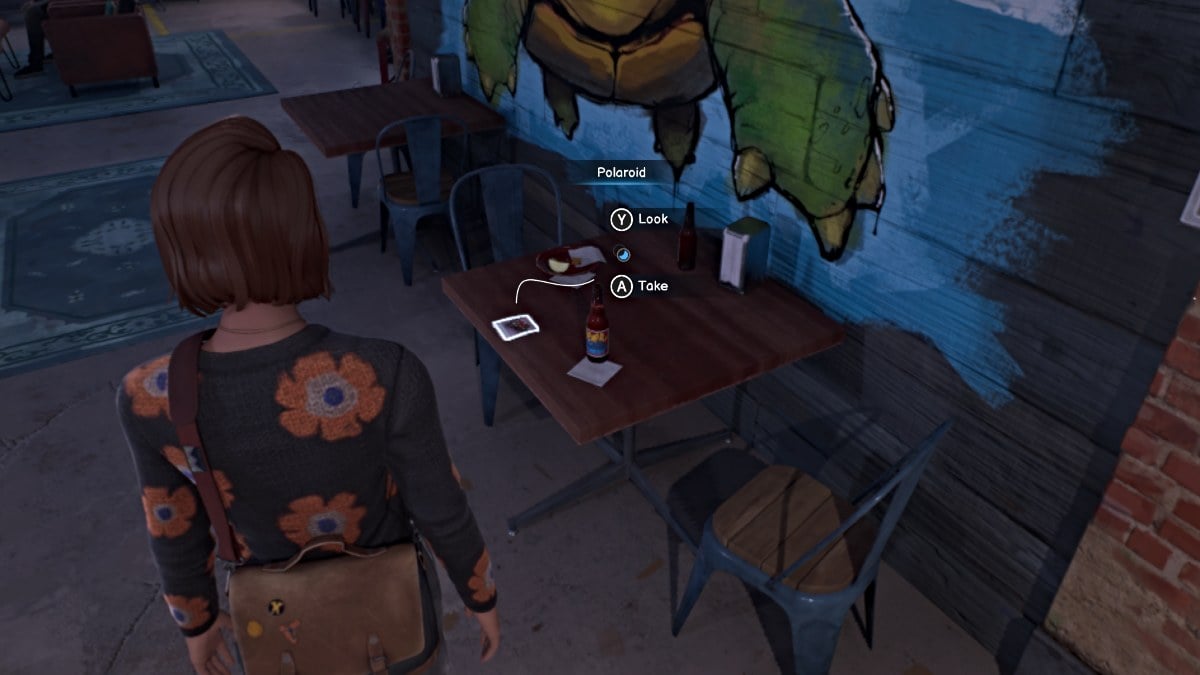
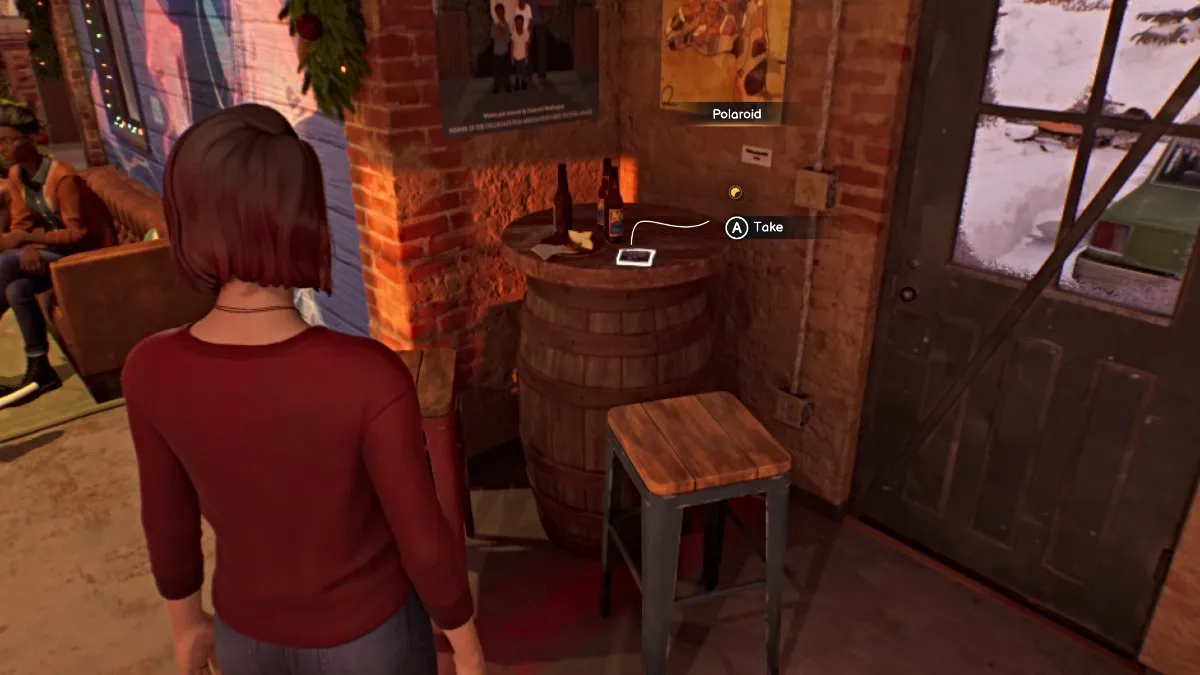
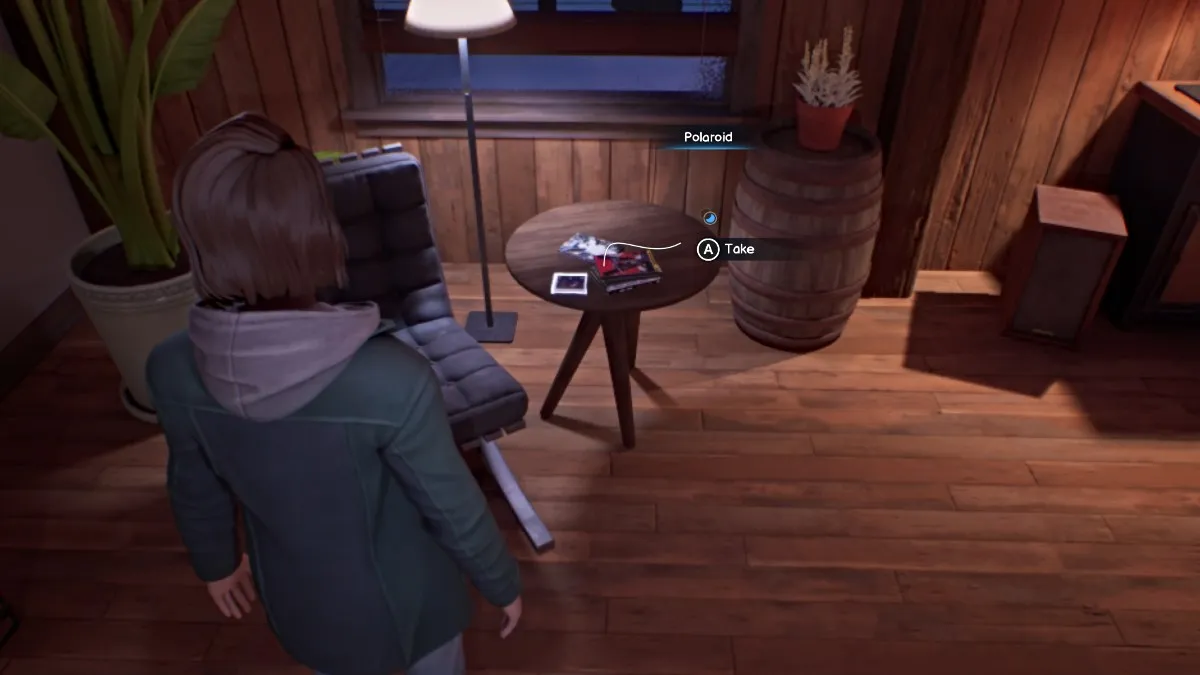
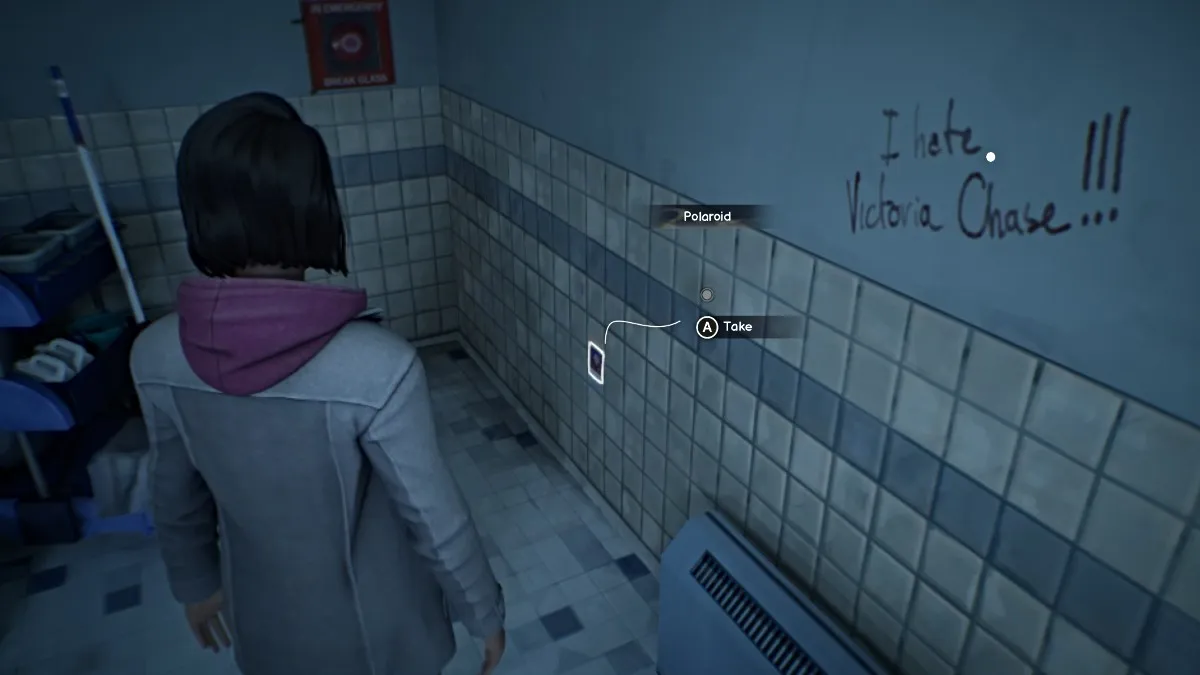
Polaroid 1 - Screenshot by Pro Game Guides
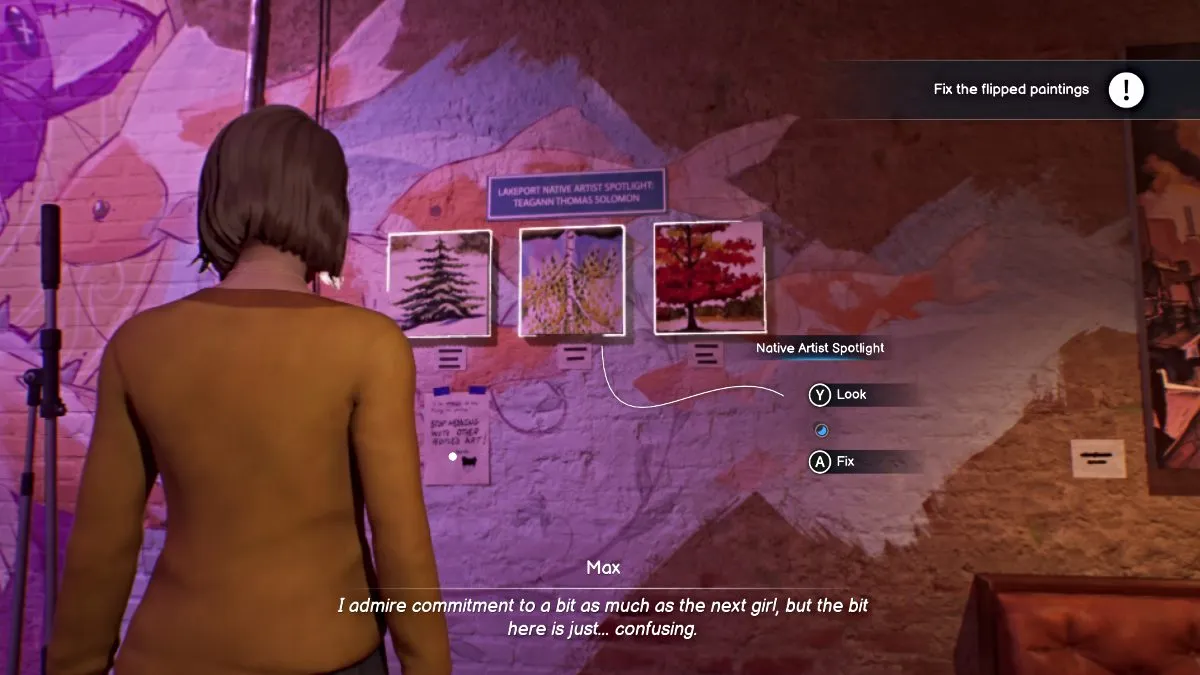
Fix the painting series - Screenshot by Pro Game Guides
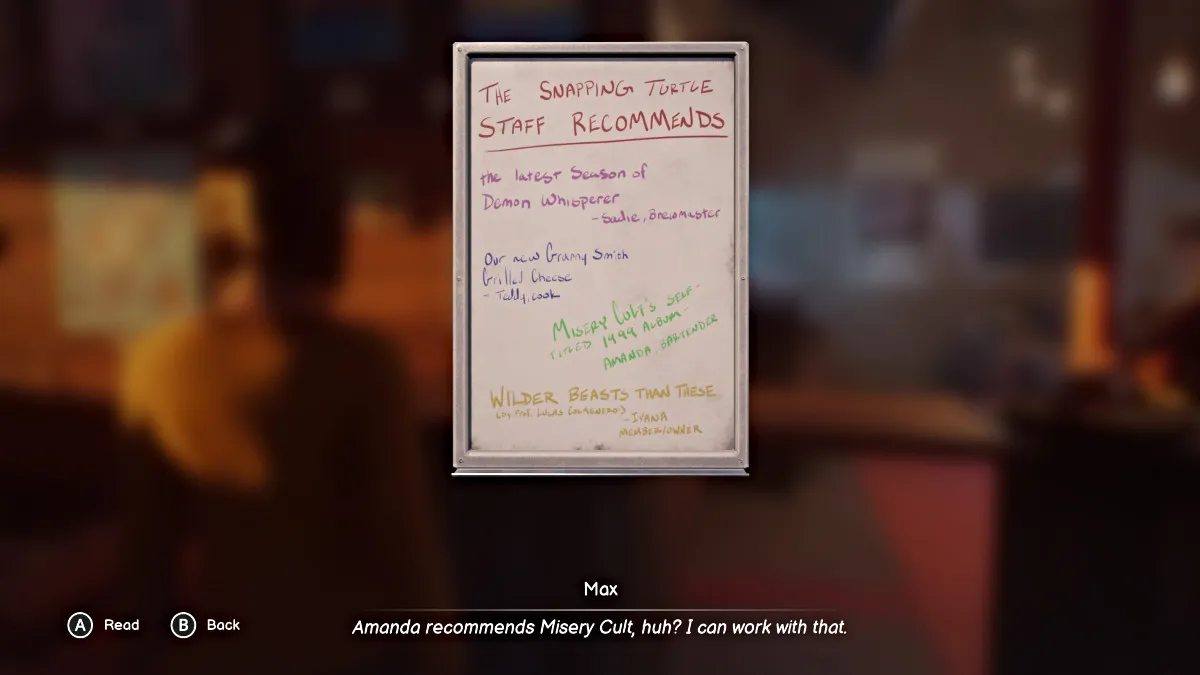
Amanda’s Misery Cult recommendation - Screenshot by Pro Game Guides
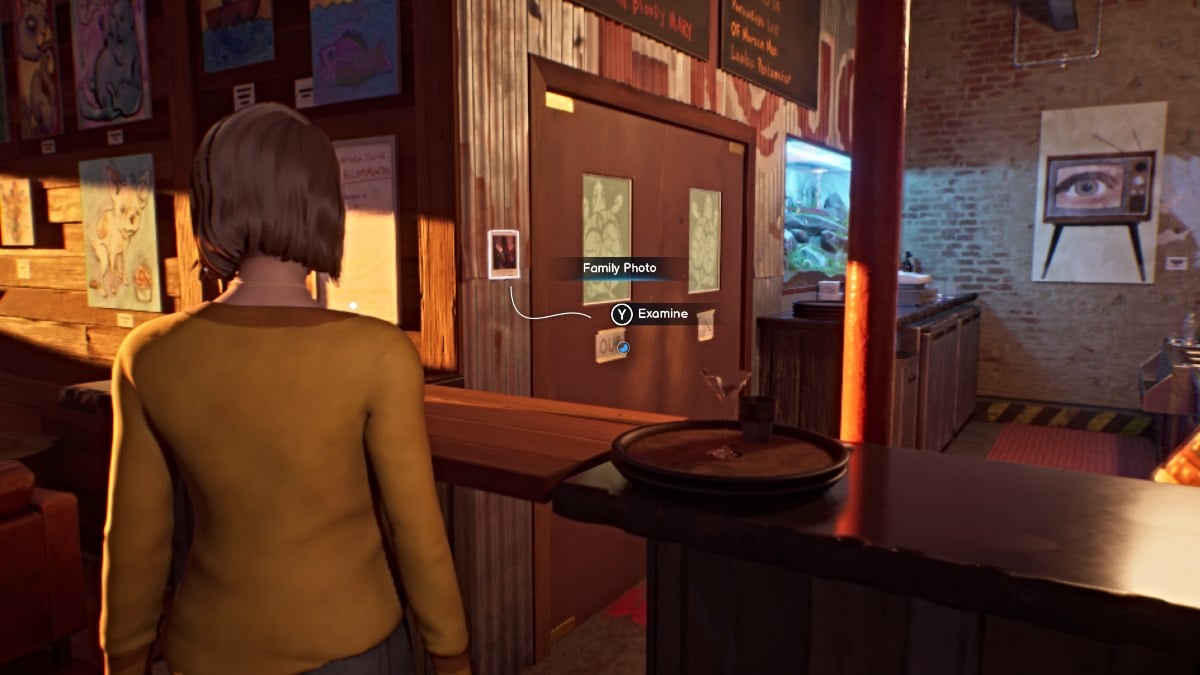
Amanda’s Family Photo - Screenshot by Pro Game Guides

Choose a Mug - Screenshot by Pro Game Guides
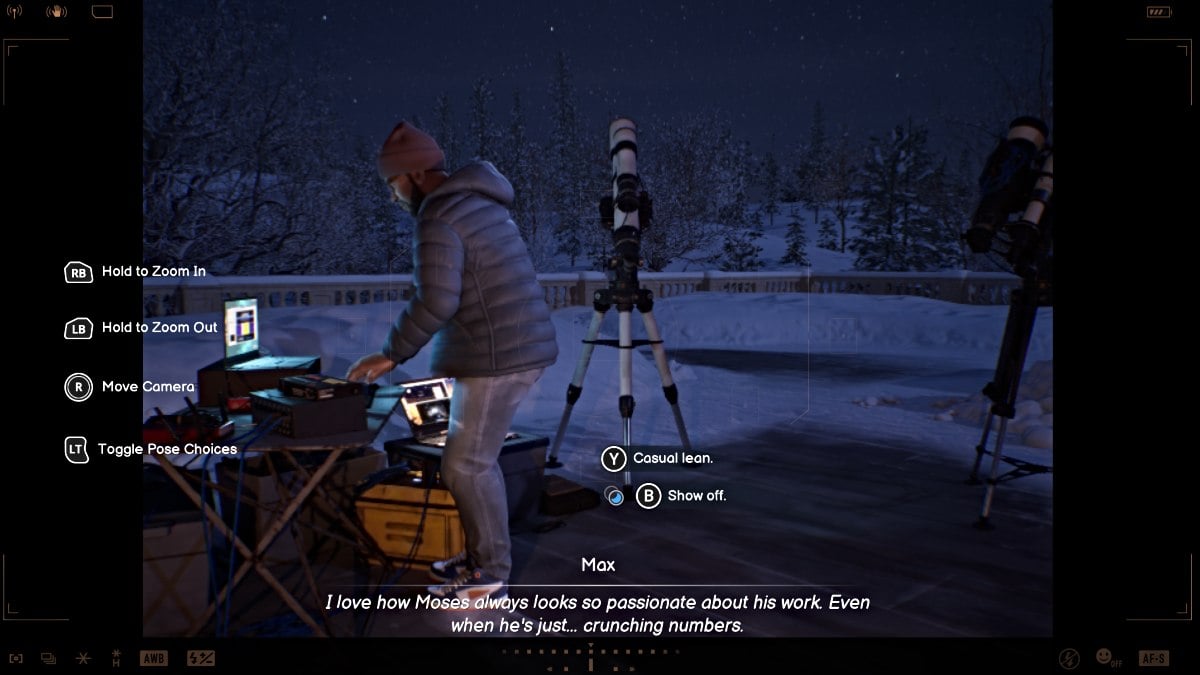
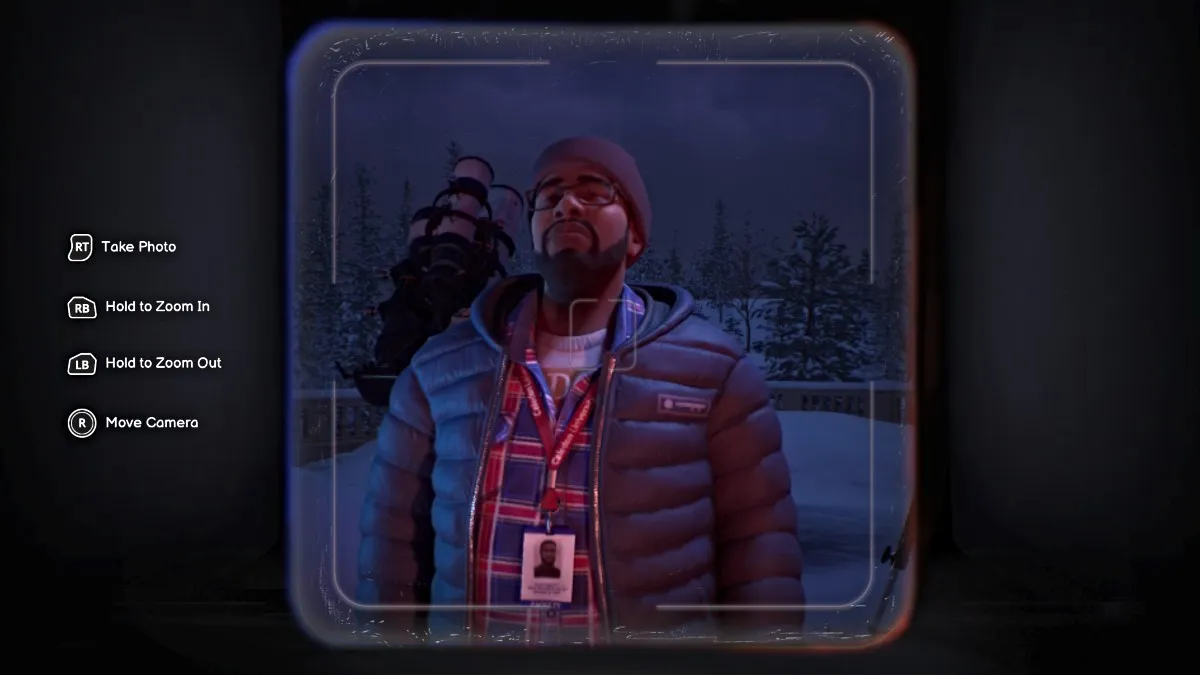
Moses Snapshot point - Screenshot by Pro Game Guides
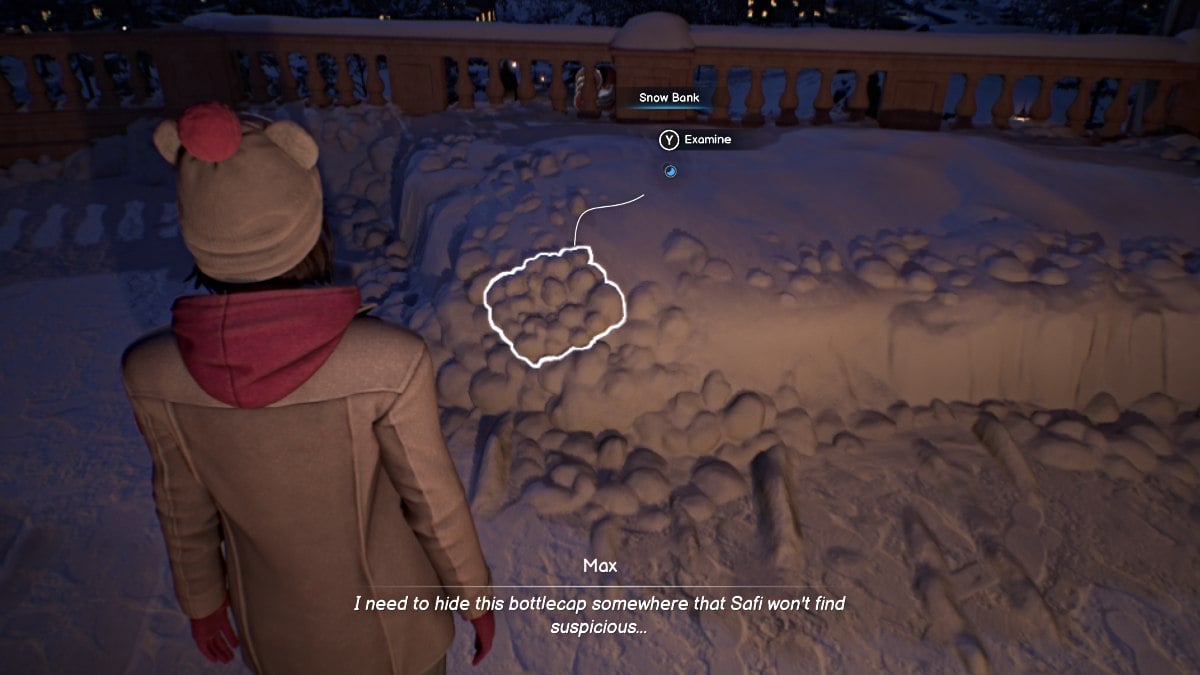
Hide the bottlecap in the snow option - Screenshot by Pro Game Guides
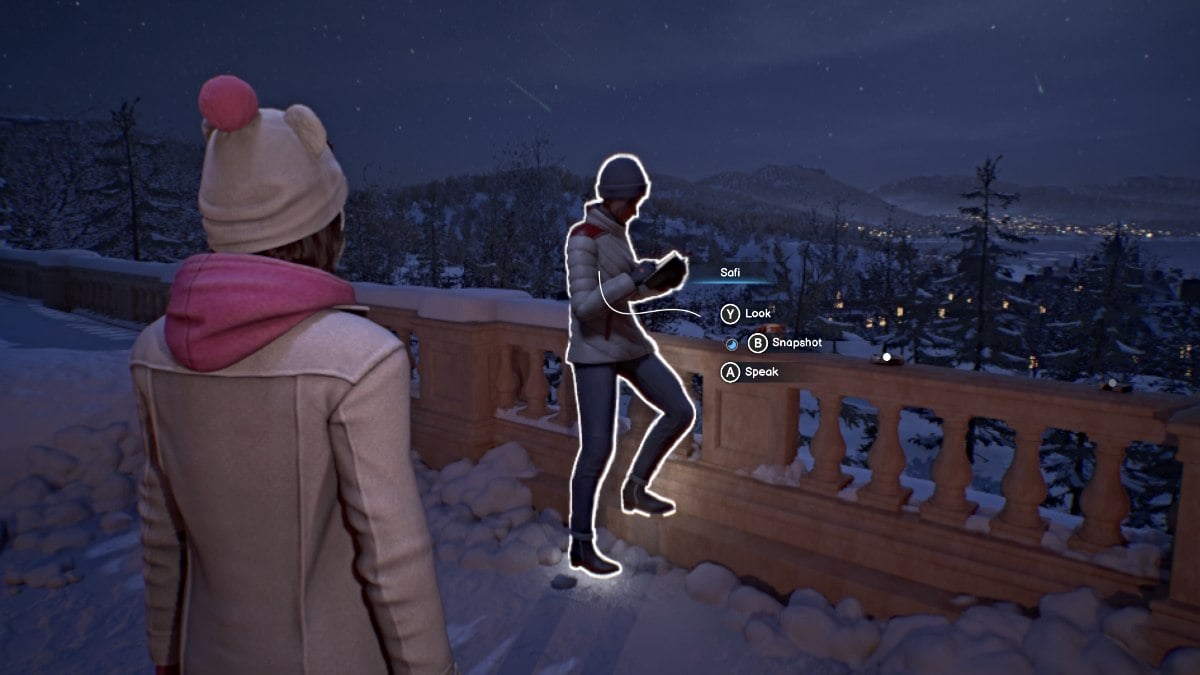
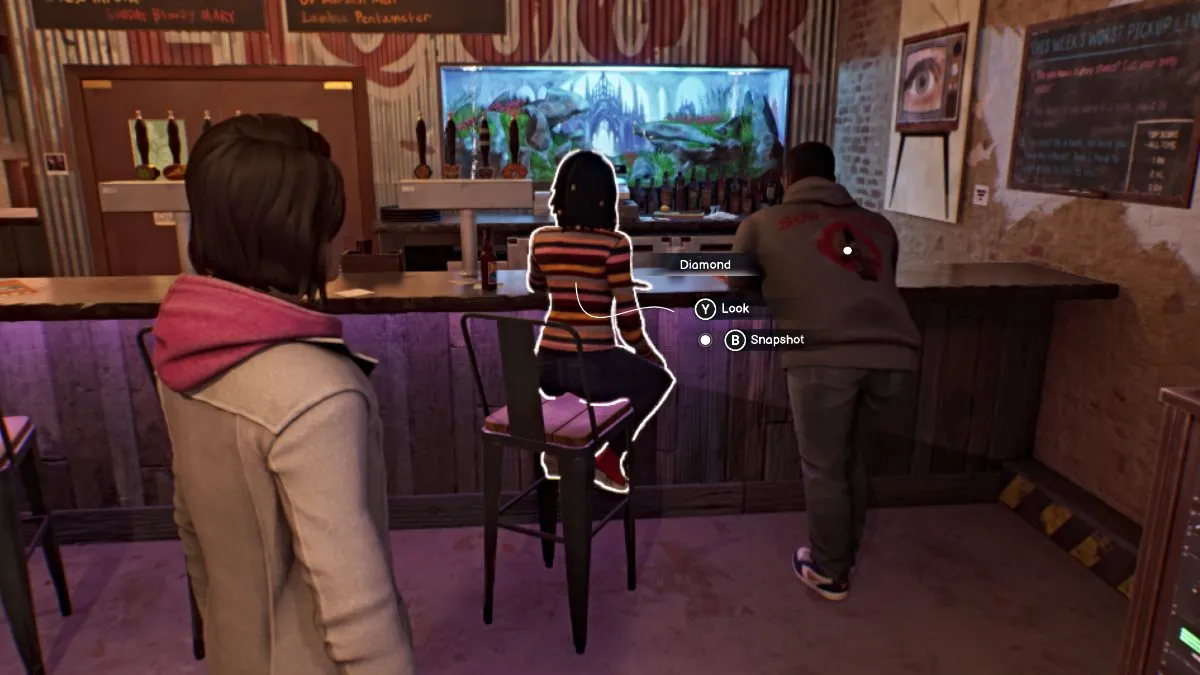
Safi Snapshot point - Screenshot by Pro Game Guides
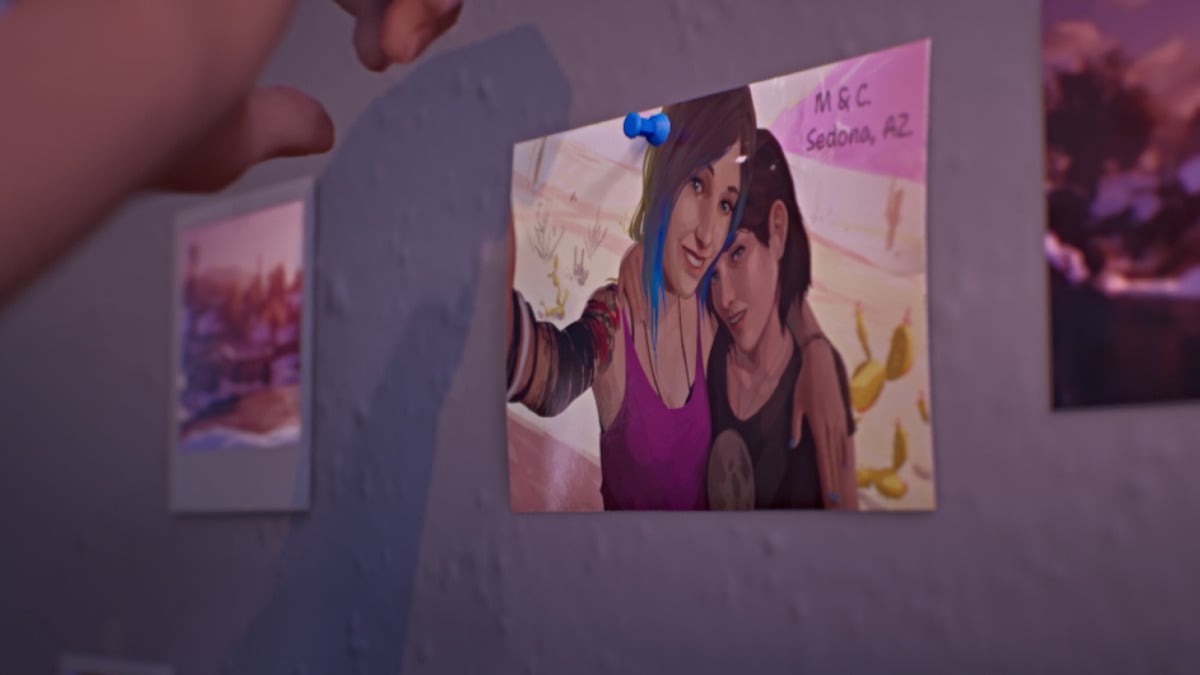
Photo of Chloe and Max - Screenshot by Pro Game Guides
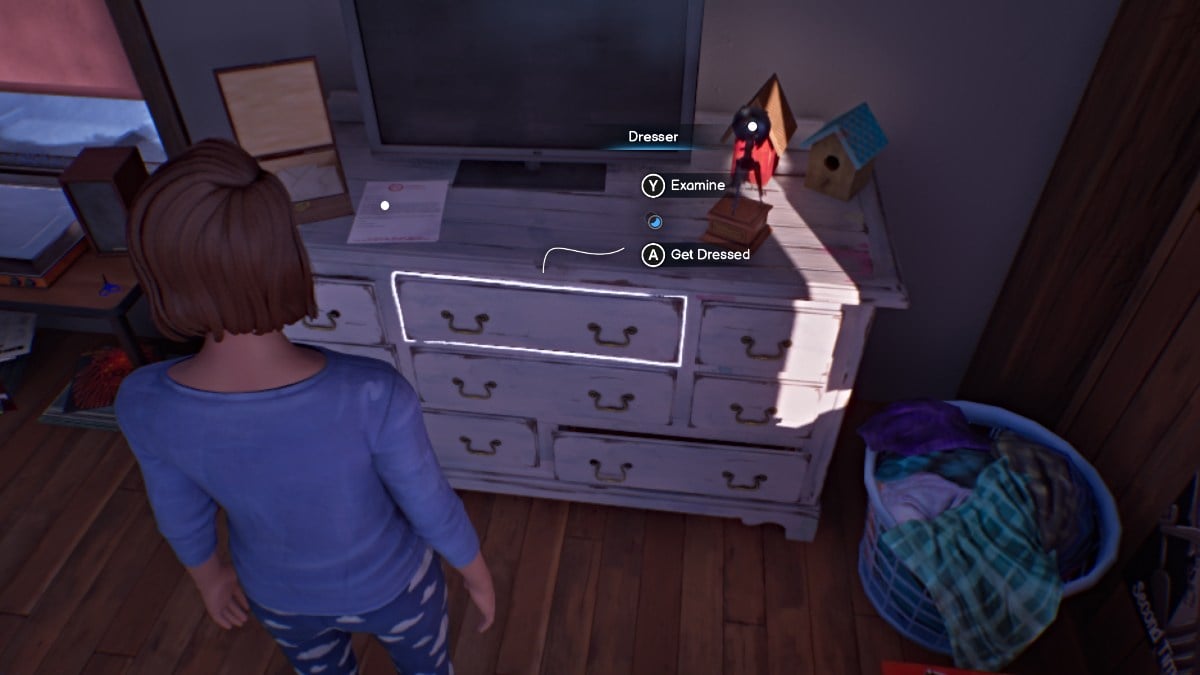
Max’s Dresser - Screenshot by Pro Game Guides
Max’s Dresser - Screenshot by Pro Game Guides
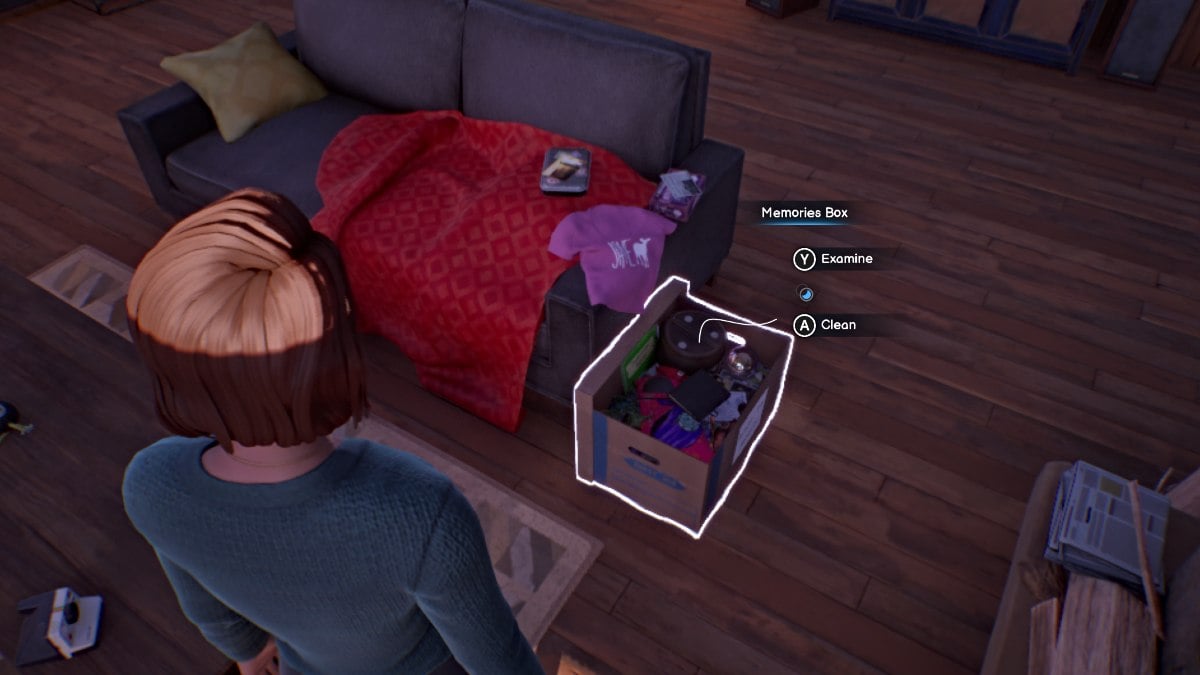
Clean the Memories Box - Screenshot by Pro Game Guides
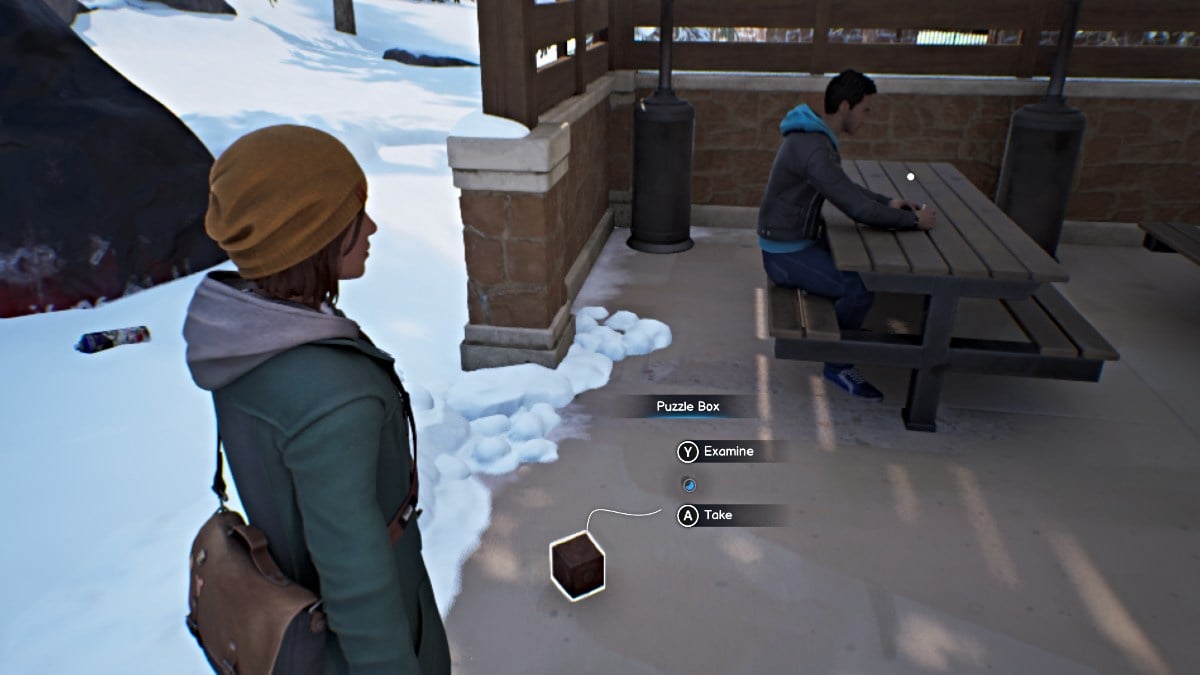
Box Puzzle Item - Screenshot by Pro Game Guides
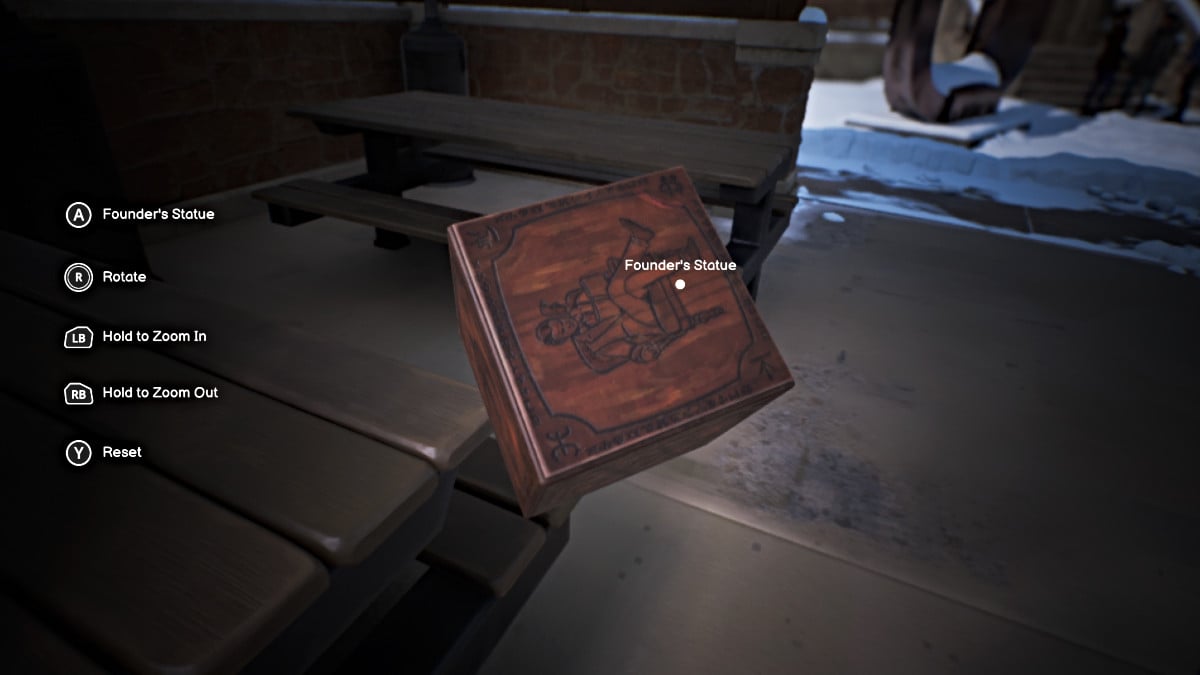
Founder’s Image on the Box Puzzle - Screenshot by Pro Game Guides
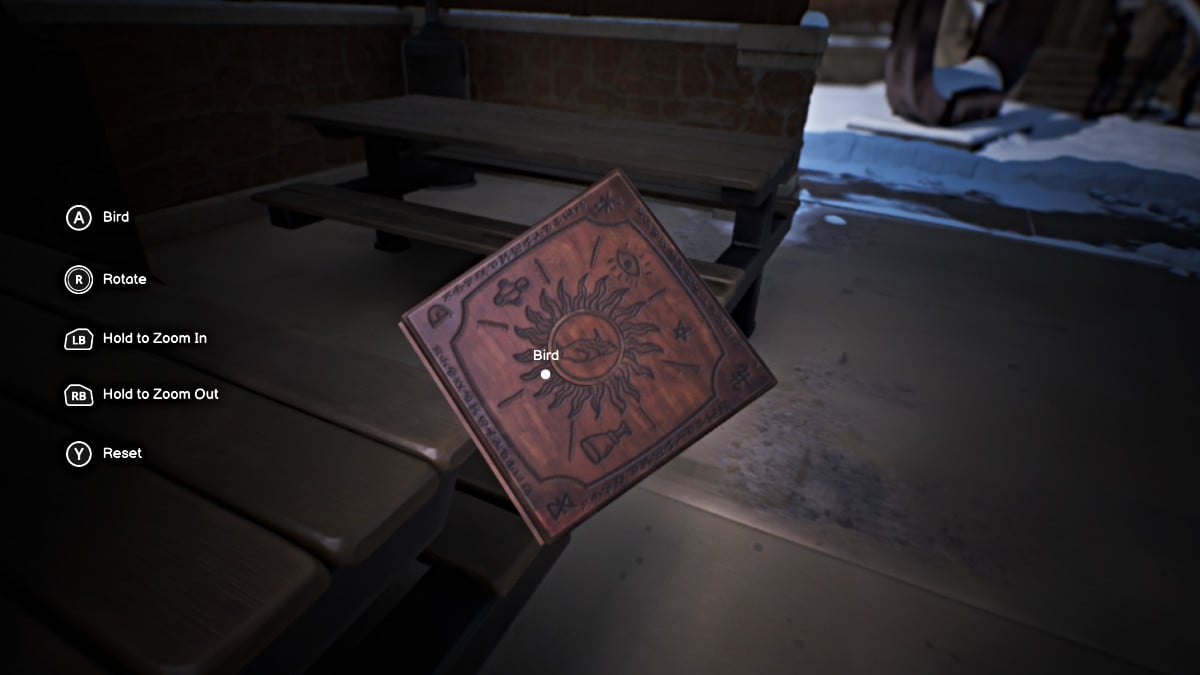
Bird’s image on the Box Puzzle - Screenshot by Pro Game Guides
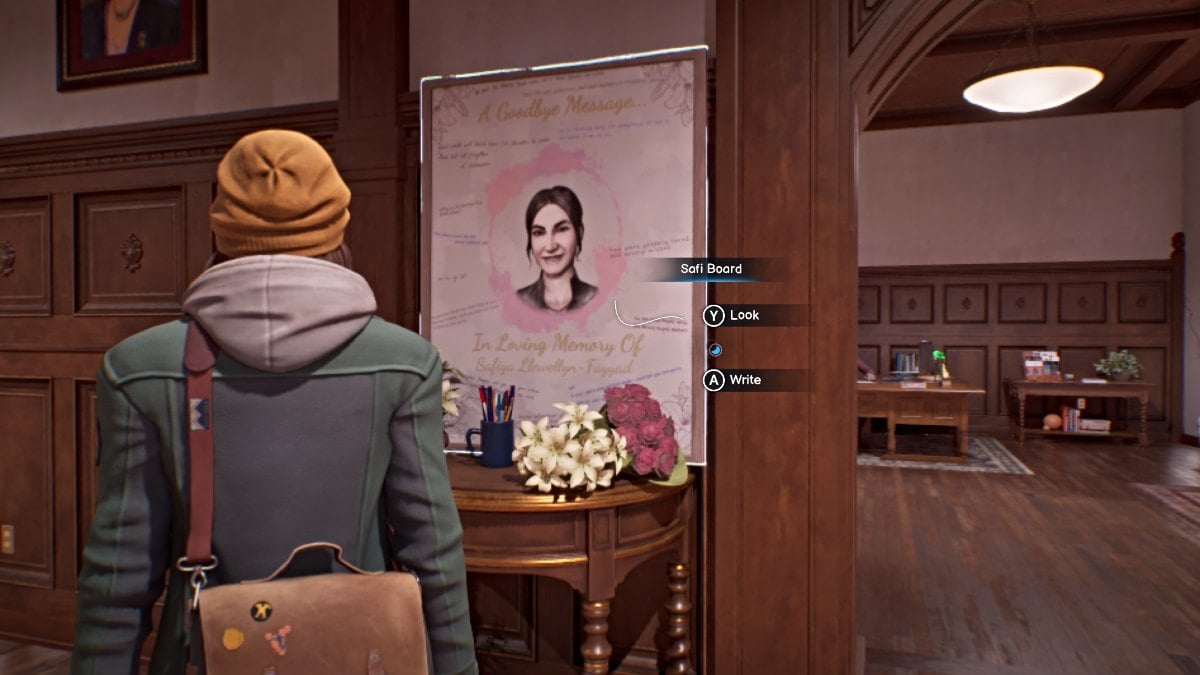
Sign Safi’s board - Screenshot by Pro Game Guides
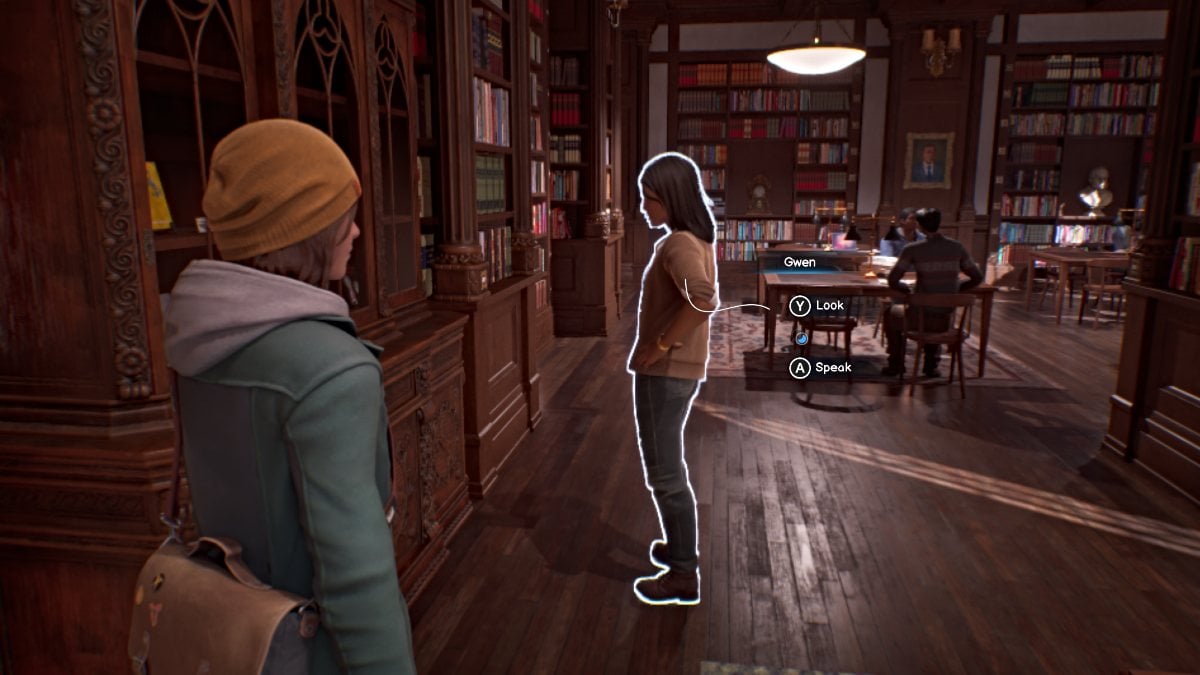
Talk to Gwen - Screenshot by Pro Game Guides
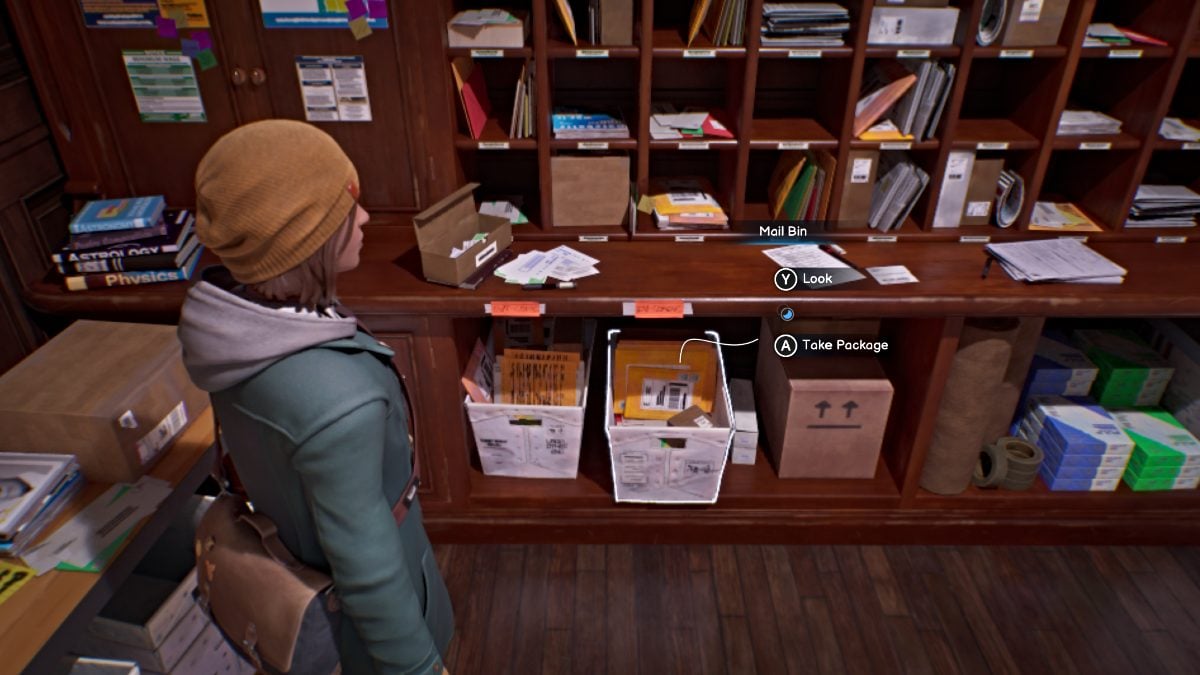
Vinh’s package in the mail room - Screenshot by Pro Game Guides
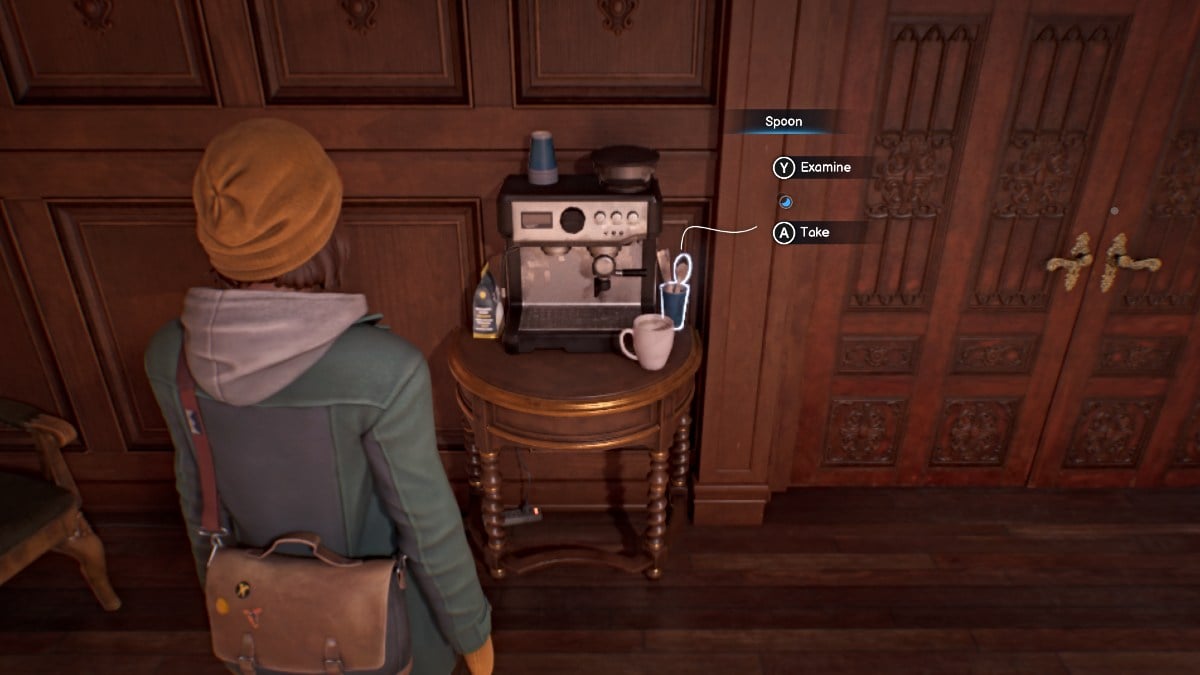
Grab the spoon to unlock the cabinet - Screenshot by Pro Game Guides

Yasmin asks about Safi’s state of mind - Screenshot by Pro Game Guides
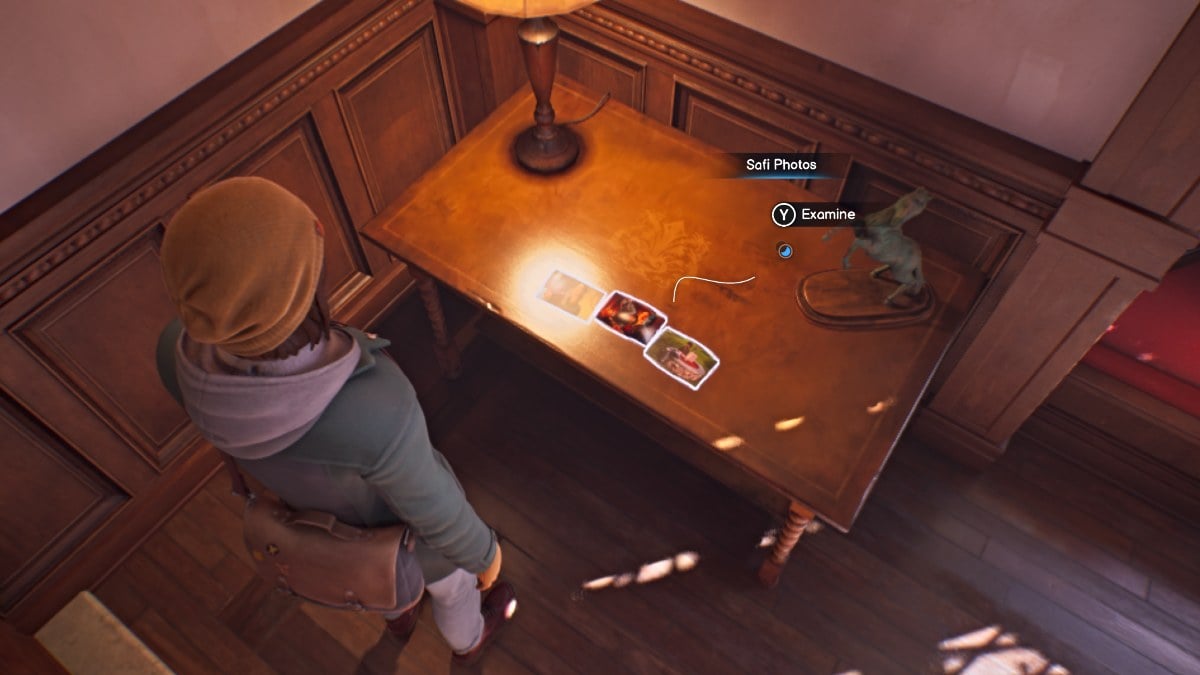
Pick one of Safi’s photos - Screenshot by Pro Game Guides

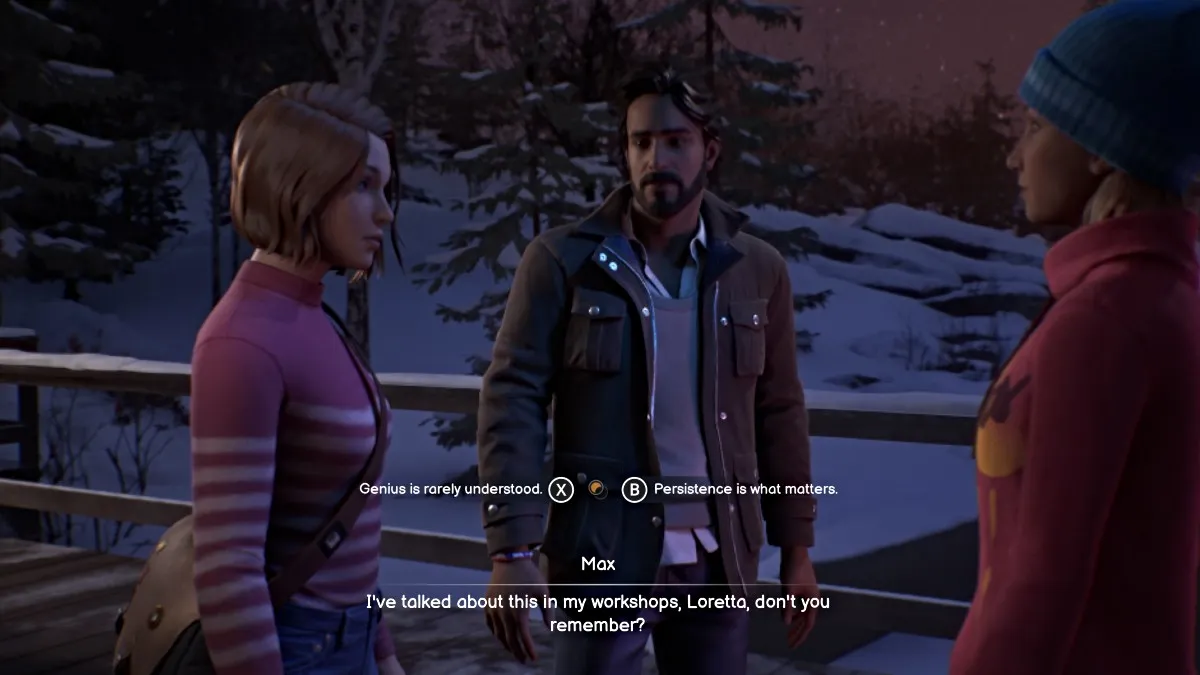
Choose to either take Loretta’s questions or call her bluff - Screenshot by Pro Game Guides
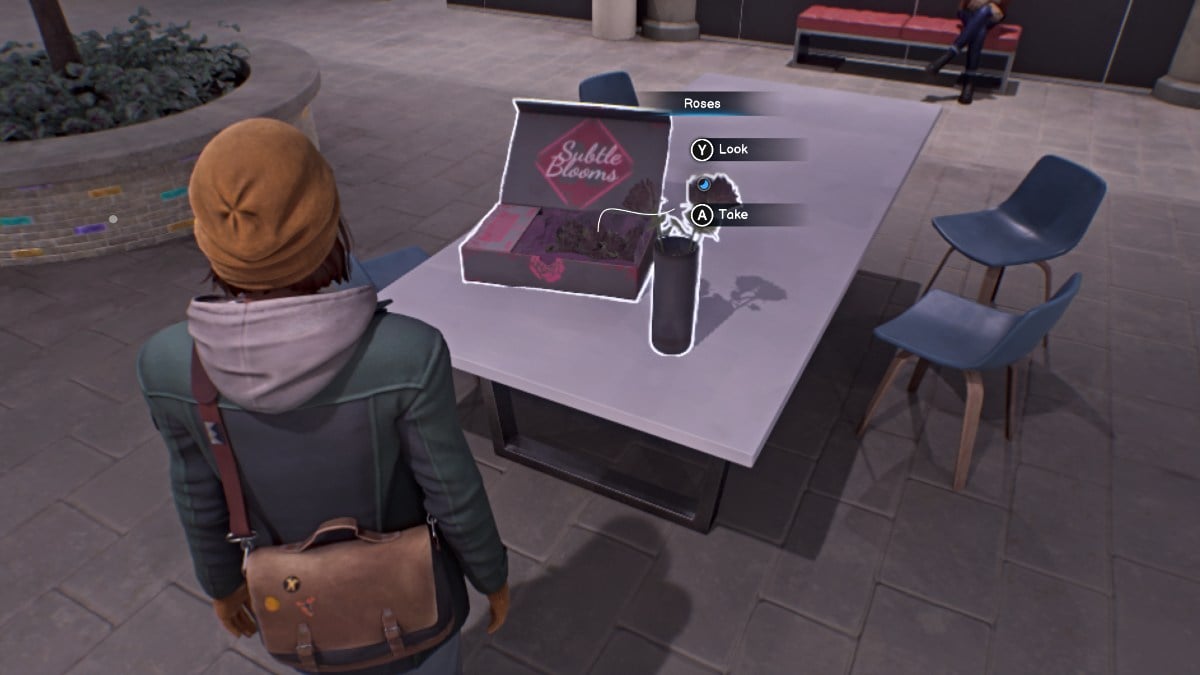
Take an Abraxas Rose - Screenshot by Pro Game Guides
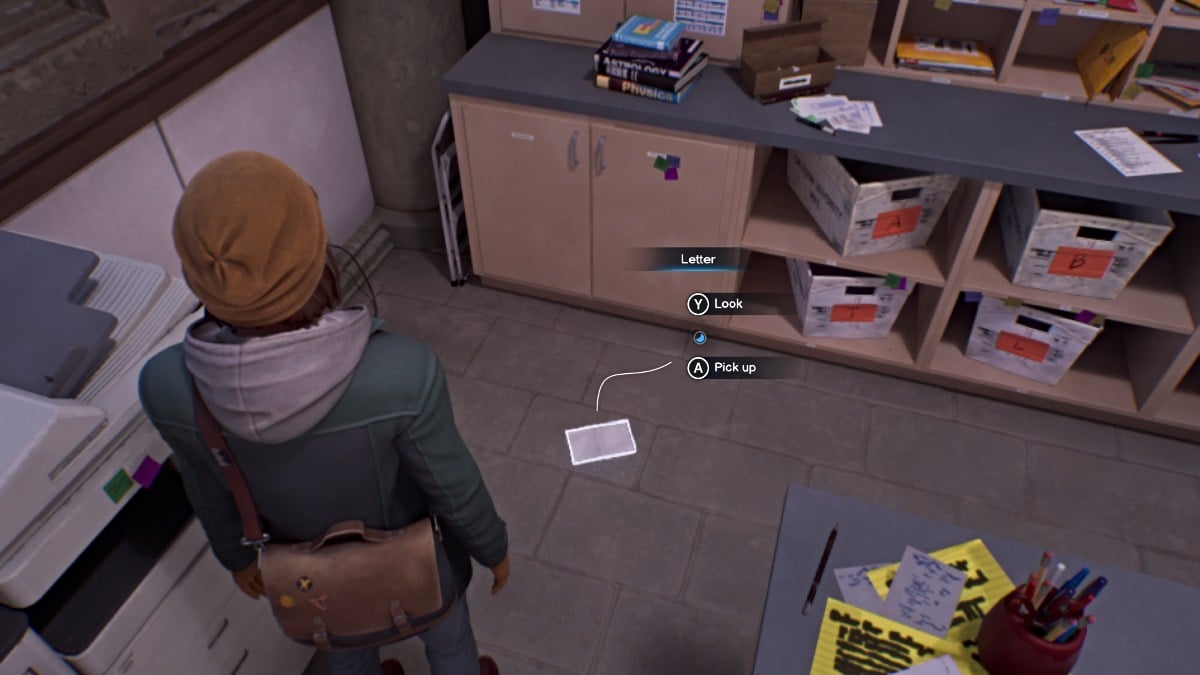
Mystery letter to ‘DGH’ aka Gwen - Screenshot by Pro Game Guides
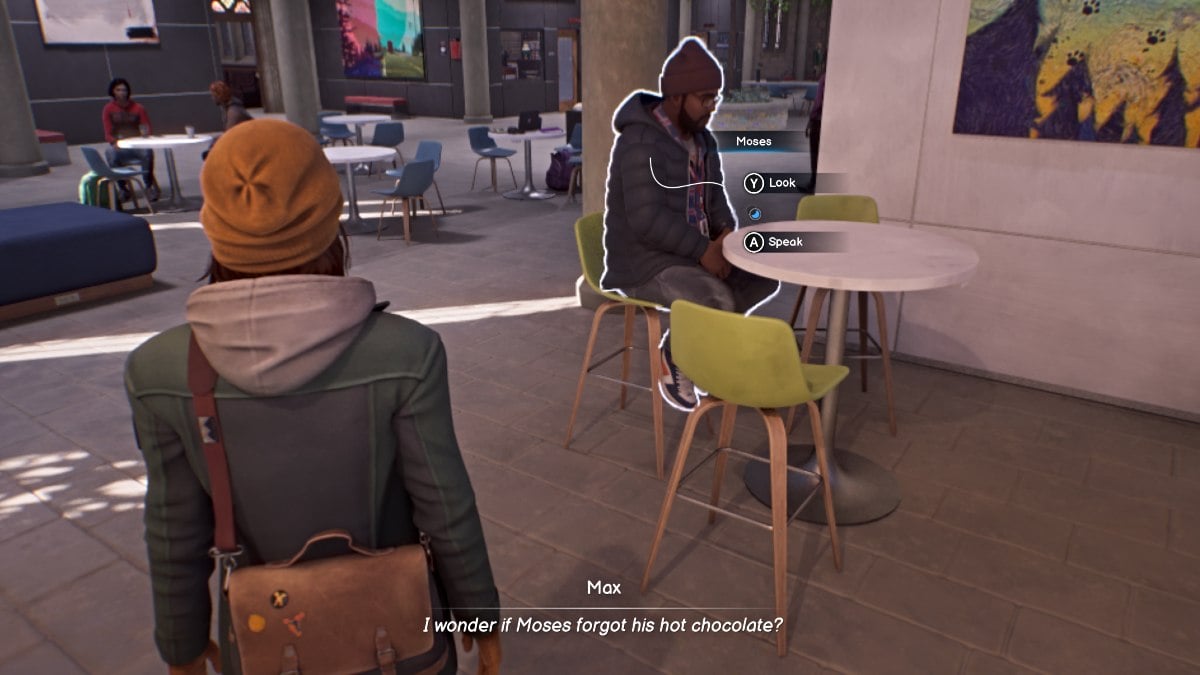
‘Look’ at Moses at the FAB - Screenshot by Pro Game Guides

Get Moses' hot chocolate - Screenshot by Pro Game Guides

Choose whether to ignore or interrupt Lucas' speech - Screenshot by Pro Game Guides
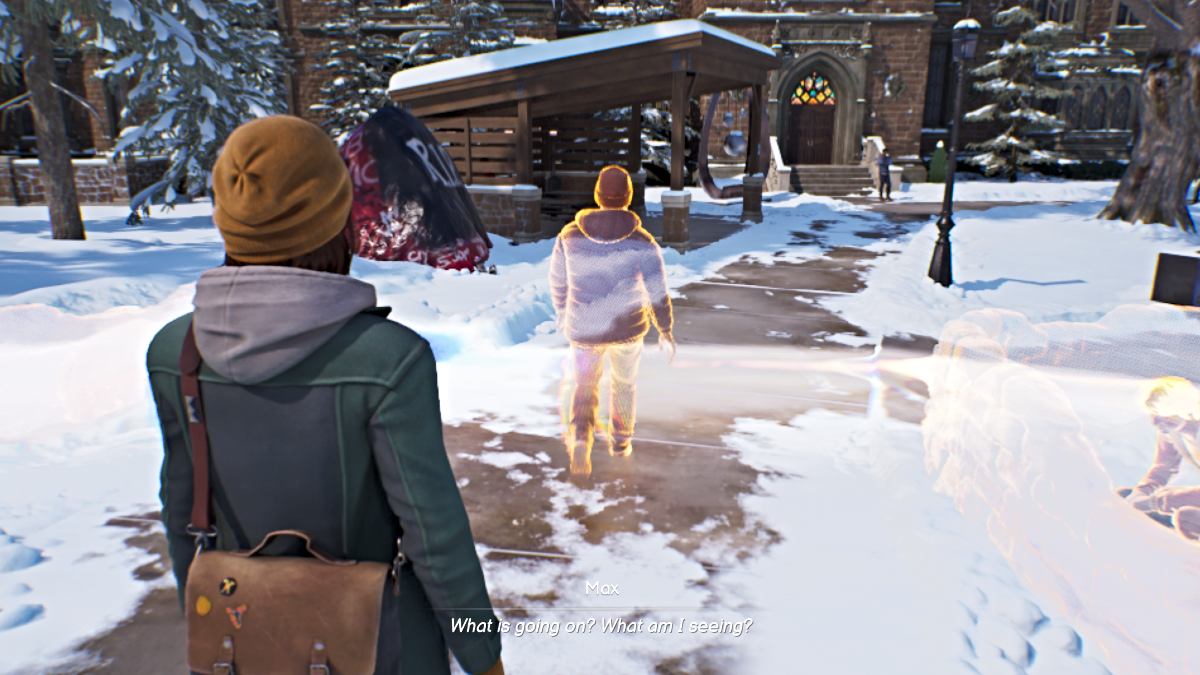
Follow ‘Other Moses’ with your Pulse ability - Screenshot by Pro Game Guides
Safi “alive” with Yasmin and Max - Screenshot by Pro Game Guides

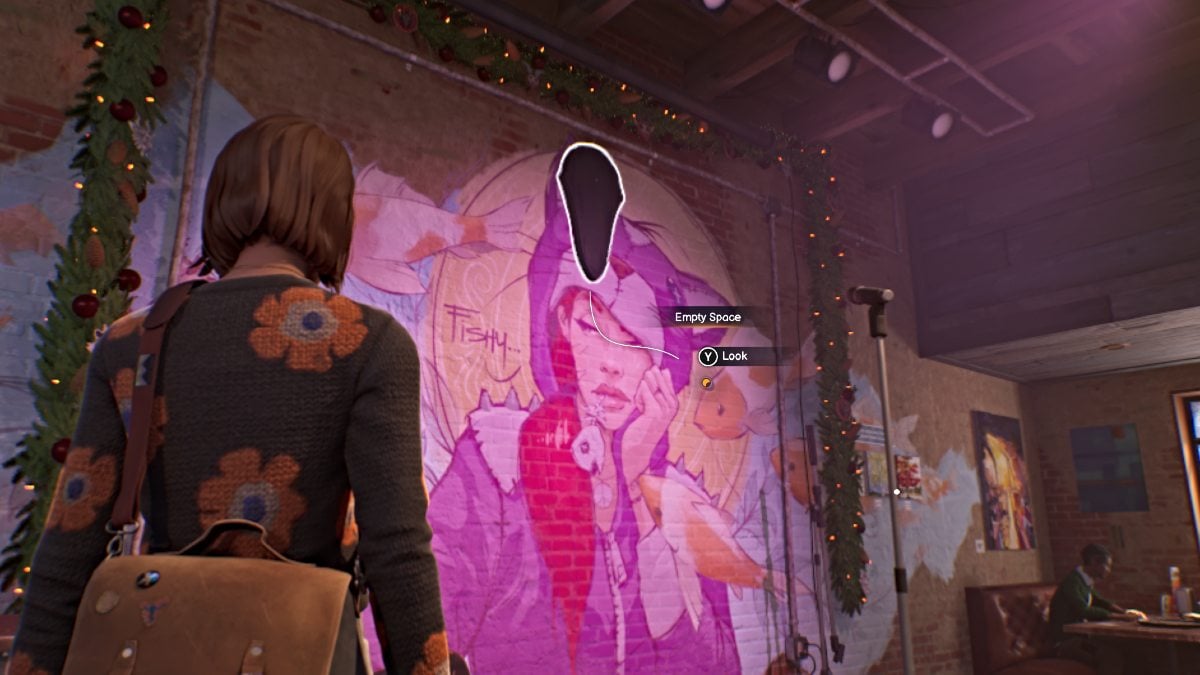
Yasmin and Safi Snapshot point - Screenshot by Pro Game Guides
Polaroid 4 (Dead World) - Screenshot by Pro Game Guides)
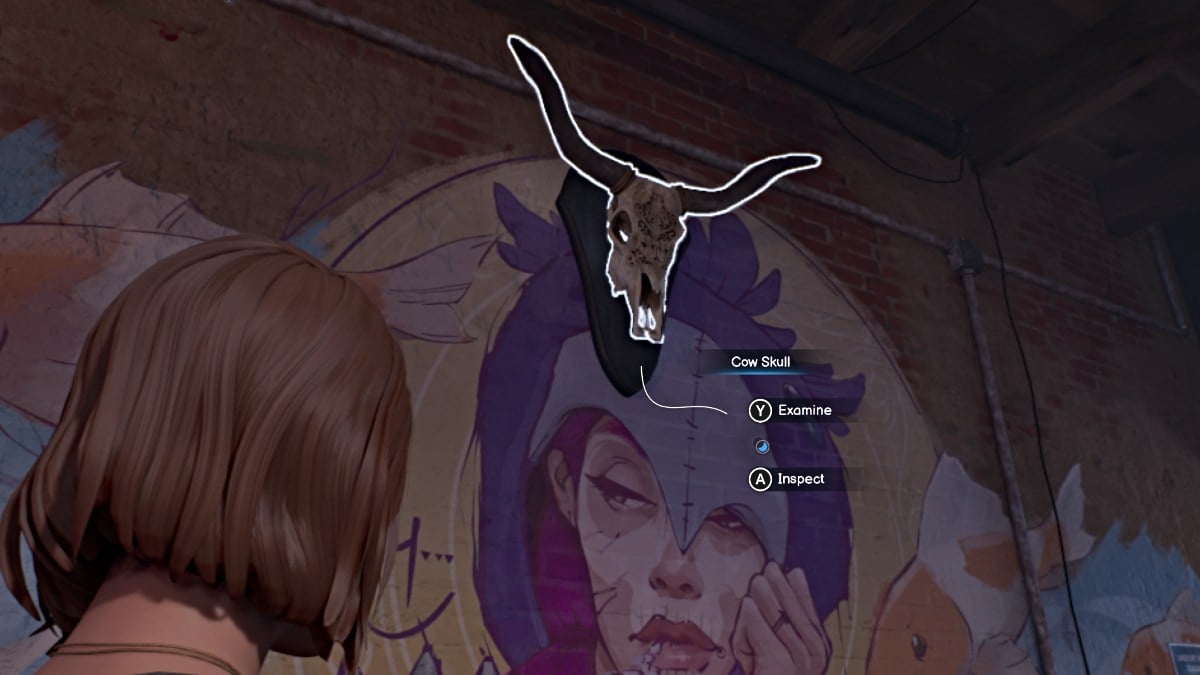
Missing Cow Skull (Living World) - Screenshot by Pro Game Guides
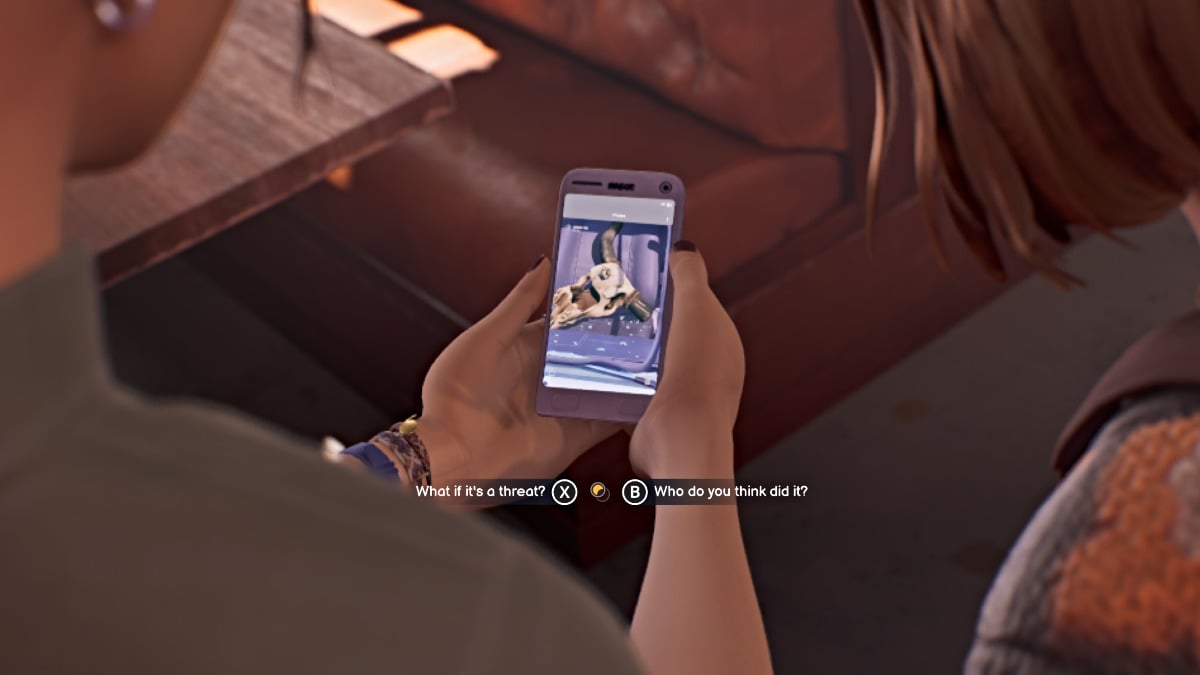
Safi’s photo of broken windshield and cow skull - Screenshot by Pro Game Guides
A sparkling Shift Point - Screenshot by Pro Game Guides
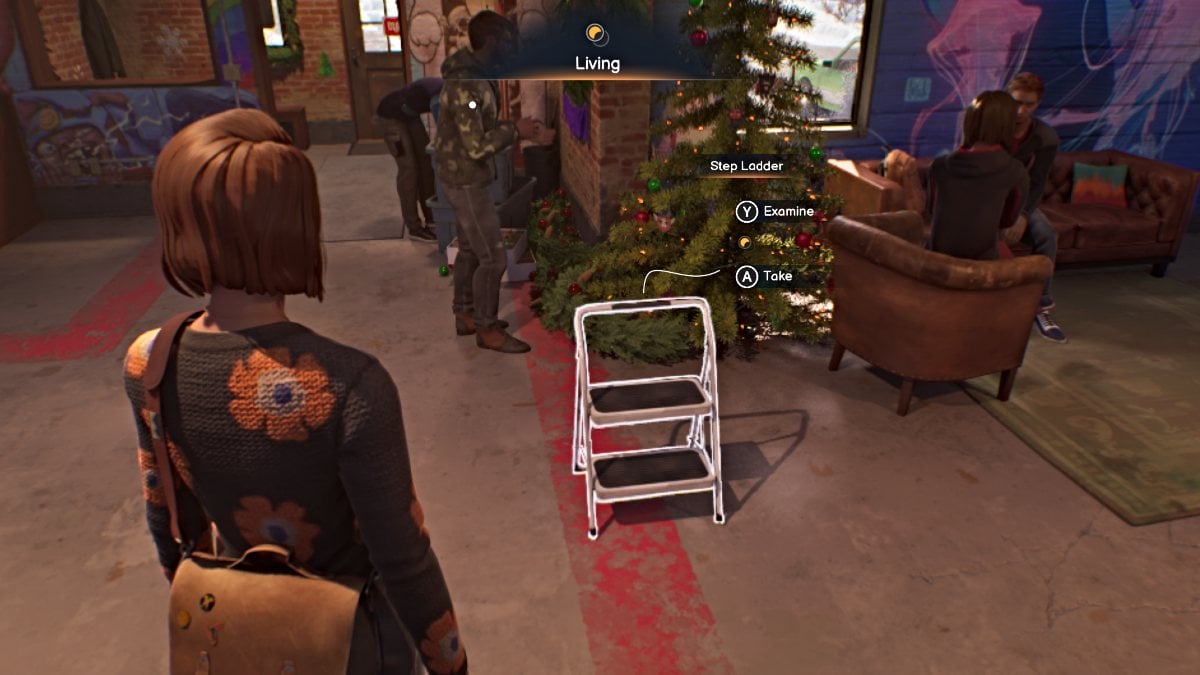
Step Ladder (Living World) - Screenshot by Pro Game Guides
Intact Cow Skull (Dead World - Screenshot by Pro Game Guides
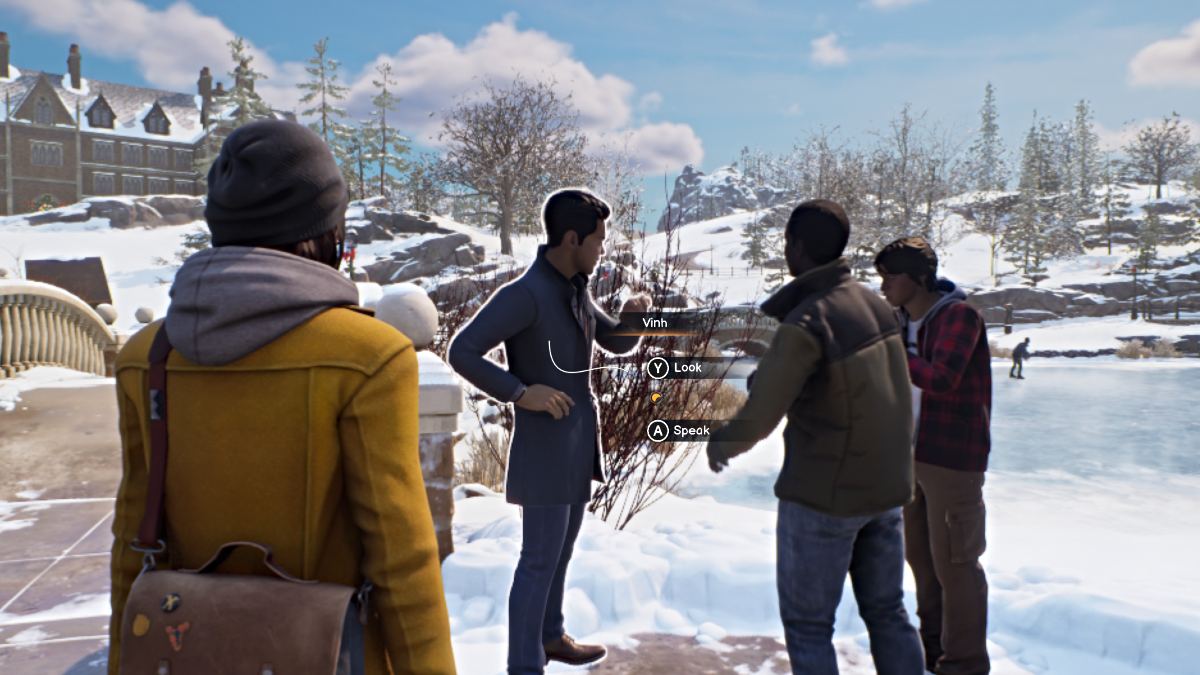
Vinh talking to Abraxas Kids - Screenshot by Pro Game Guides
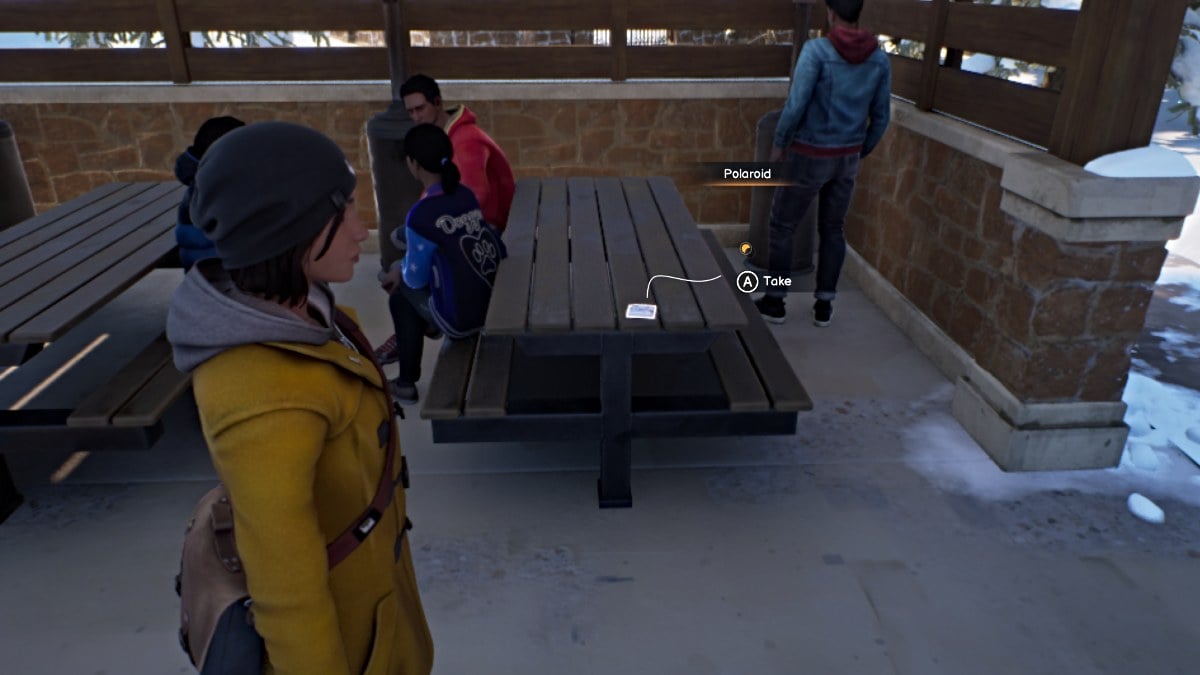
Collect Polaroid 5 -Screenshot by Pro Game Guides

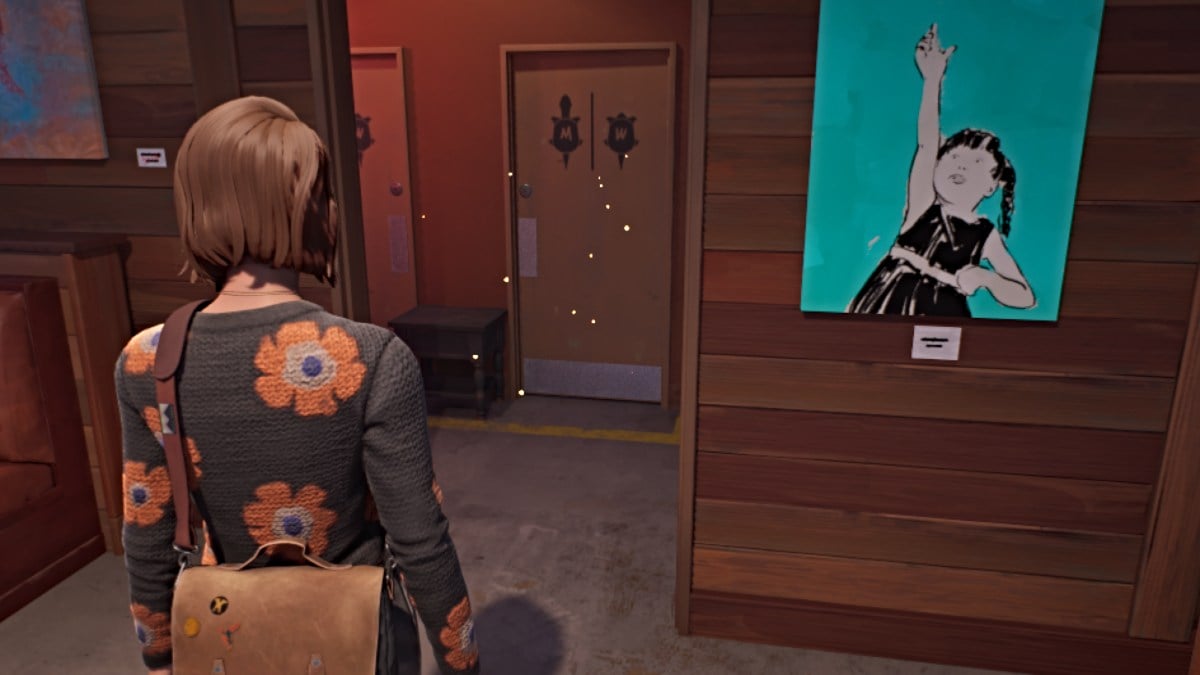
Snow David Snapshot point - Screenshot by Pro Game Guides
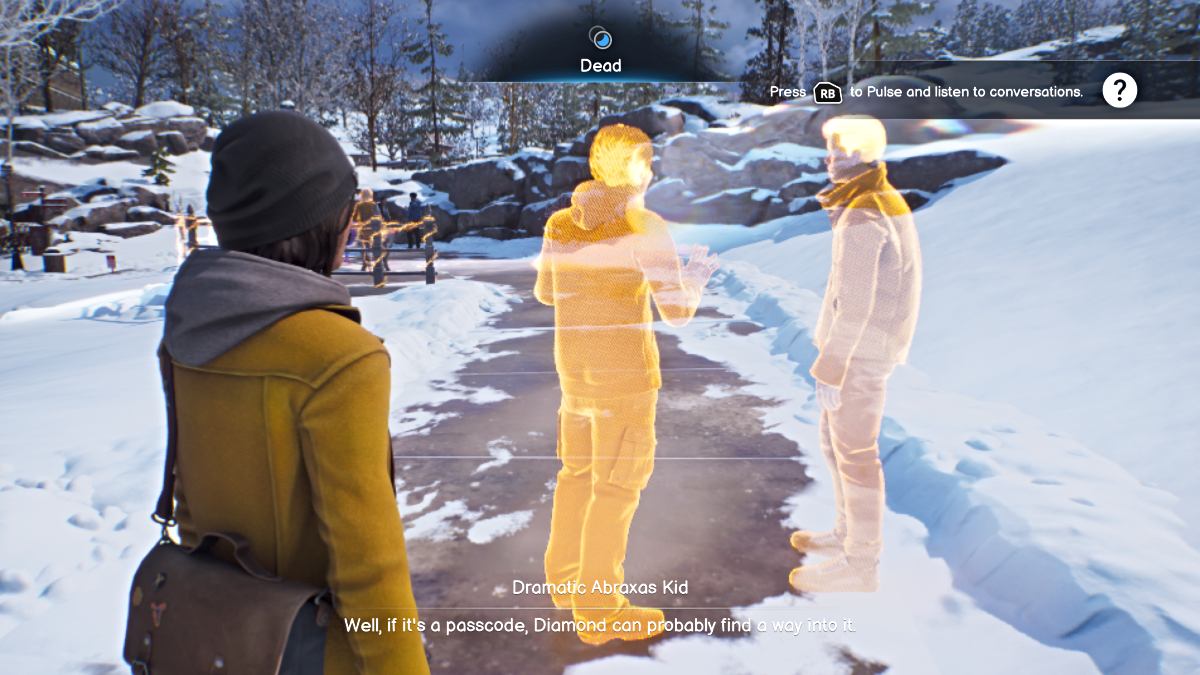
Use Pulse to listen to Abraxas Kids - Screenshot by Pro Game Guides
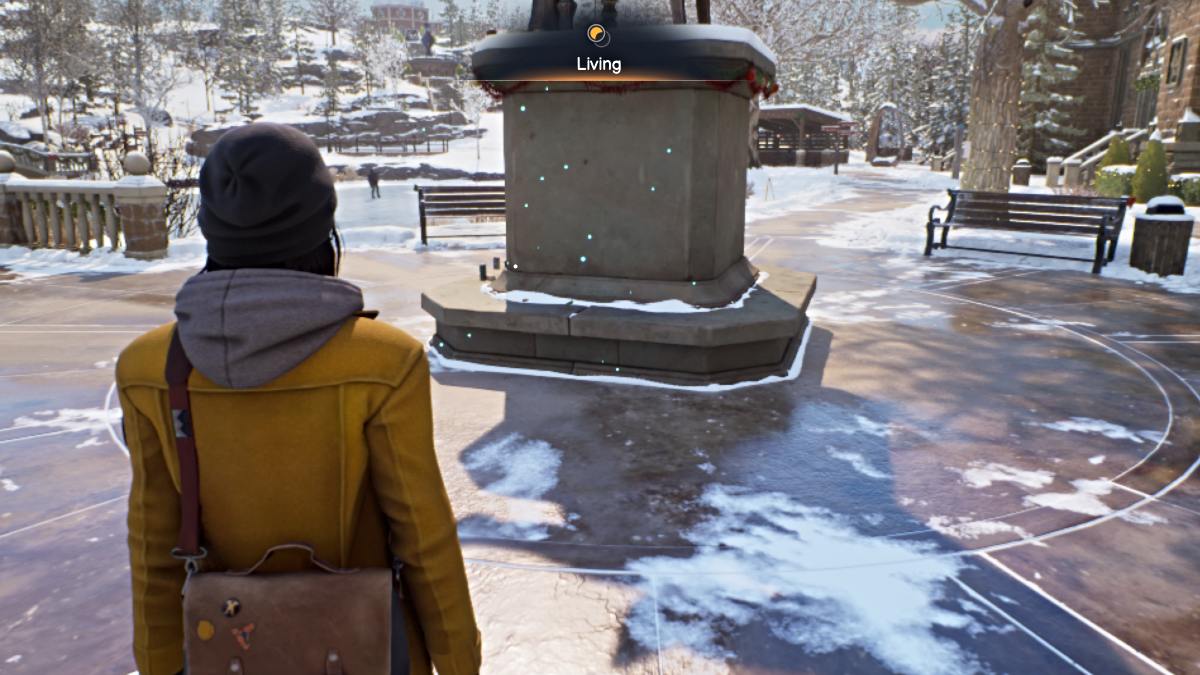
Shift point by Caledon Statue - Screenshot by Pro Game Guides
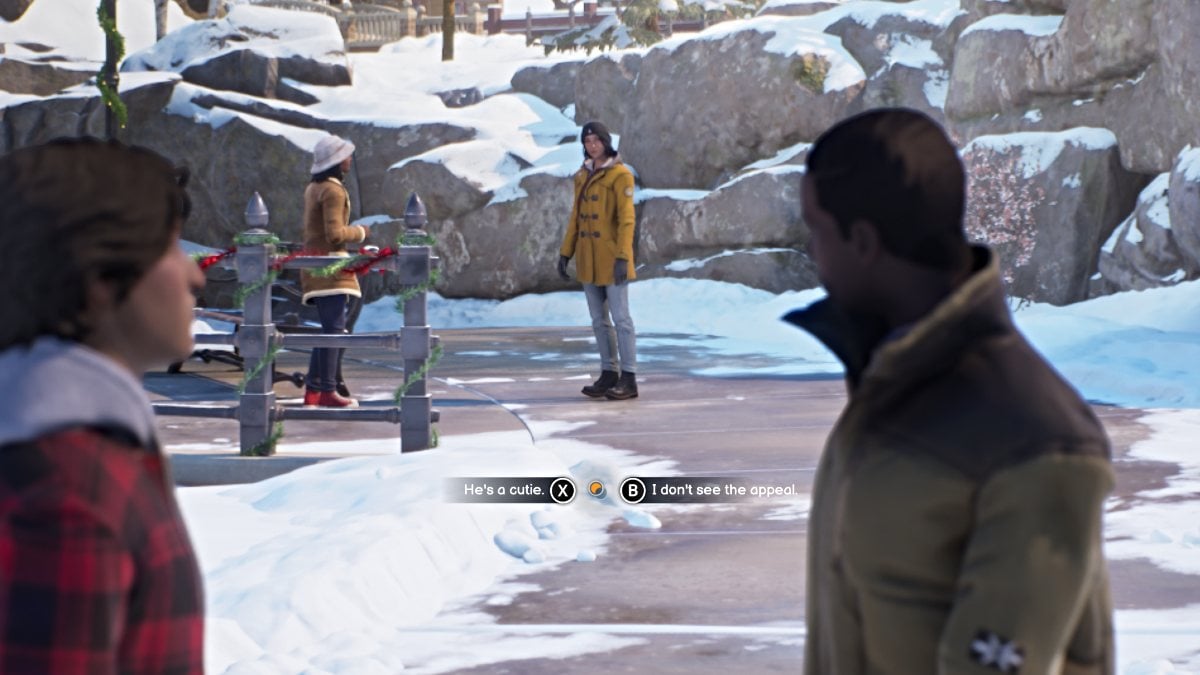
Max talks to Diamond about Abraxas Kids - Screenshot by Pro Game Guides
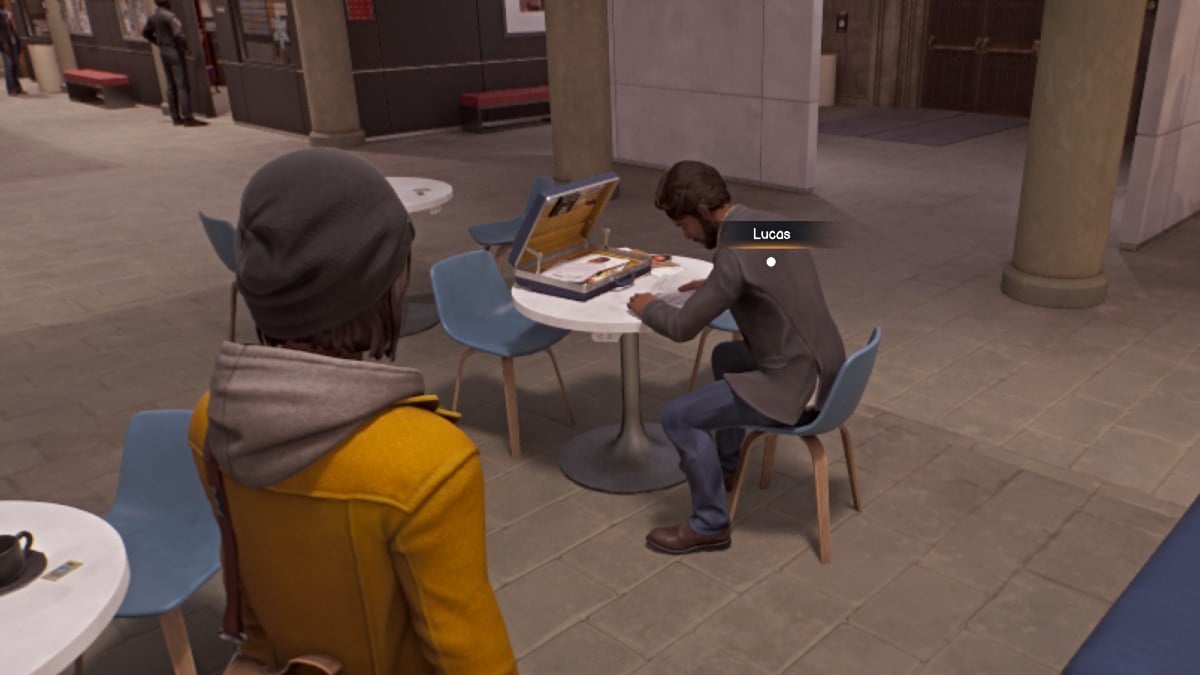
Lucas (Living World) near FAB Cafe - Screenshot by Pro Game Guides
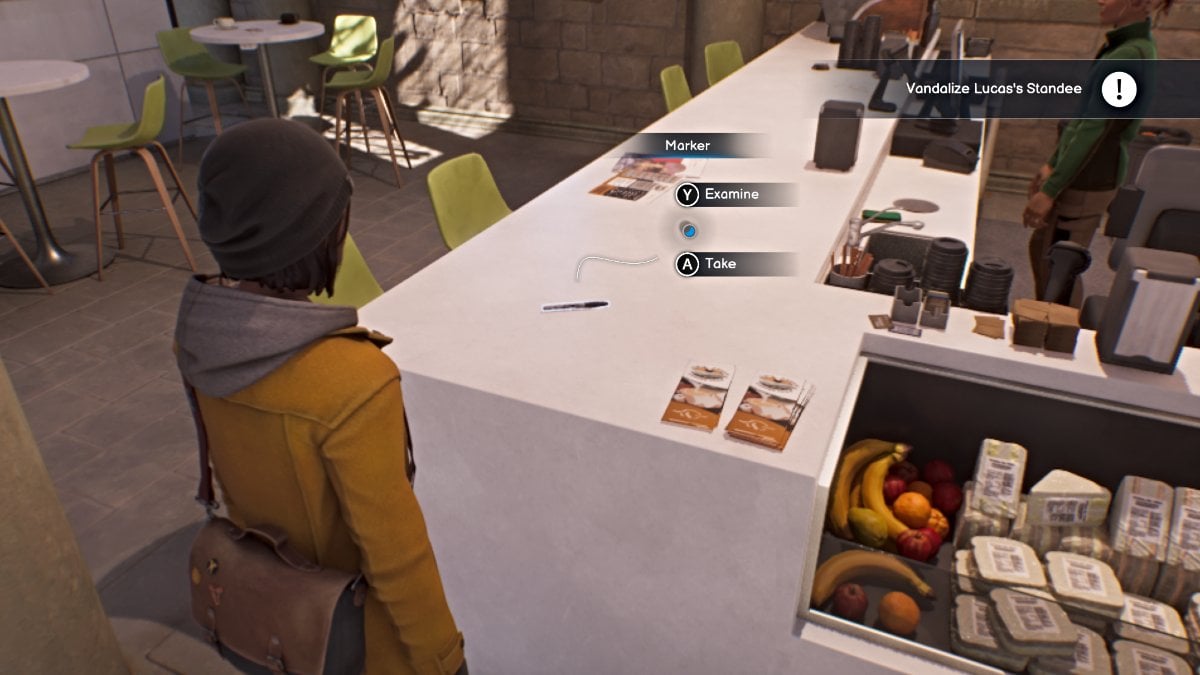
Take the Marker - Screenshot by Pro Game Guides
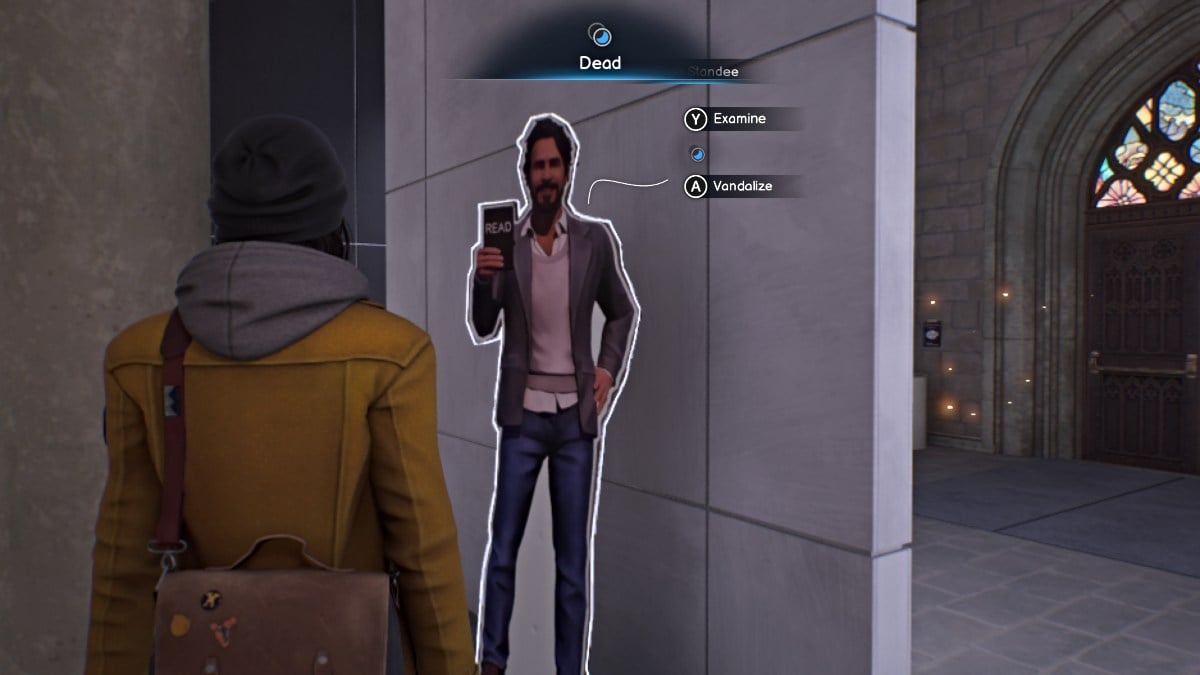
Vandalize the Lucas Standee - Screenshot by Pro Game Guides
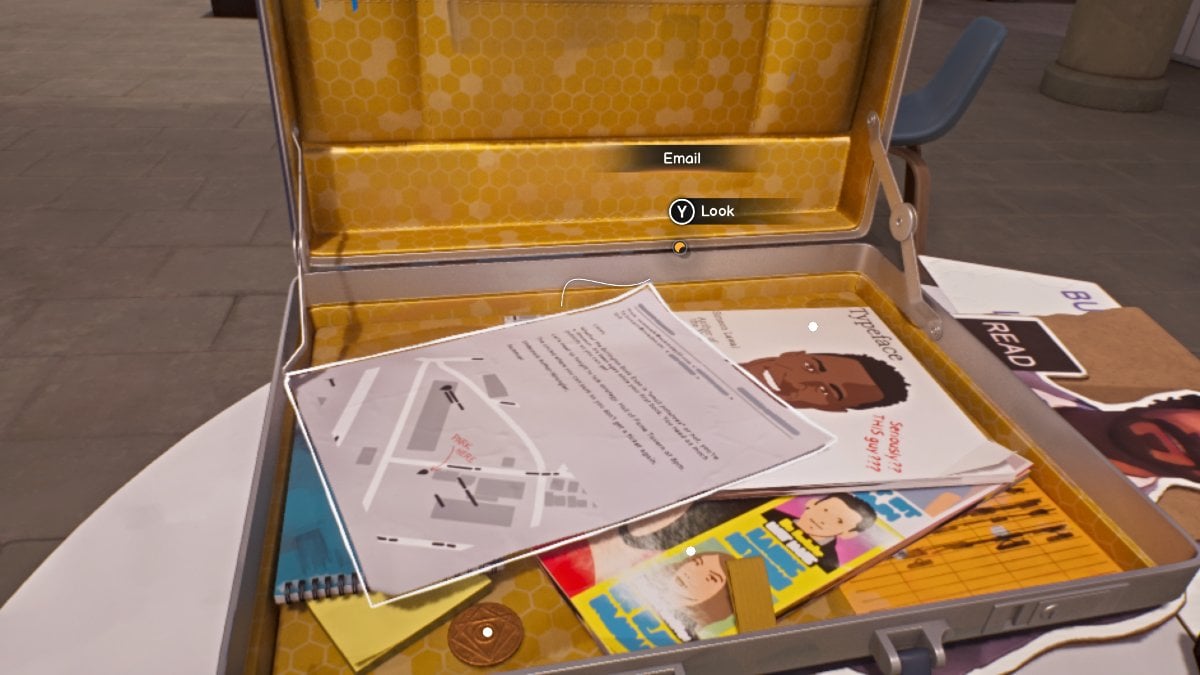
Contents of Lucas' Briefcase - Screenshot by Pro Game Guides
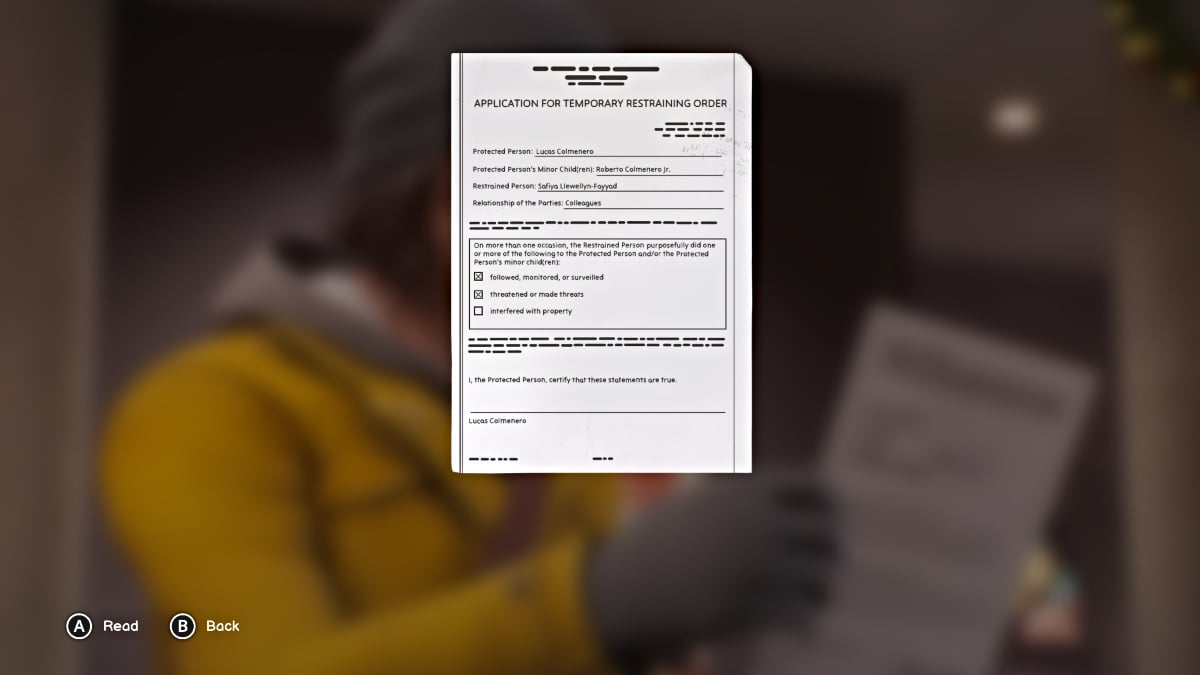
Restraining Order against Safi - Screenshot by Pro Game Guides
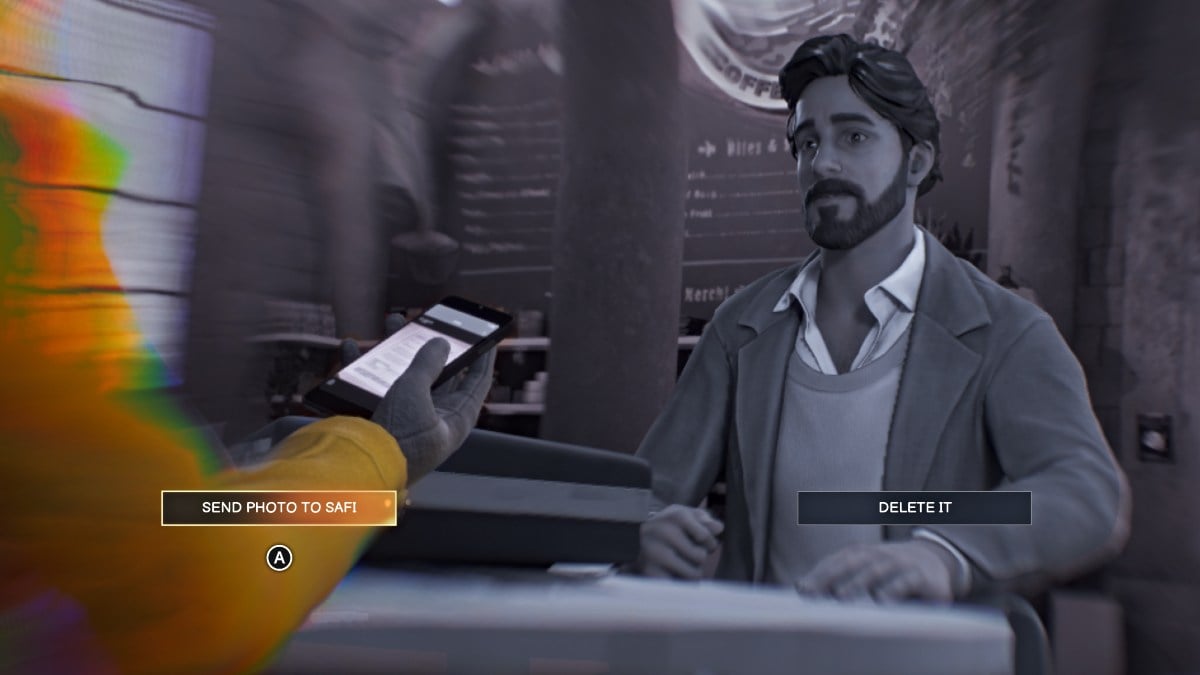
Choose whether to send Safi the photo or delete it - Screenshot by Pro Game Guides
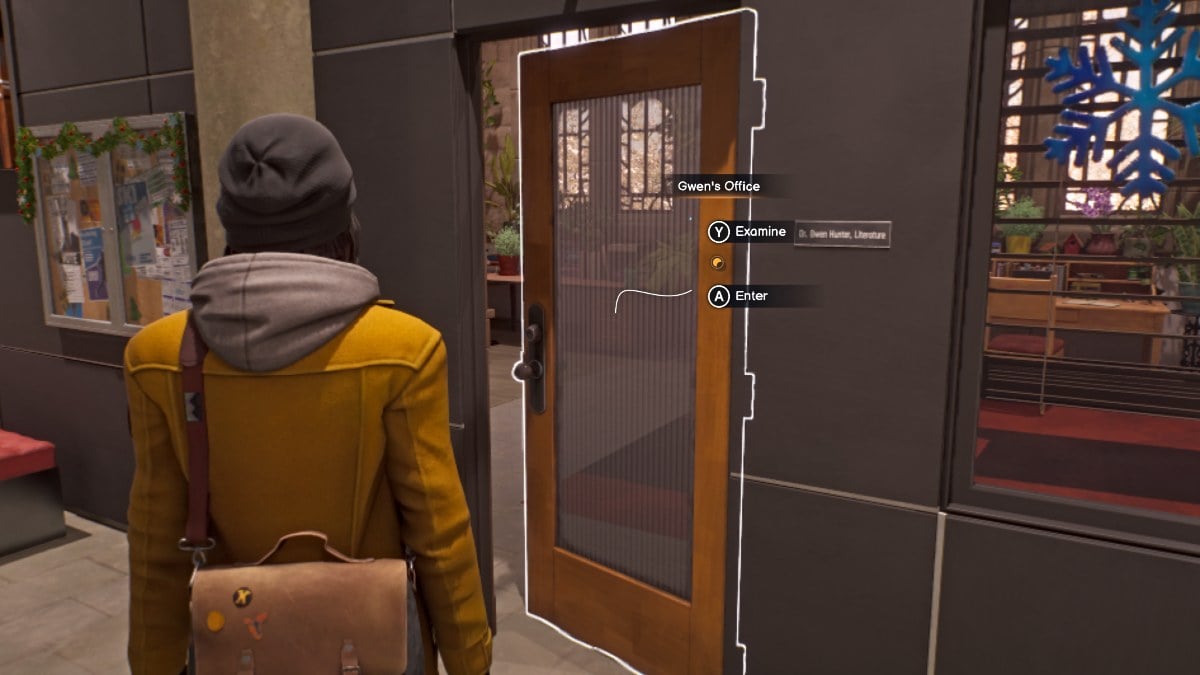
Gwen’s Office (Dead World) - Screenshot by Pro Game Guides
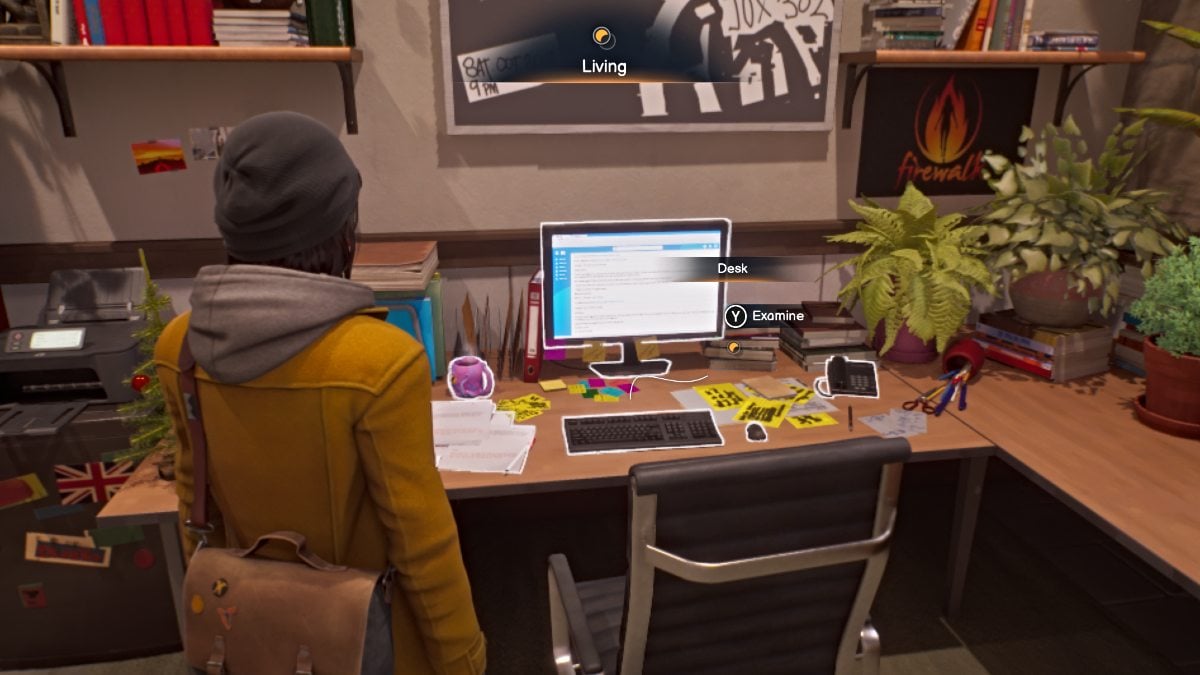
Search Gwen’s desk and computer - Screenshot by Pro Game Guides
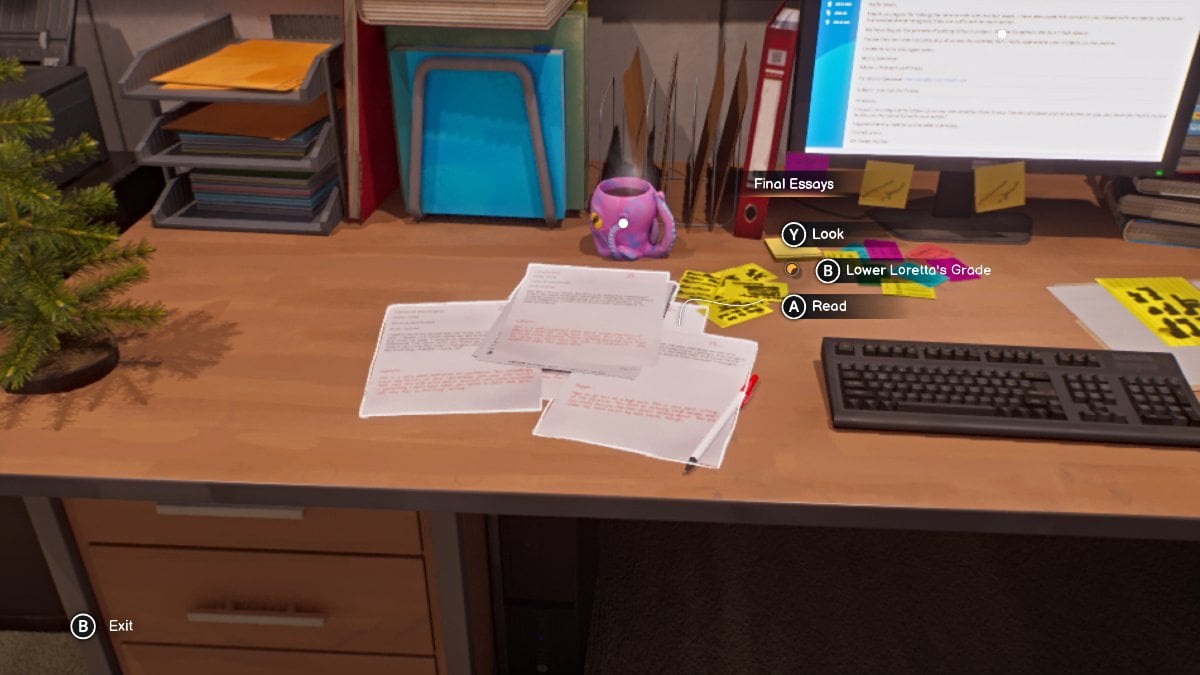
Choose whether to change Loretta’s grade - Screenshot by Pro Game Guides
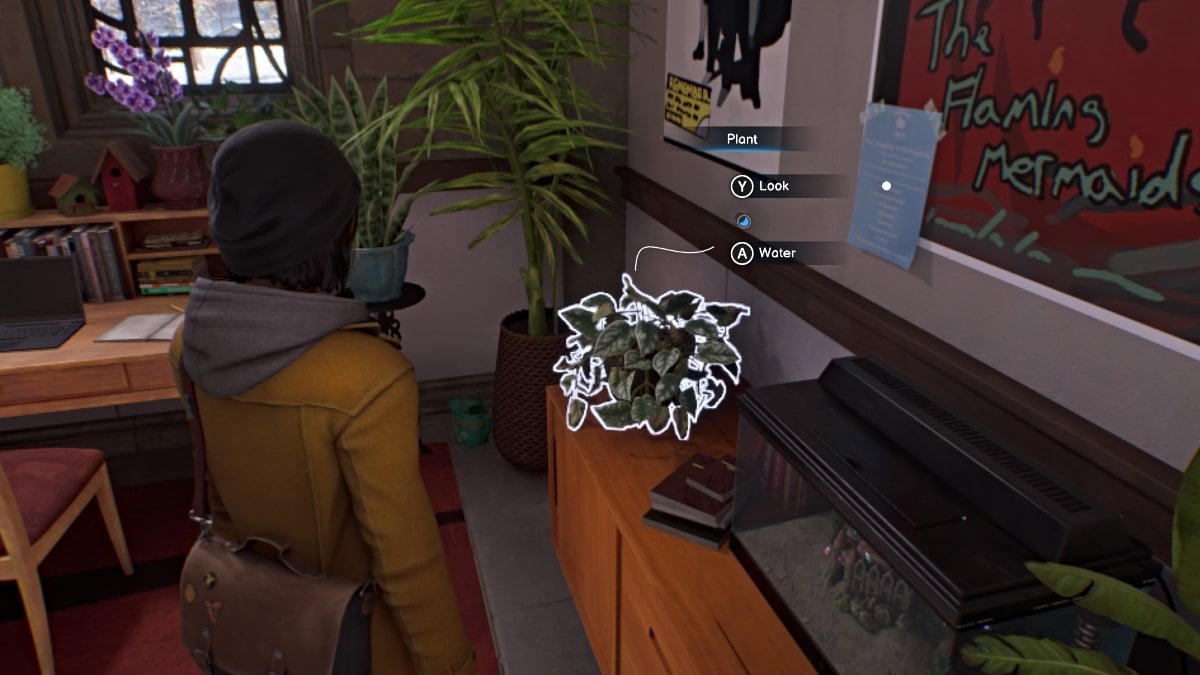
Water Gwen’s Plant (Living World) - Screenshot by Pro Game Guides
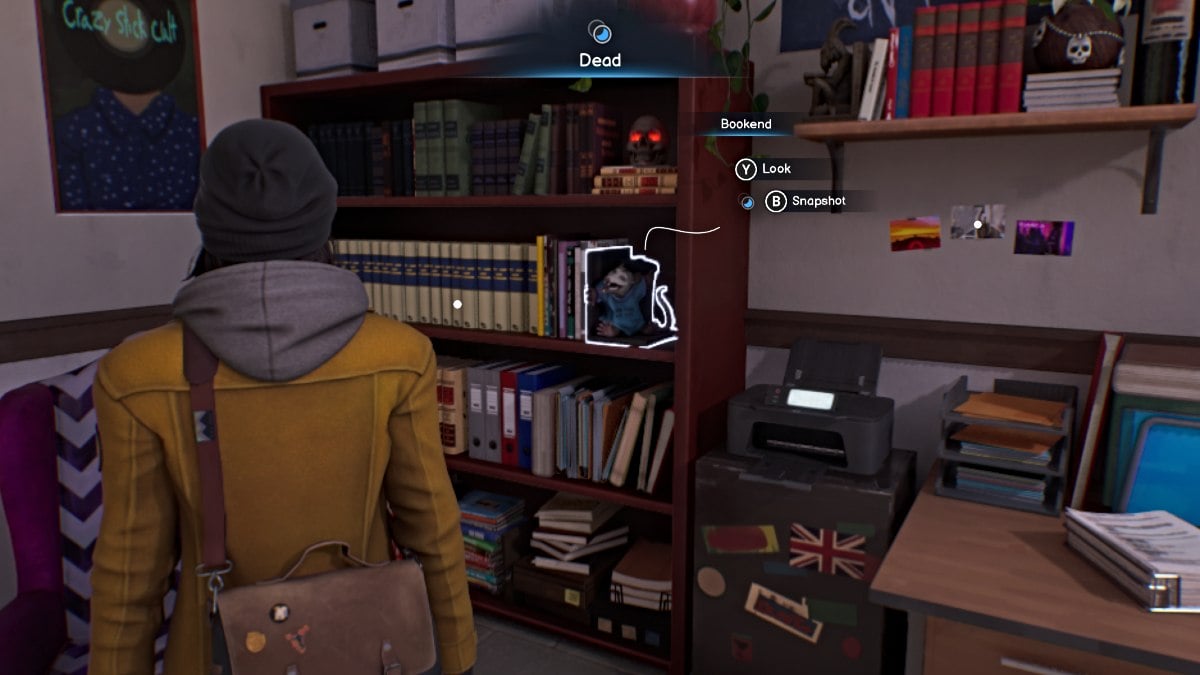
Possum Bookend Snapshot point - Screenshot by Pro Game Guides
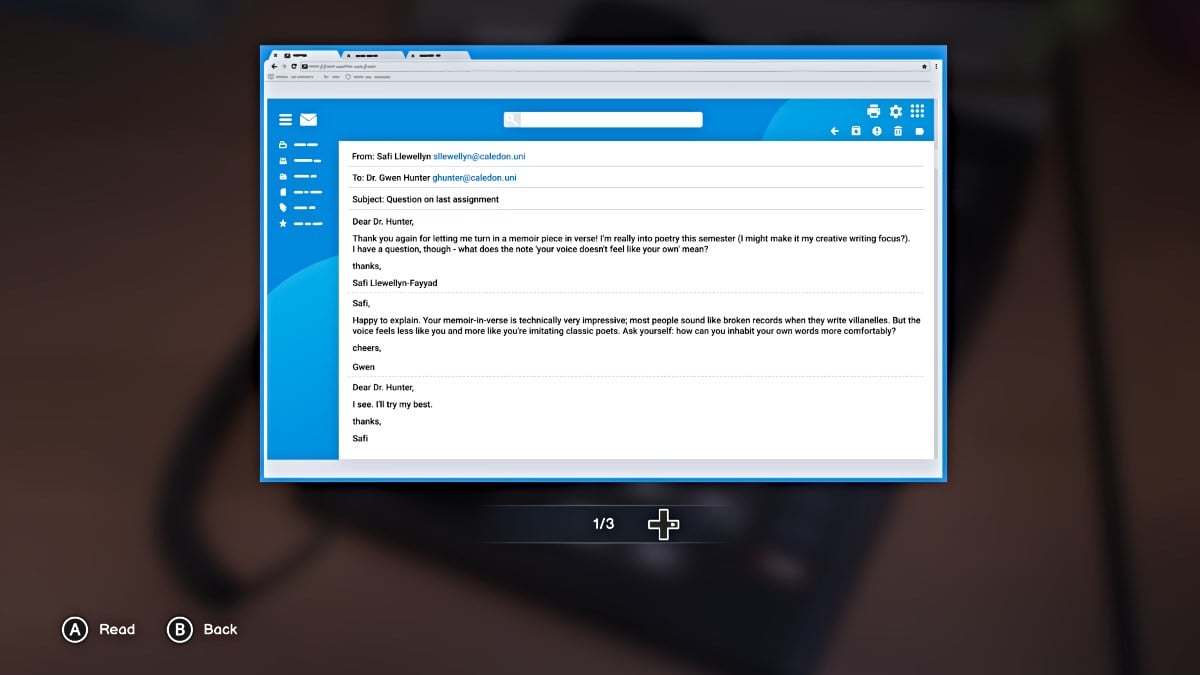
Gwen’s emails - Screenshot by Pro Game Guides

Read Gwen’s Note inside the book on the desk (Dead World) - Screenshot by Pro Game Guides
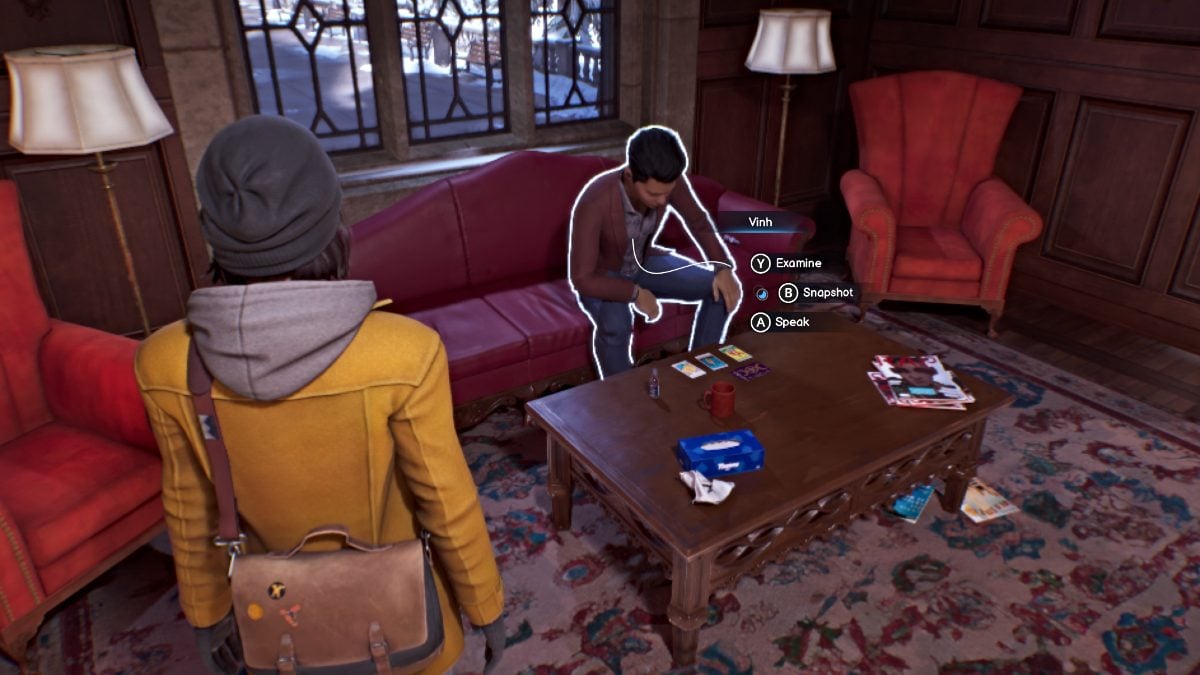
Vinh Snapshot point - Screenshot by Pro Game Guides

Choose whether to flirt with Vinh for info or not - Screenshot by Pro Game Guides
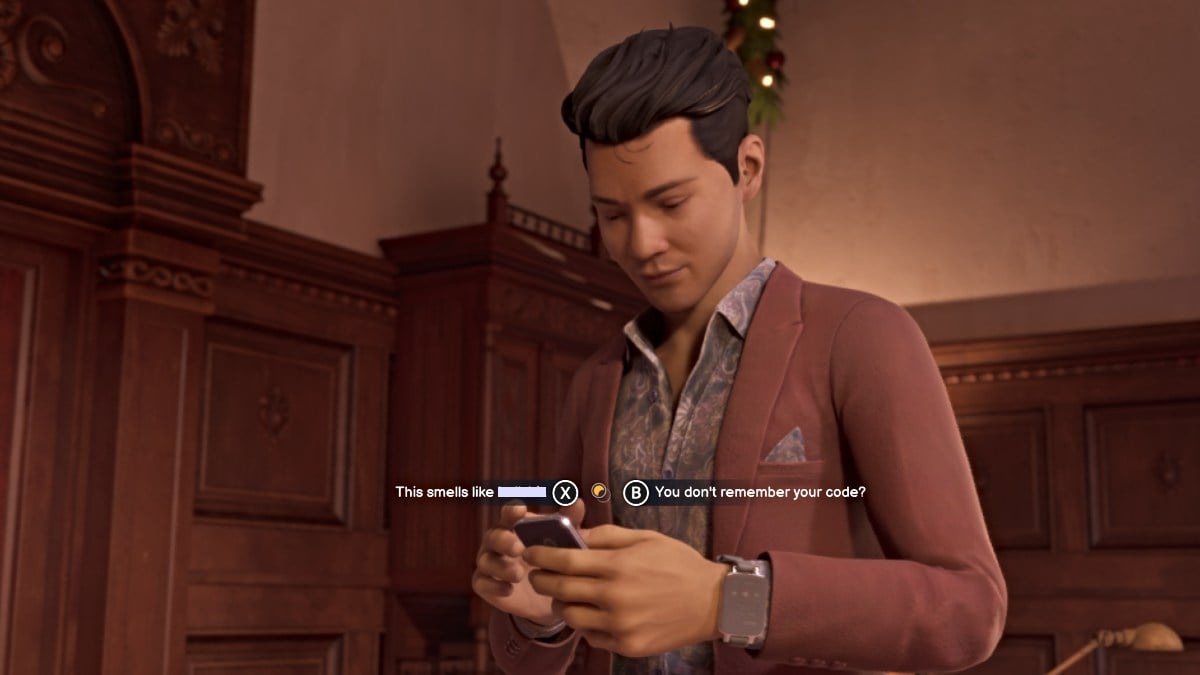
Vinh forgets his passcode (Living World) - Screenshot by Pro Game Guides
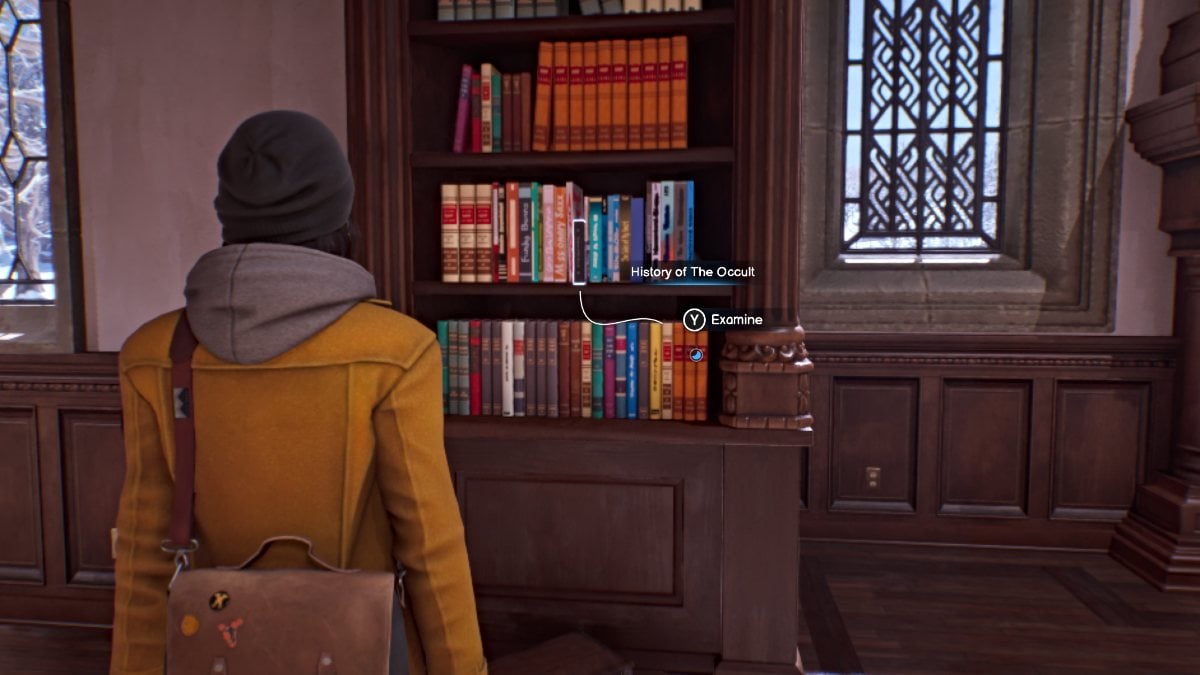
History of the Occult book in the library - Screenshot by Pro Game Guides
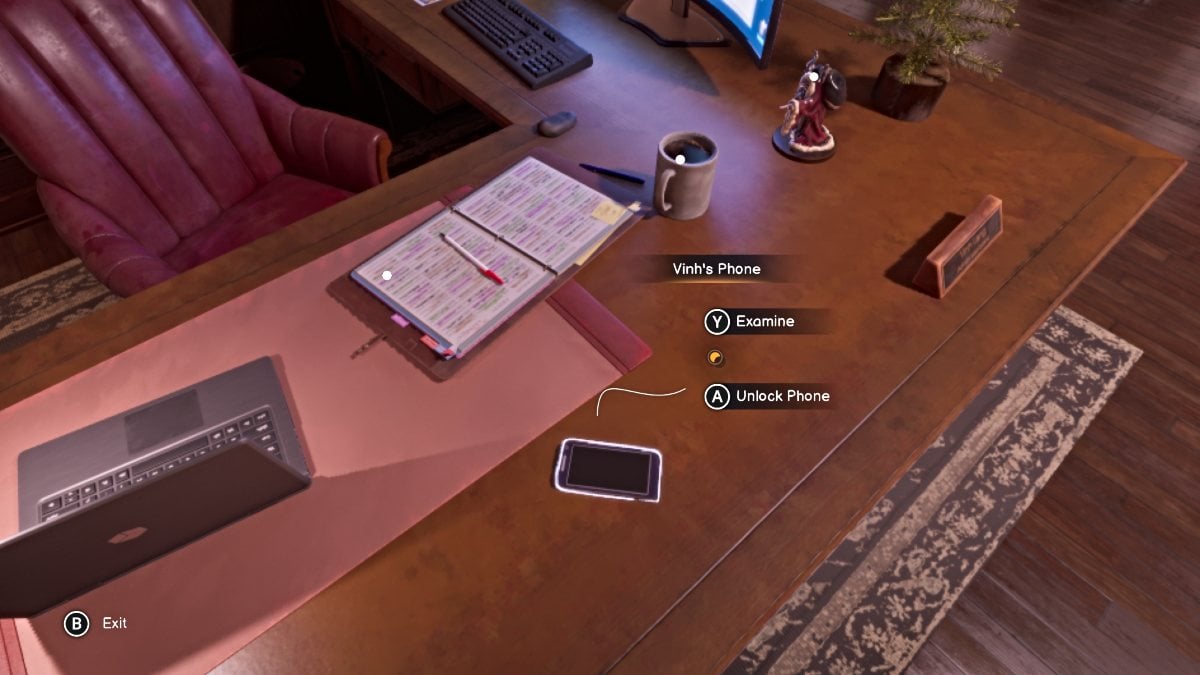
Unlock Vinh’s Phone in Living World w/ the passcode - Screenshot by Pro Game Guides
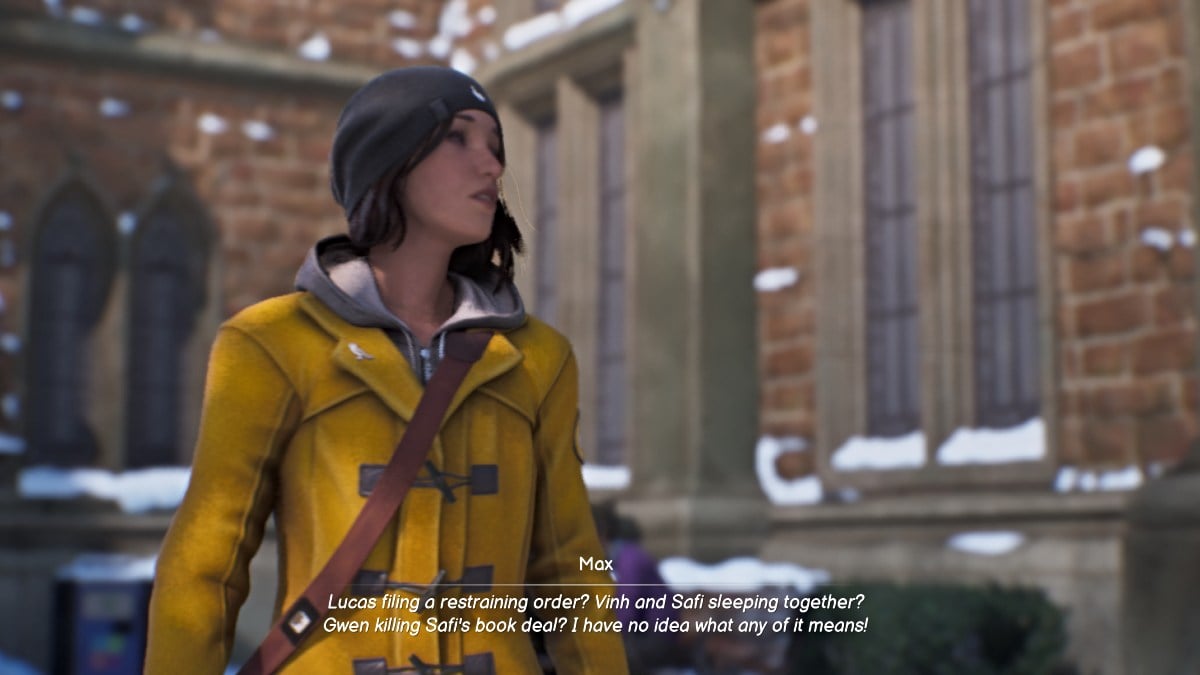
Screenshot by Pro Game Guides

The Overlook - Screenshot by Pro Game Guides
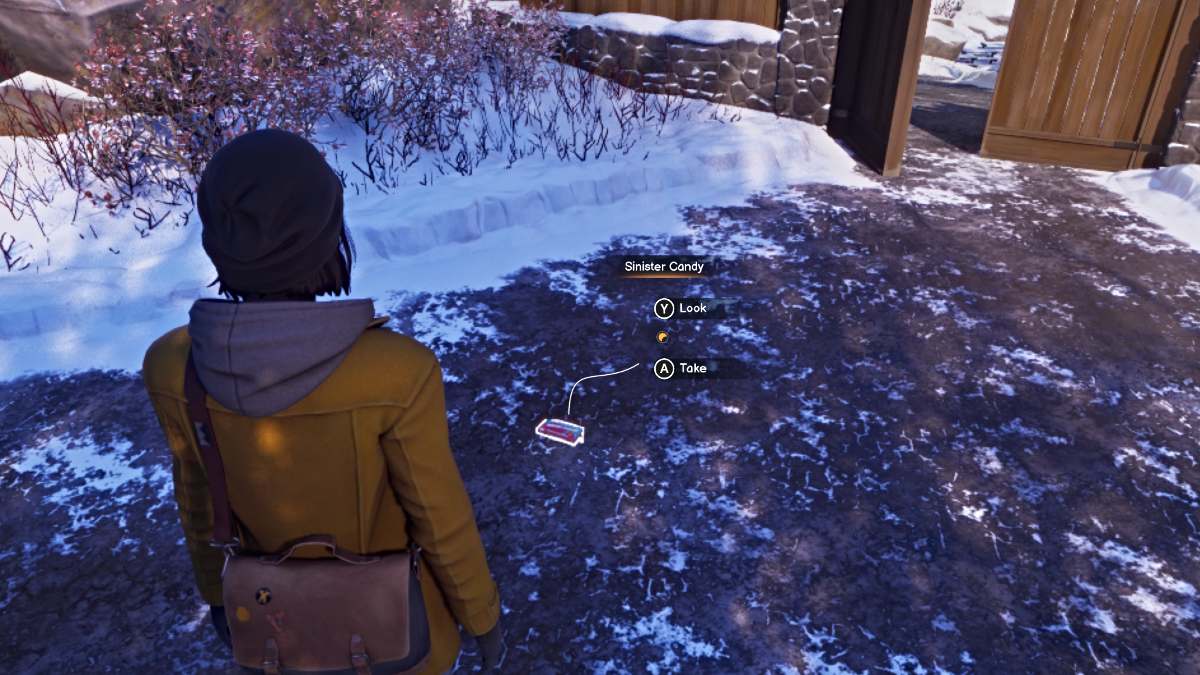
Take the Sinister Candy - Screenshot by Pro Game Guides
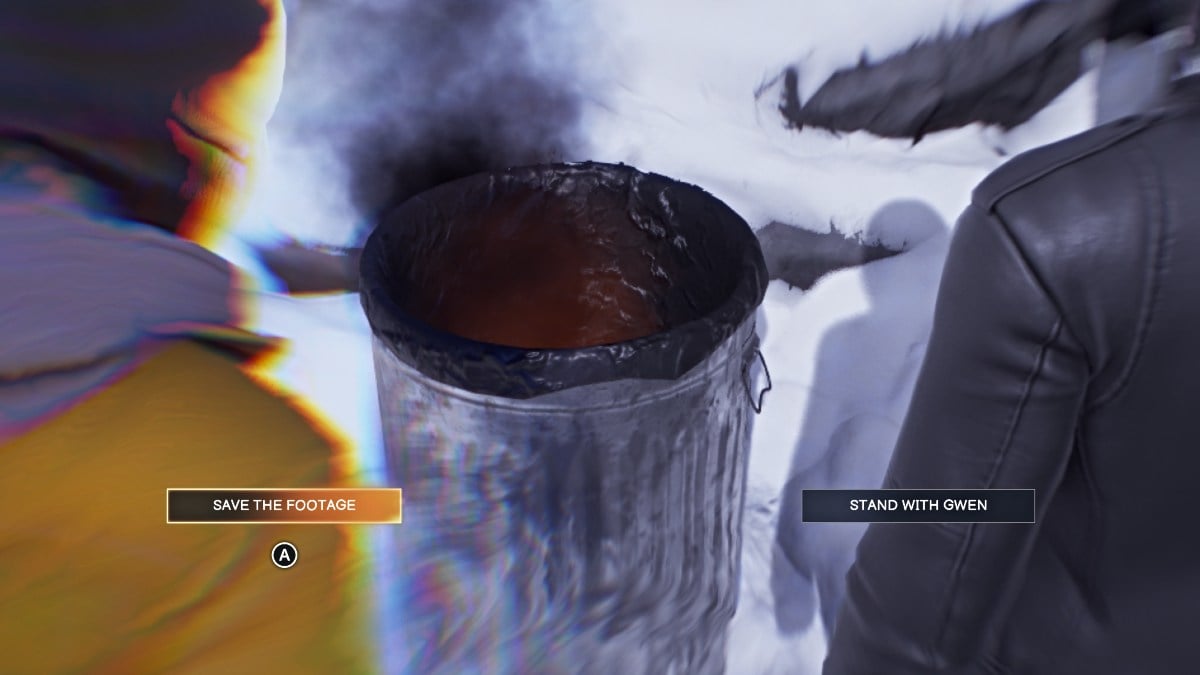
Choose to save the footage or let it burn - Screenshot by Pro Game Guides
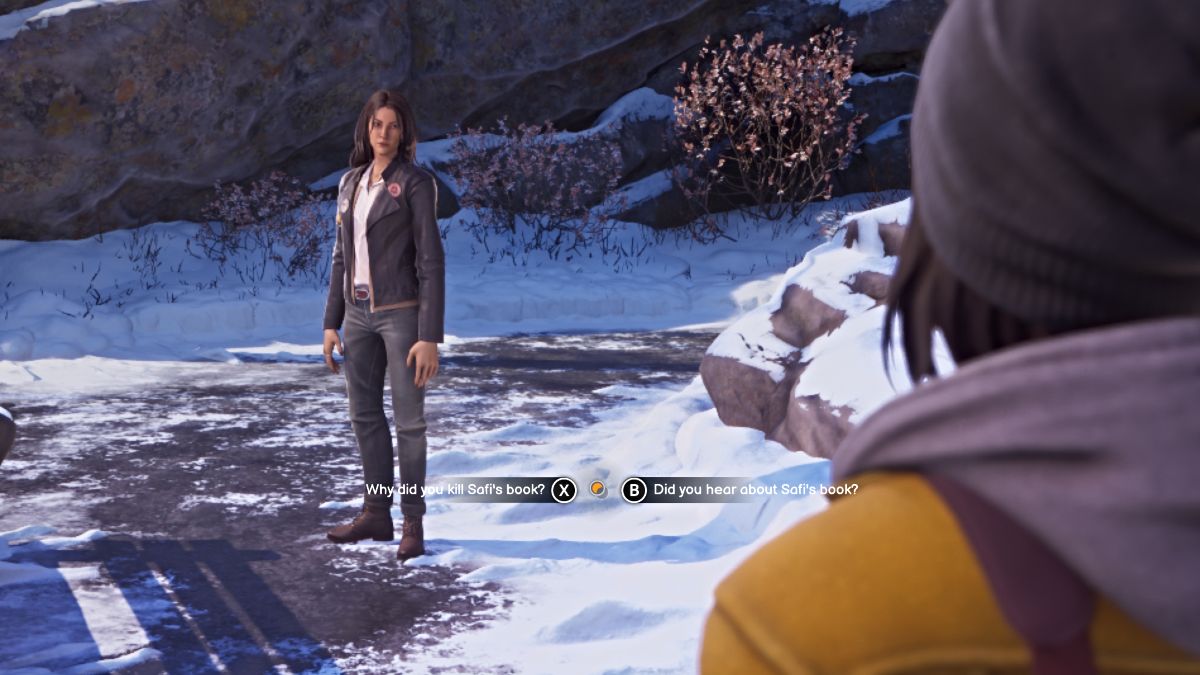
Ask Gwen about Safi’s book cancellation - Screenshot by Pro Game Guides
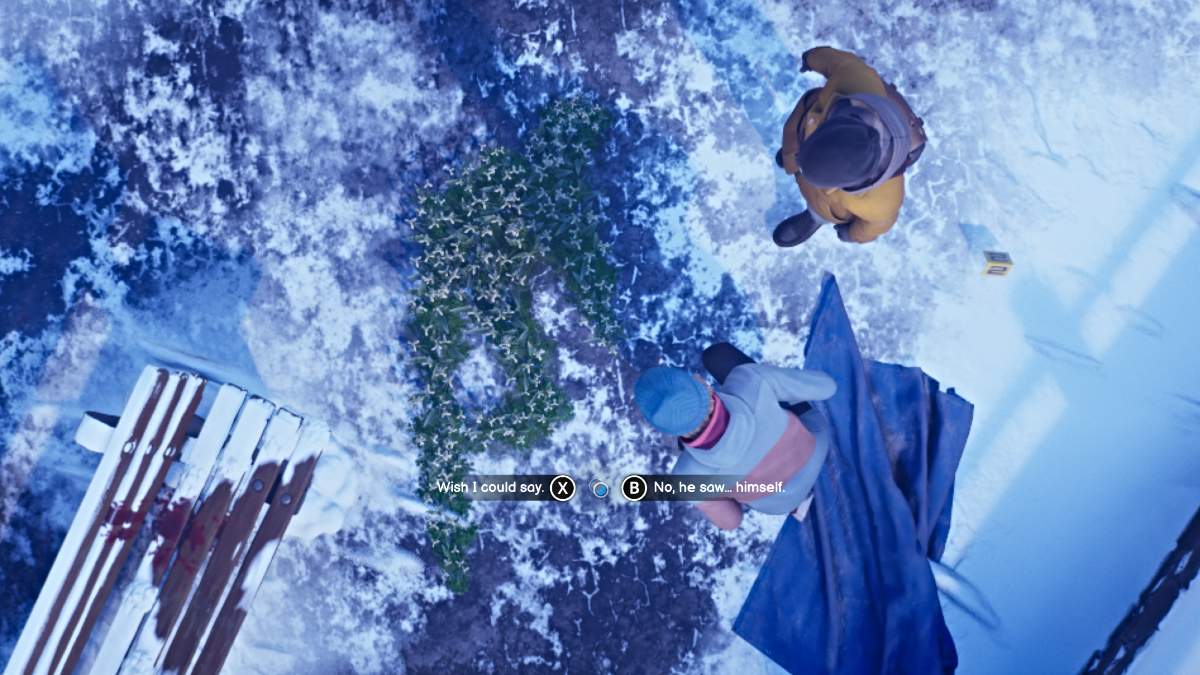
Choose whether to tell Loretta about what Reggie saw - Screenshot by Pro Game Guides

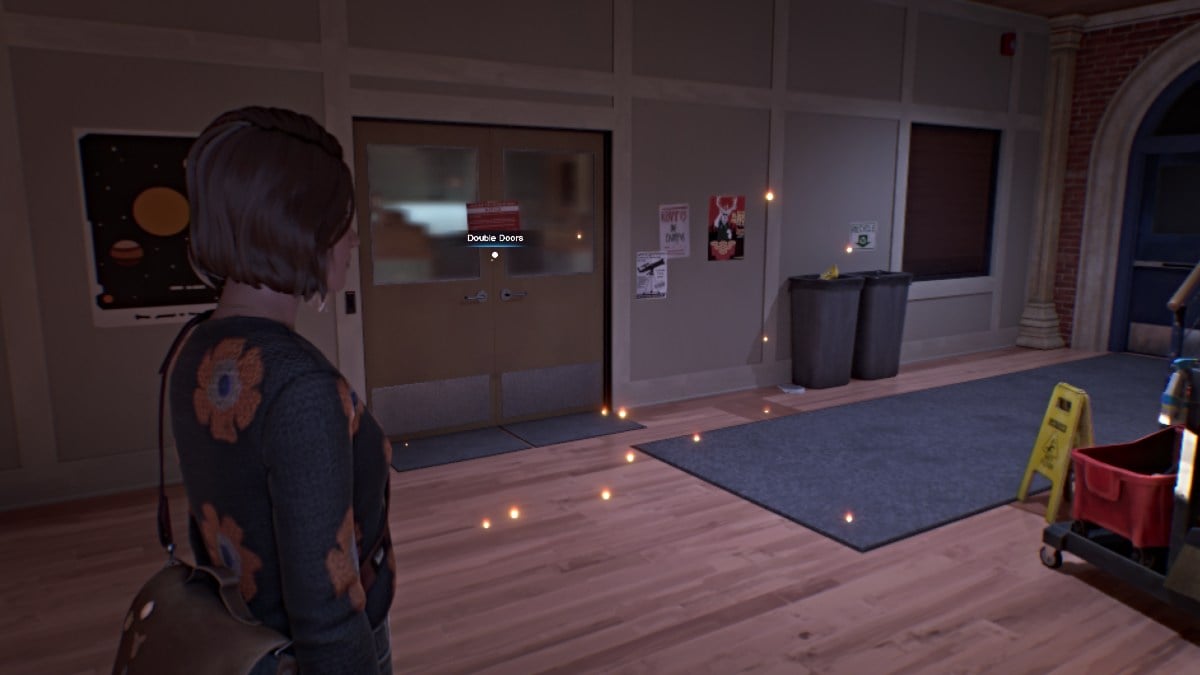
Detective Alderman meets Max and Moses - Screenshot by Pro Game Guides
Use Shift point to get into Moses' office - Screenshot by Pro Game Guides
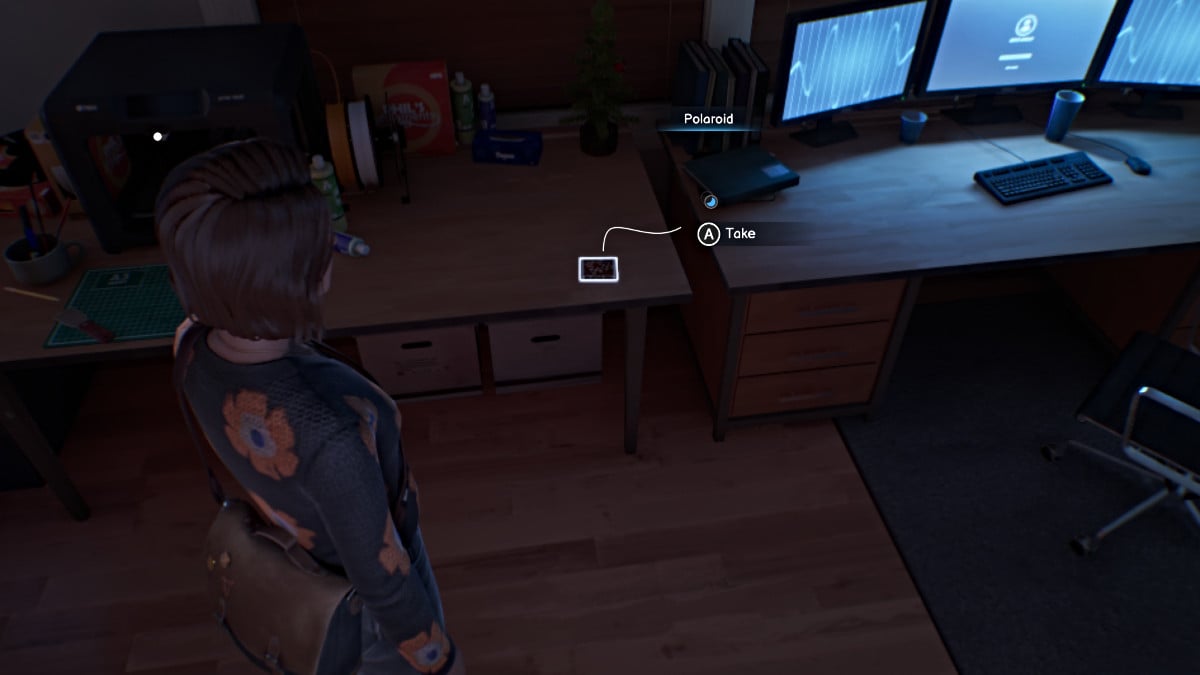
Collect Polaroid 7 - Screenshot by Pro Game Guides
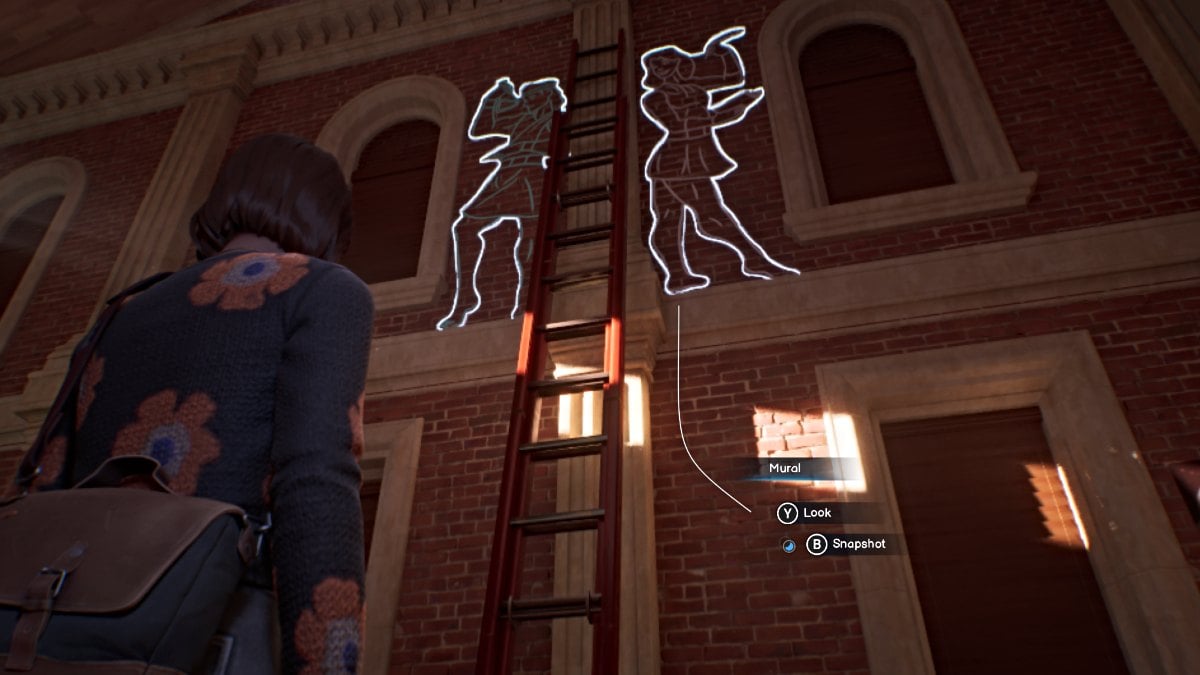
Gemini Mural Snapshot point - Screenshot by Pro Game Guides

Grab the Allen Wrench - Screenshot by Pro Game Guides
Line up the Gemini constellation with the mural - Screenshot by Pro Game Guides
Accept or reject Alderman’s request - Screenshot by Pro Game Guides
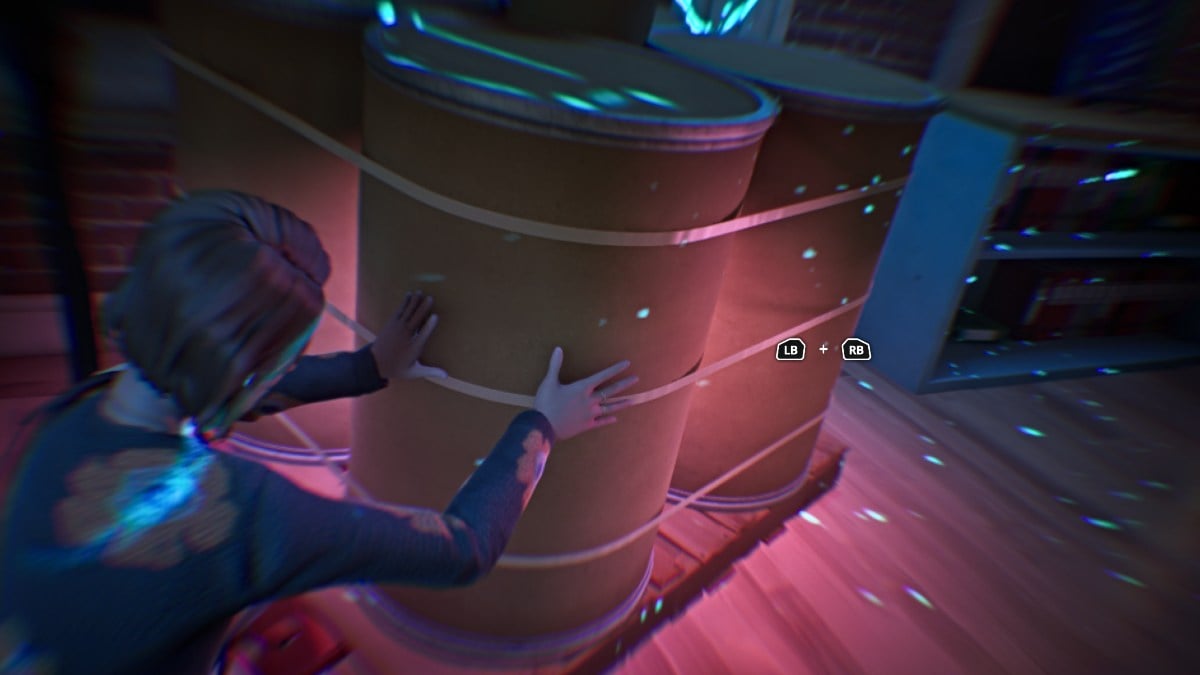
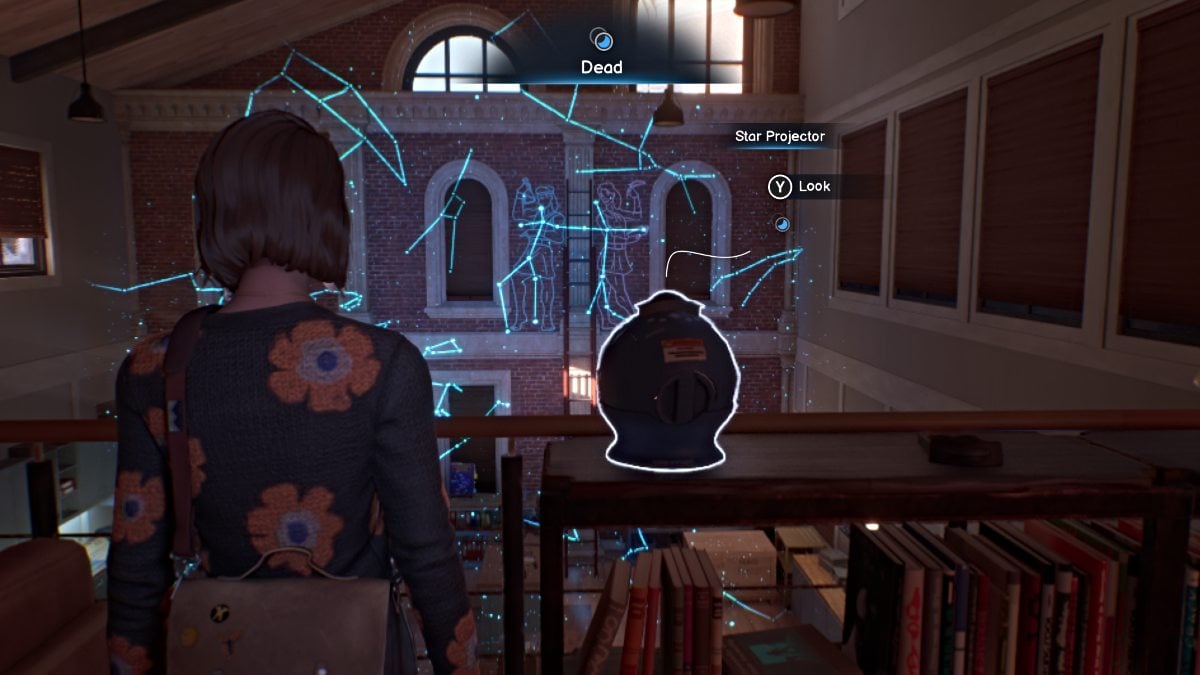
Use Teleport ability to move telescope parts - Screenshot by Pro Game Guides
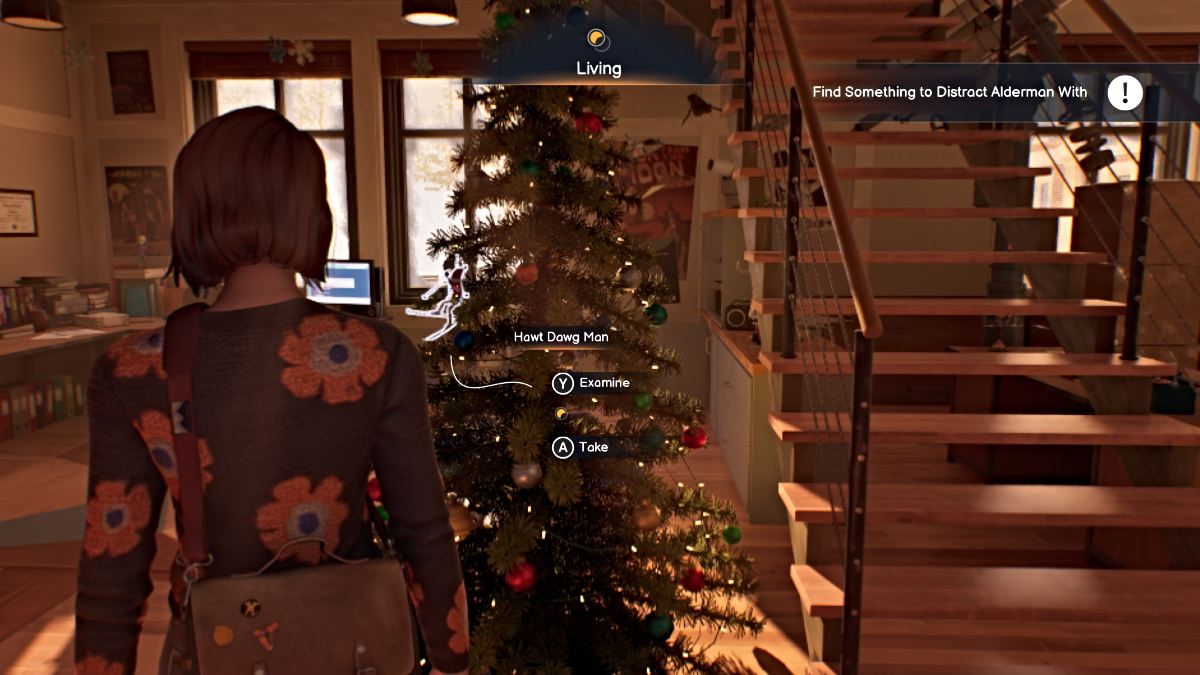
Grab the Hawt Dawg ornament to distract Alderman with - Screenshot by Pro Game Guides
Collect Polaroid 8 -Screenshot by Pro Game Guides
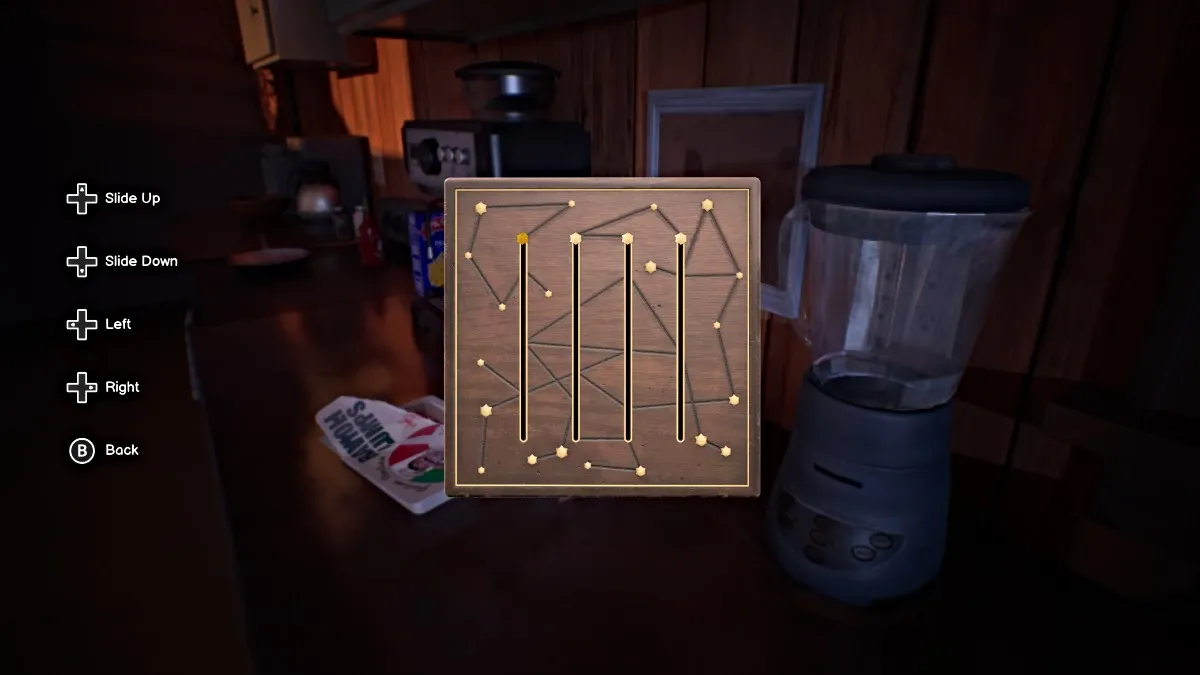
Align the stars into Libra constellation - Screenshot by Pro Game Guides
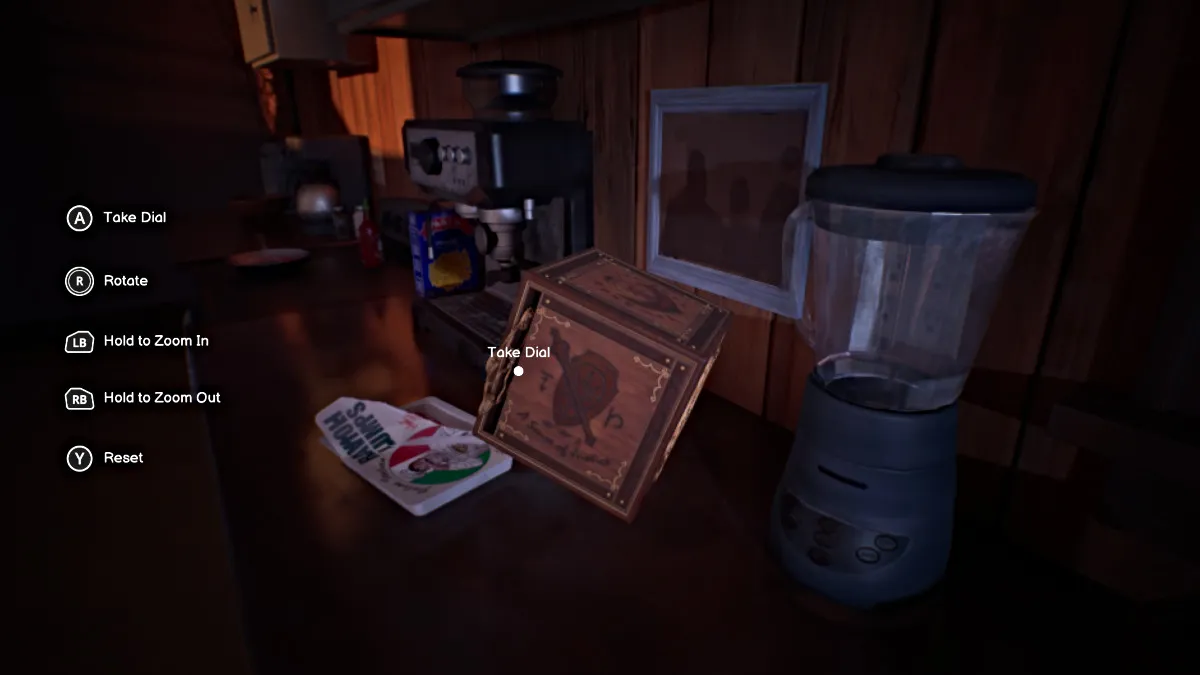
Retrieve the dial after completing the constellation step - Screenshot by Pro Game Guides
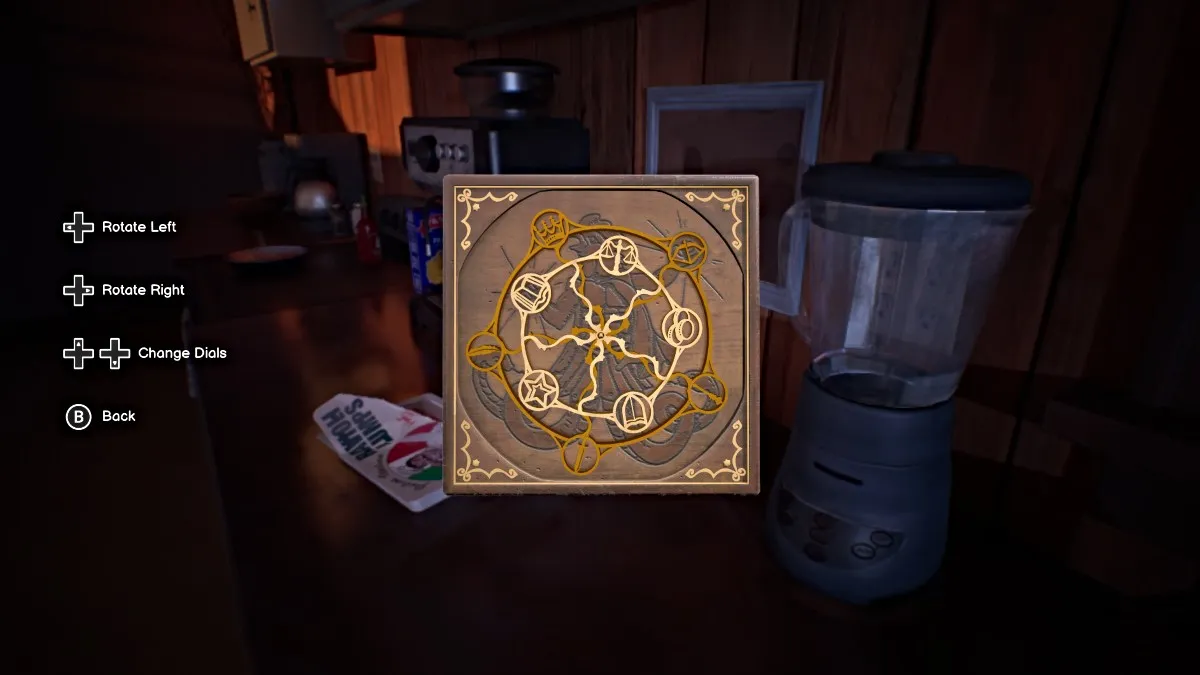
Turn the dials to the correct symbols - Screenshot by Pro Game Guides
Screenshot by Pro Game Guides

Snowdrop flower Snapshot point - Screenshot by Pro Game Guides
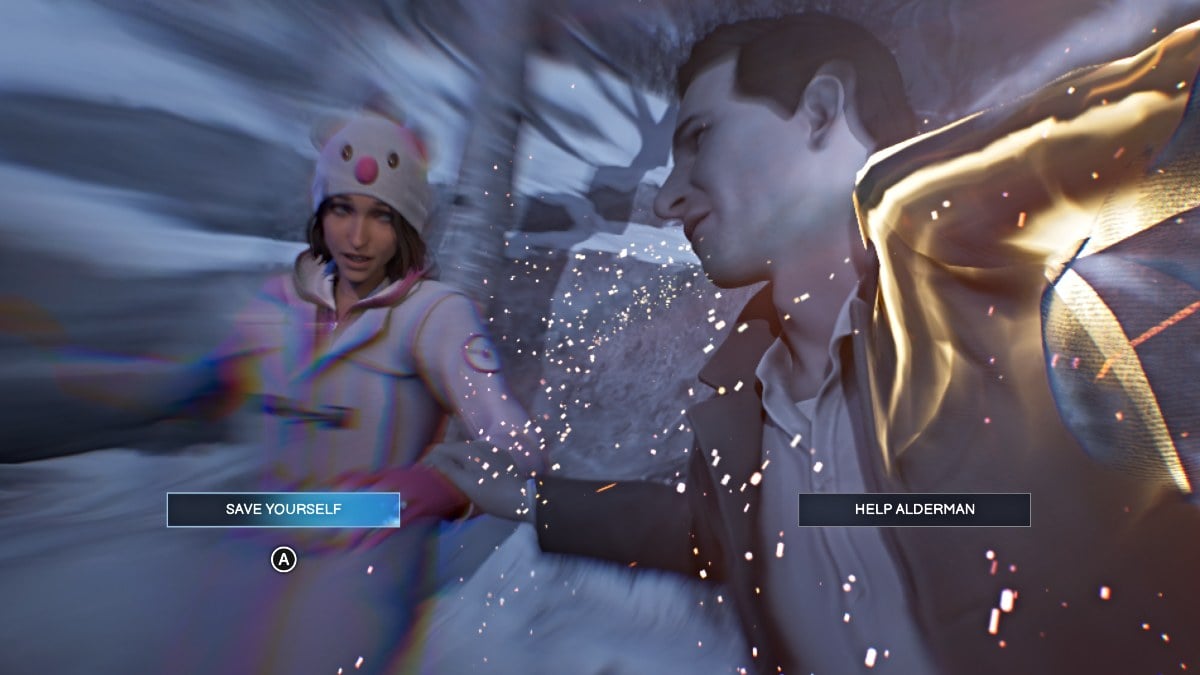
Choose whether to save Alderman or yourself - Screenshot by Pro Game Guides
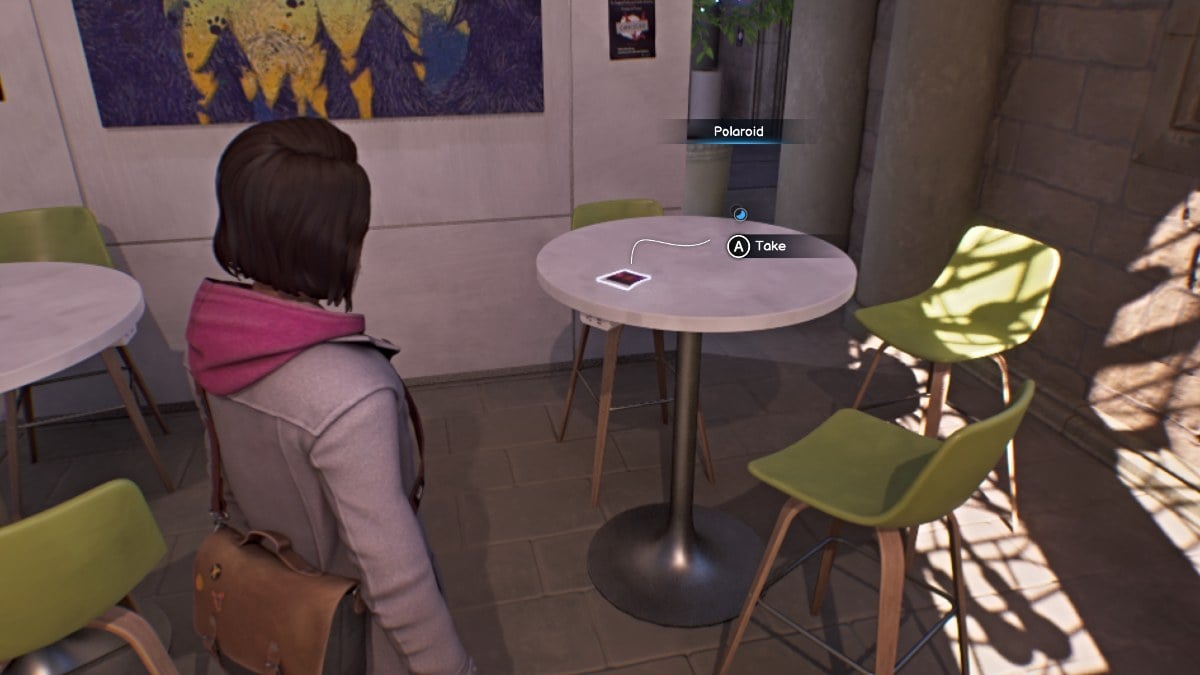
Collect Polaroid 9 in FAB Cafe - Screenshot by Pro Game Guides
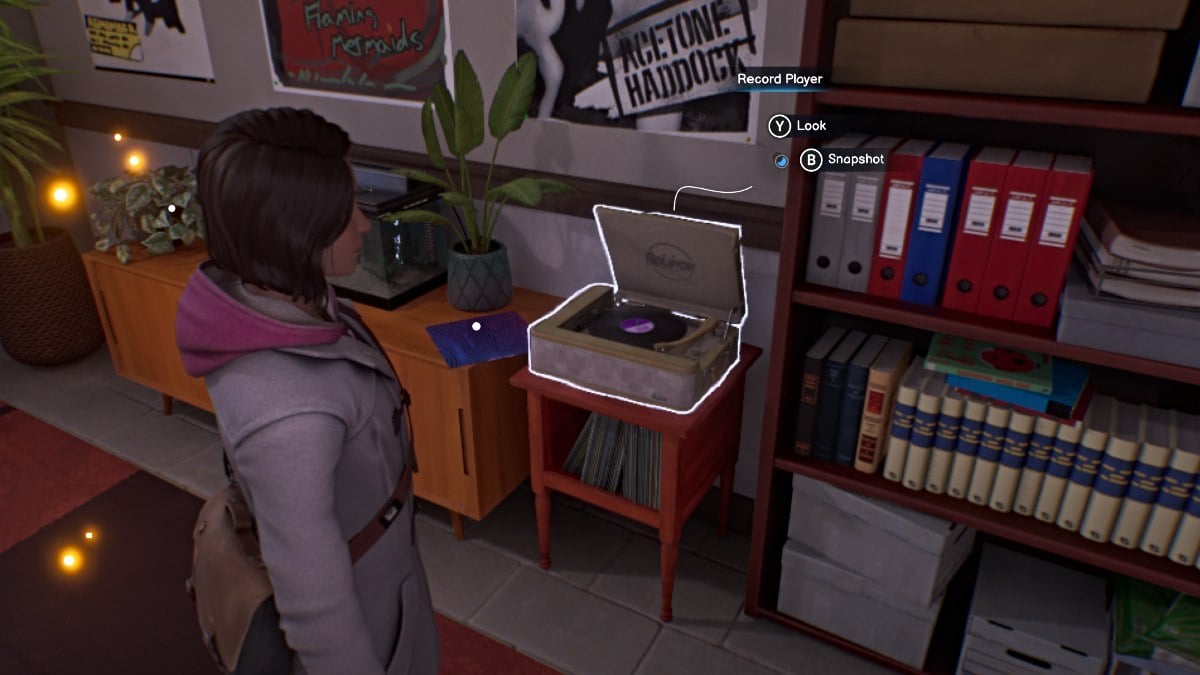
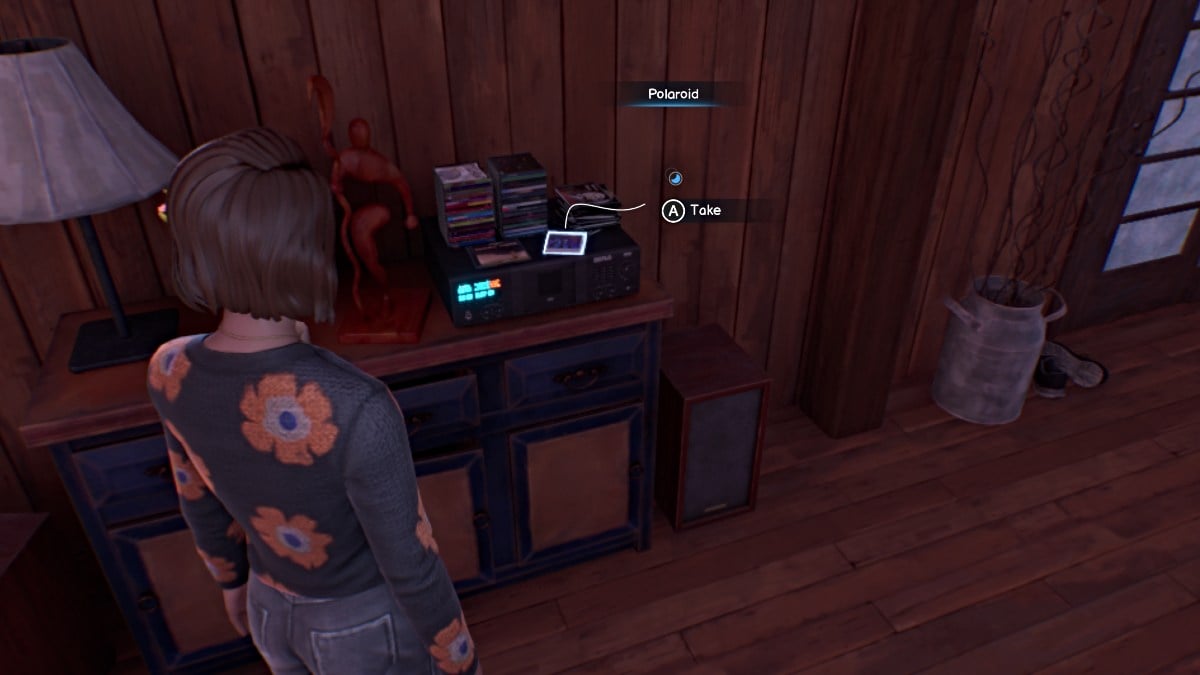
Snapshot point of Gwen’s record player - Screenshot by Pro Game Guides
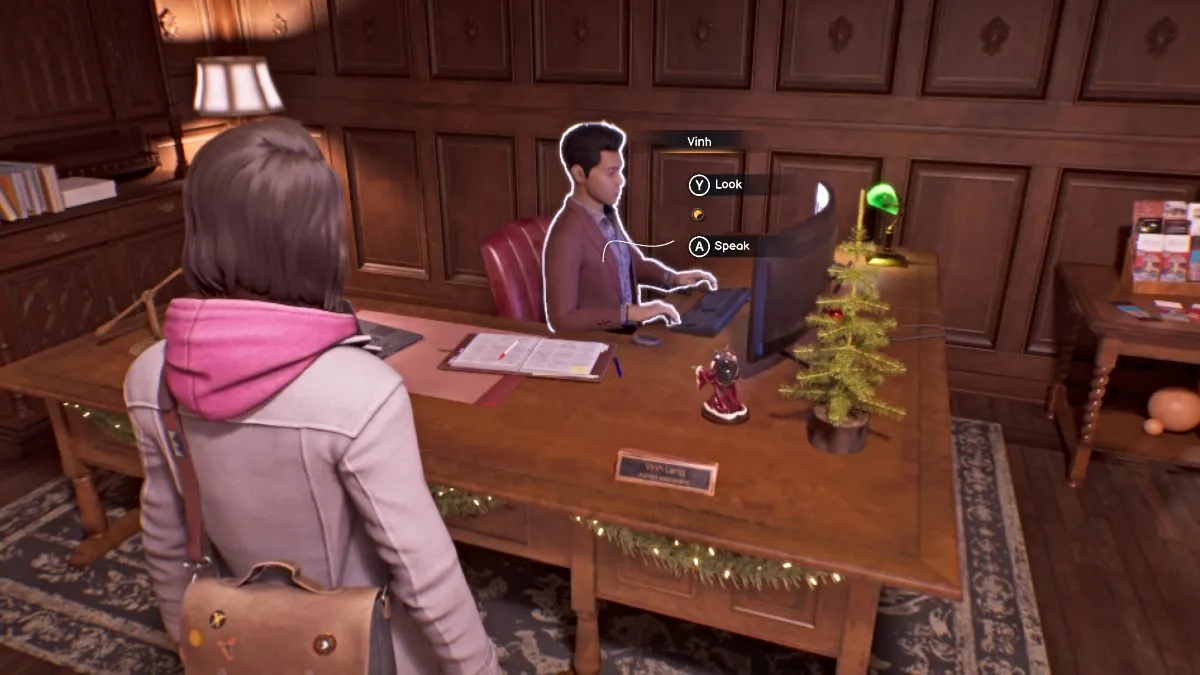
Talk to Vinh (Living World) - Screenshot by Pro Game Guides

Vinh and Diamond in the library - Screenshot by Pro Game Guides

Use Pulse to listen to Vinh and Diamond’s conversation - Screenshot by Pro Game Guides
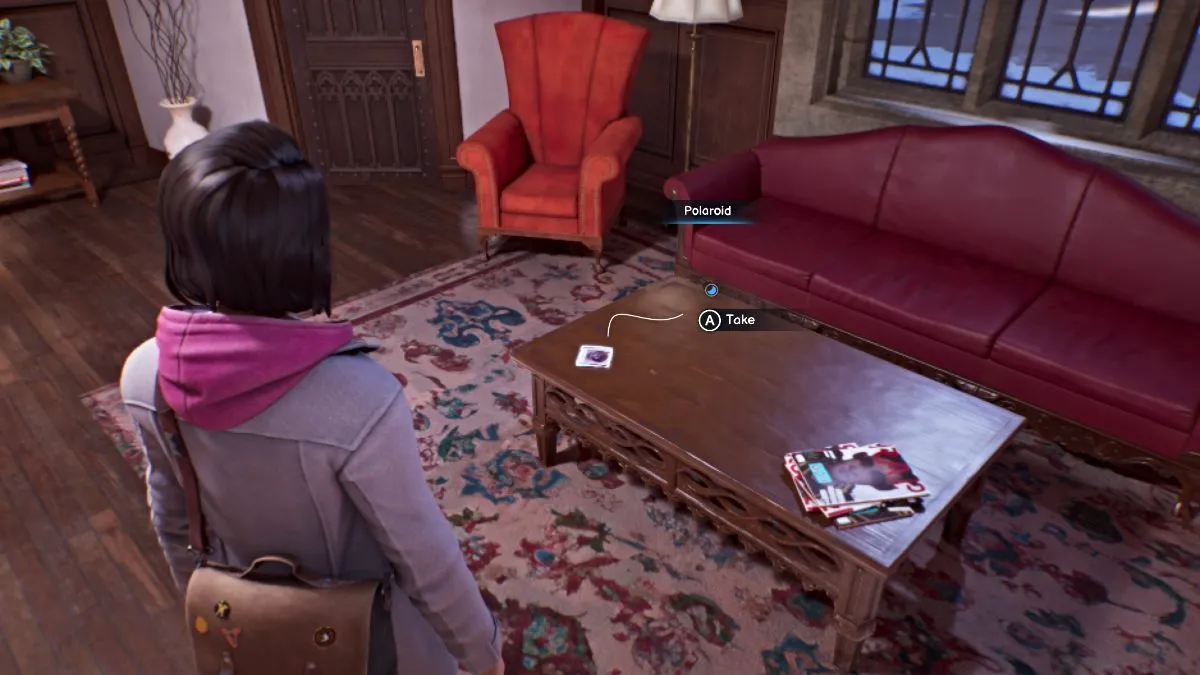
Collect Polaroid 10 in Vinh’s Office - Screenshot by Pro Game Guides
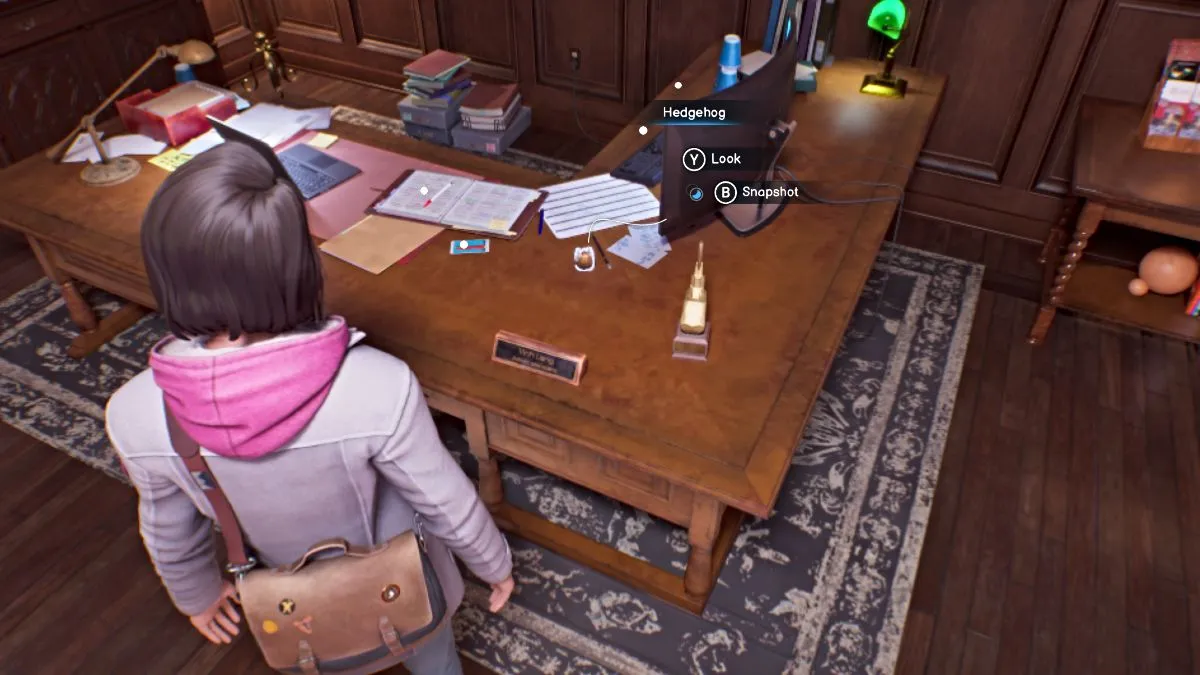
Hedgehog Snapshot point - Screenshot by Pro Game Guides
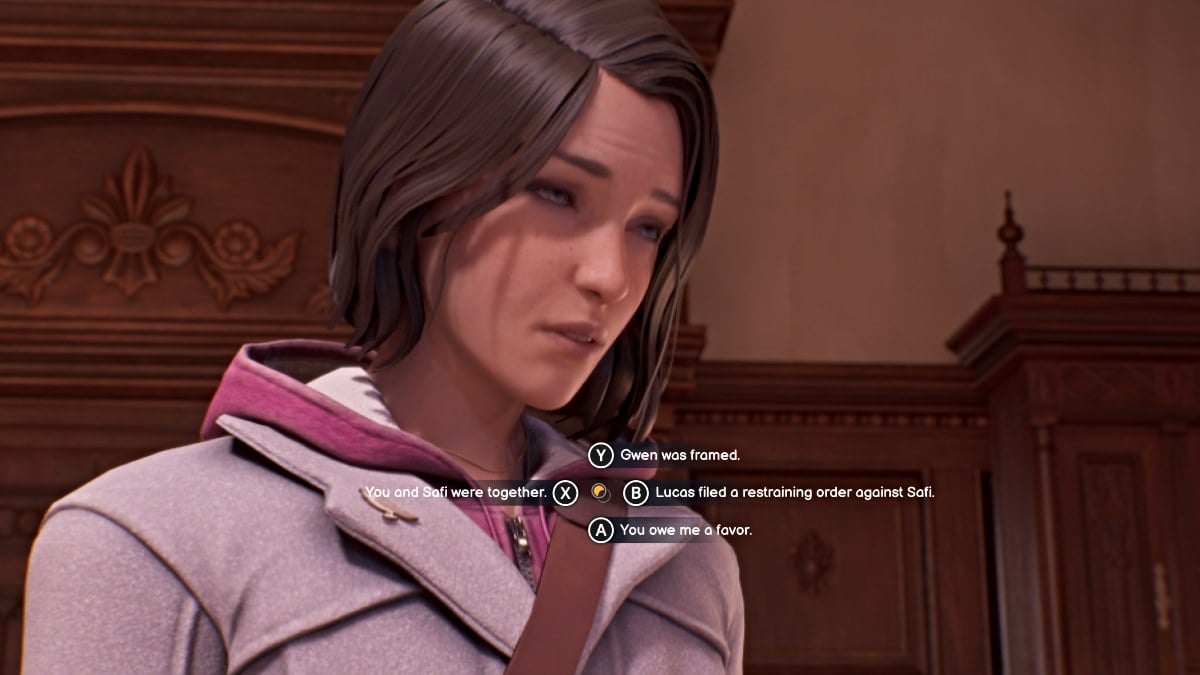
Use a secret to pry info from Vinh (Favor won’t work here) - Screenshot by Pro Game Guides

Ask Lucas about Maya - Screenshot by Pro Game Guides
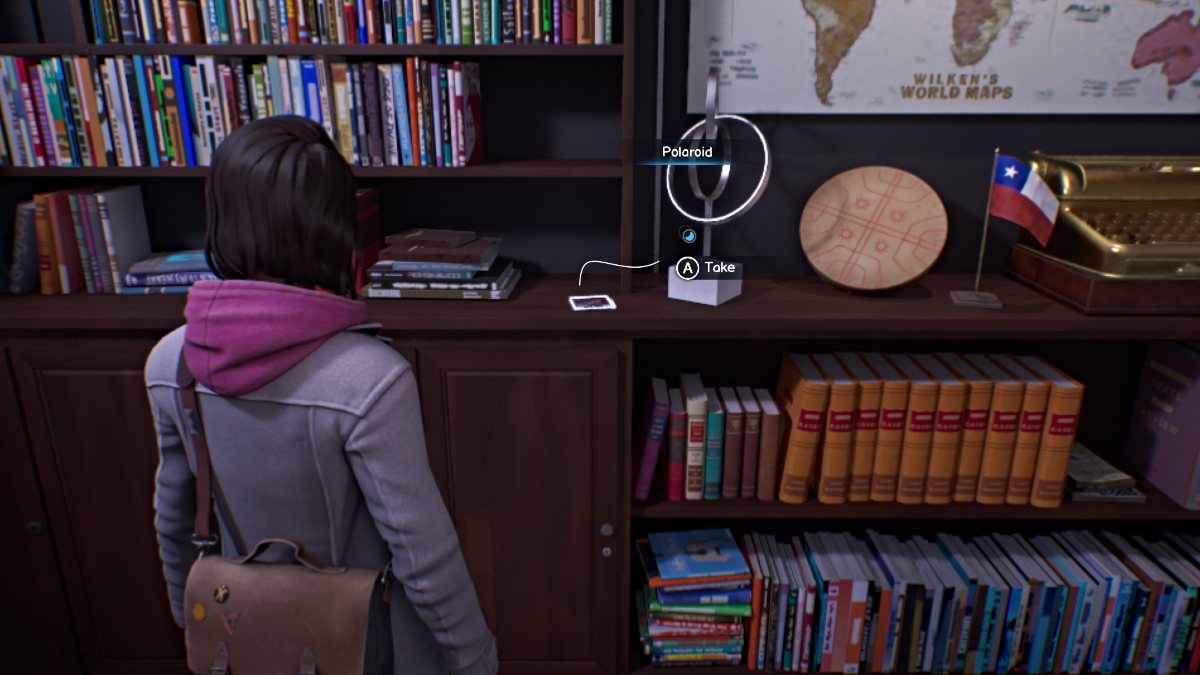
Collect Polaroid 11 - Screenshot by Pro Game Guides
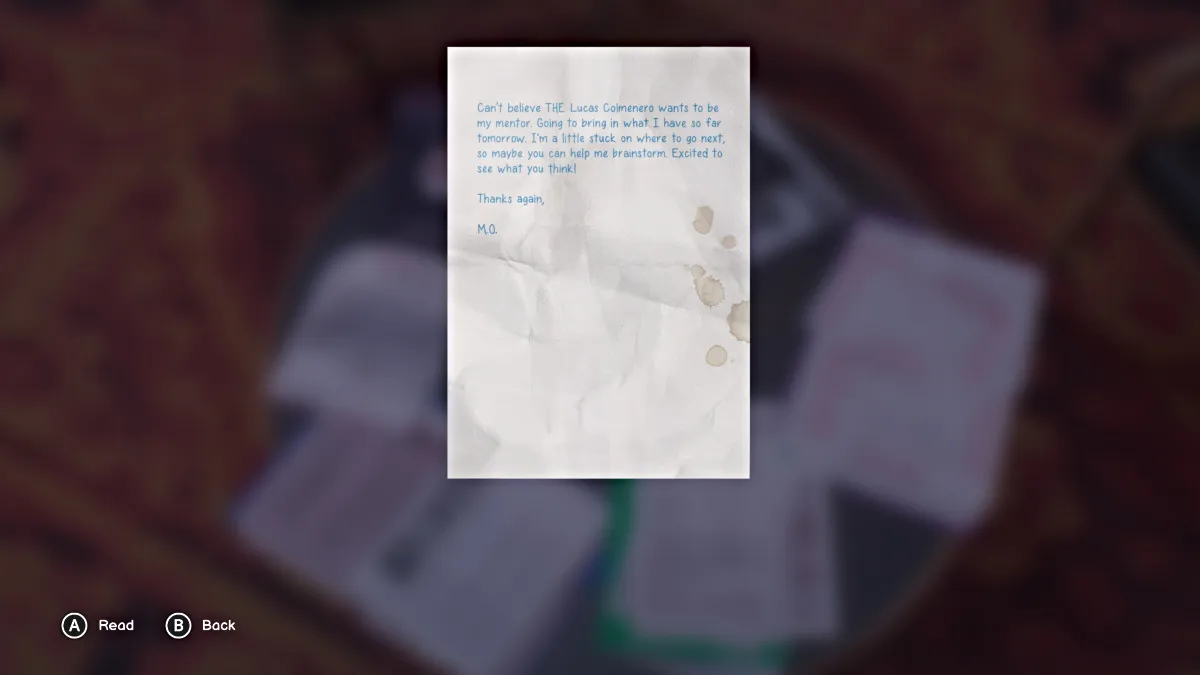
Note from Maya Okada to Lucas - Screenshot by Pro Game Guides
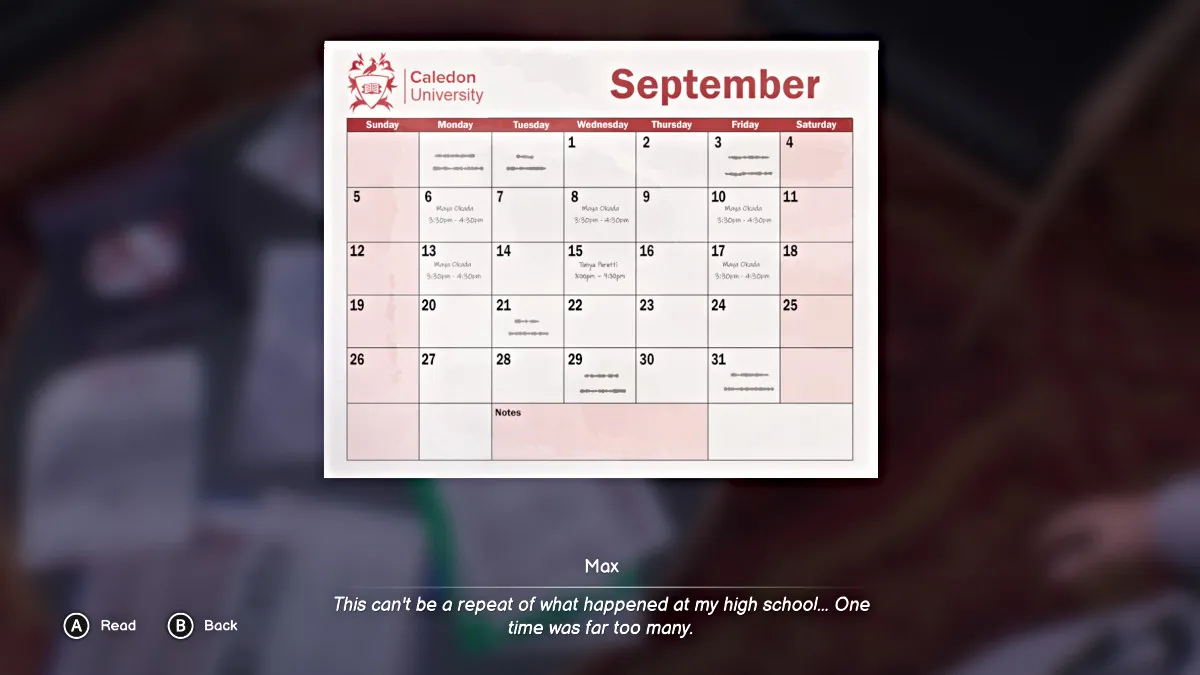
Several meetings between Lucas and Maya - Screenshot by Pro Game Guides

Gold Typewriter Snapshot point - Screenshot by Pro Game Guides
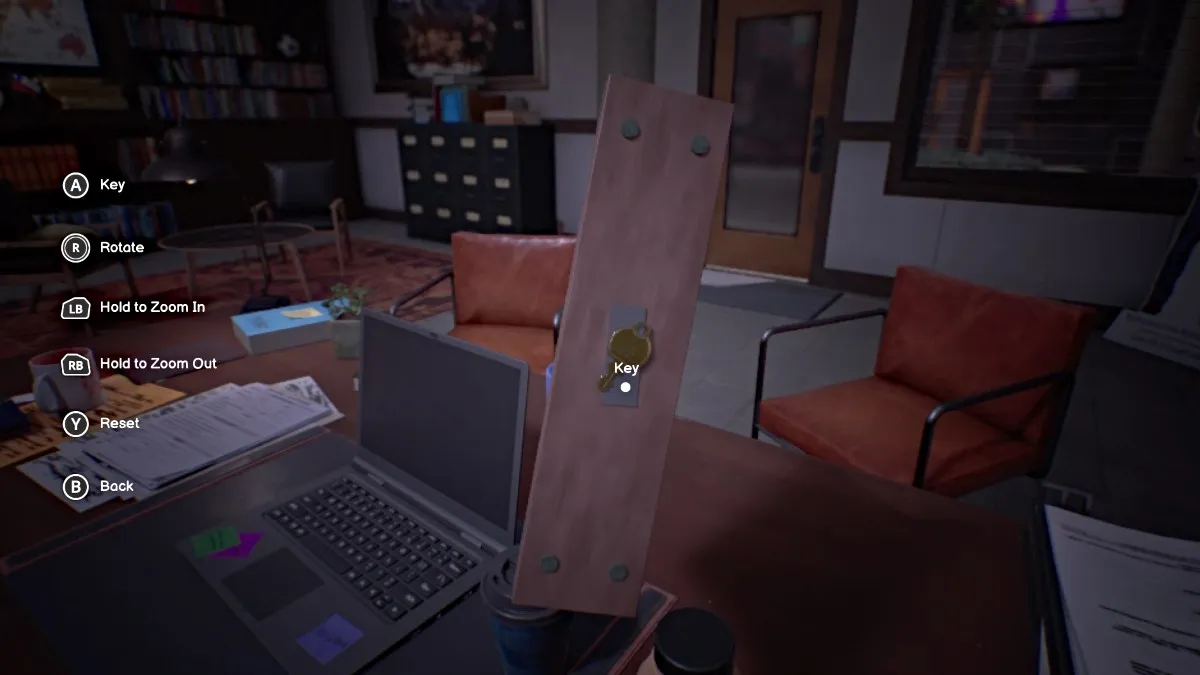
Lucas' Hidden Key - Screenshot by Pro Game Guides
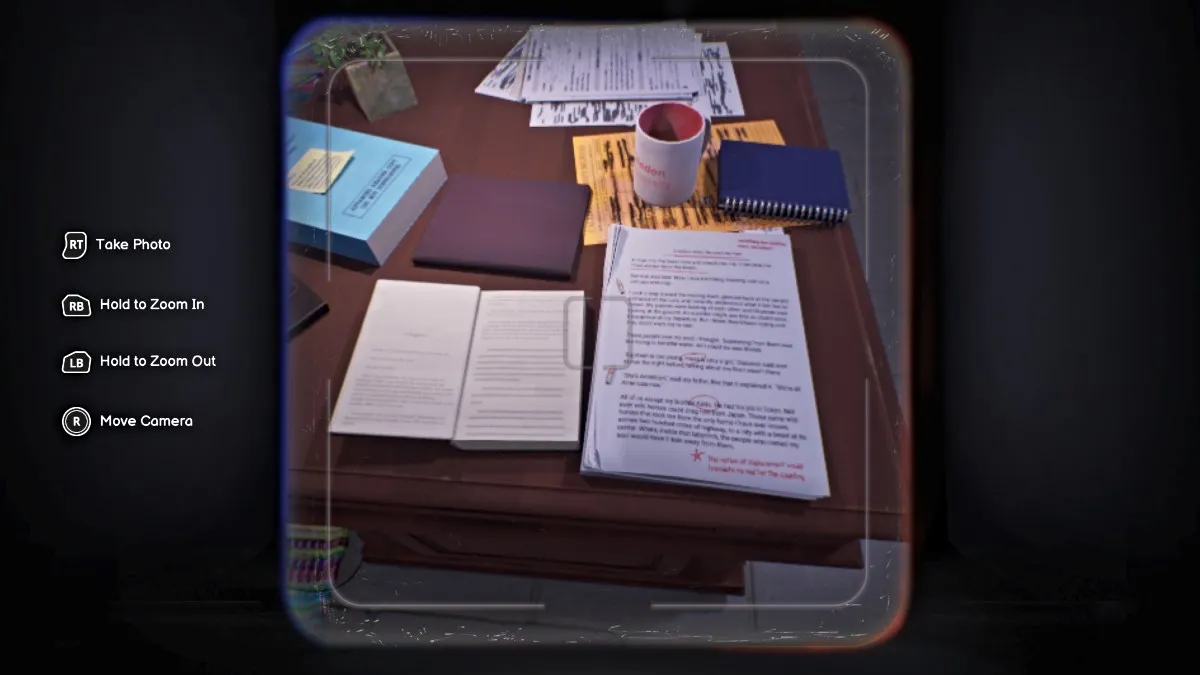
Photo of Lucas' book and Maya’s original work - Screenshot by Pro Game Guides
Collect Polaroid 12 - Screenshot by Pro Game Guides

Choose whether to kiss Vinh or not - Screenshot by Pro Game Guides
Collect Polaroid 13 from Dead World - Screenshot by Pro Game Guides
Max and “Other Max” - Screenshot by Pro Game Guides

Max rewinds to save them both from the ice lake - Screenshot by Pro Game Guides
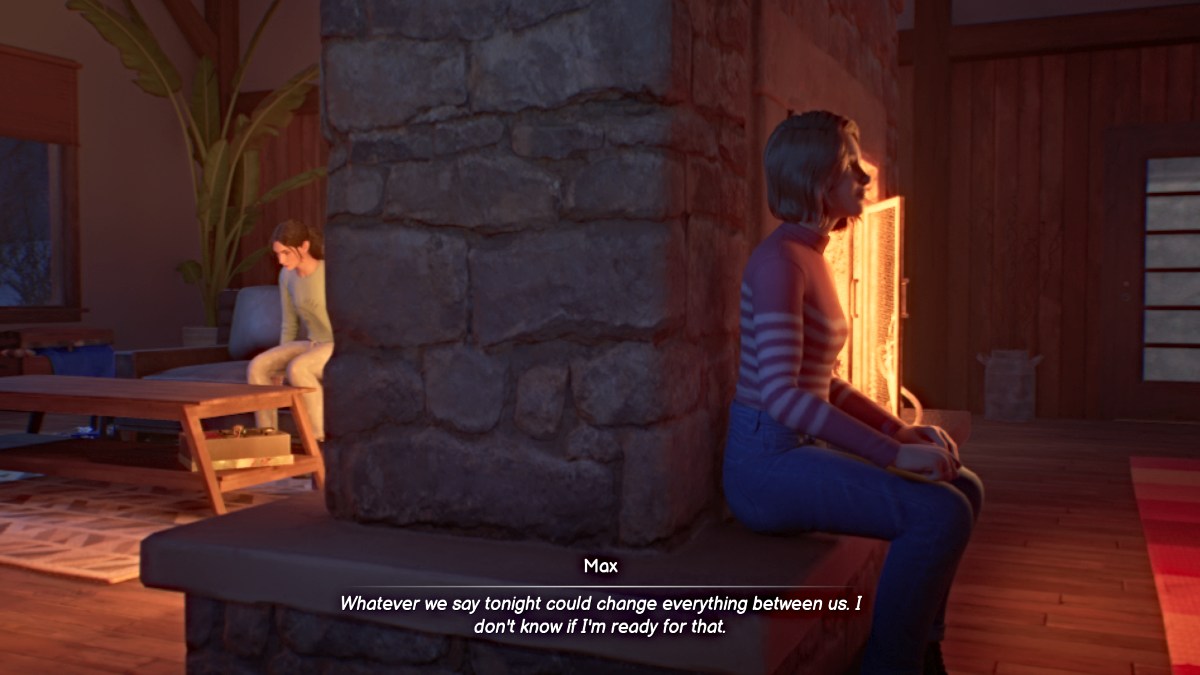
Fireplace Zen Moment - Screenshot by Pro Game Guides
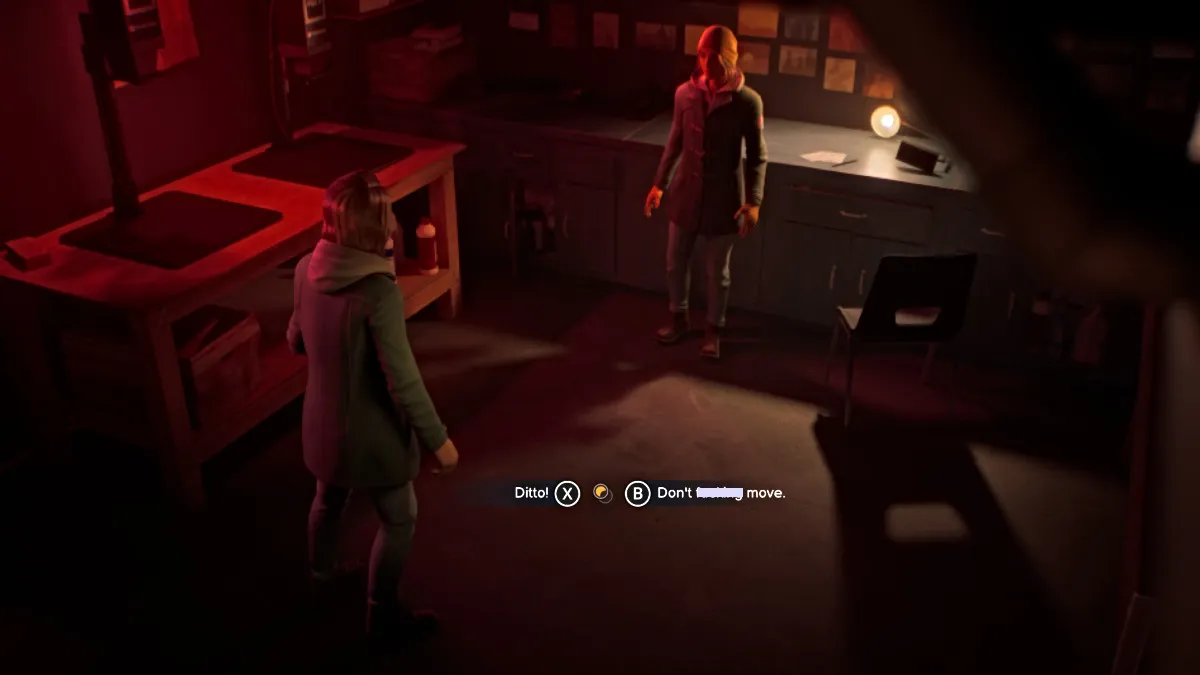
Choose whether to say you’d shoot Safi for real or not - Screenshot by Pro Game Guides
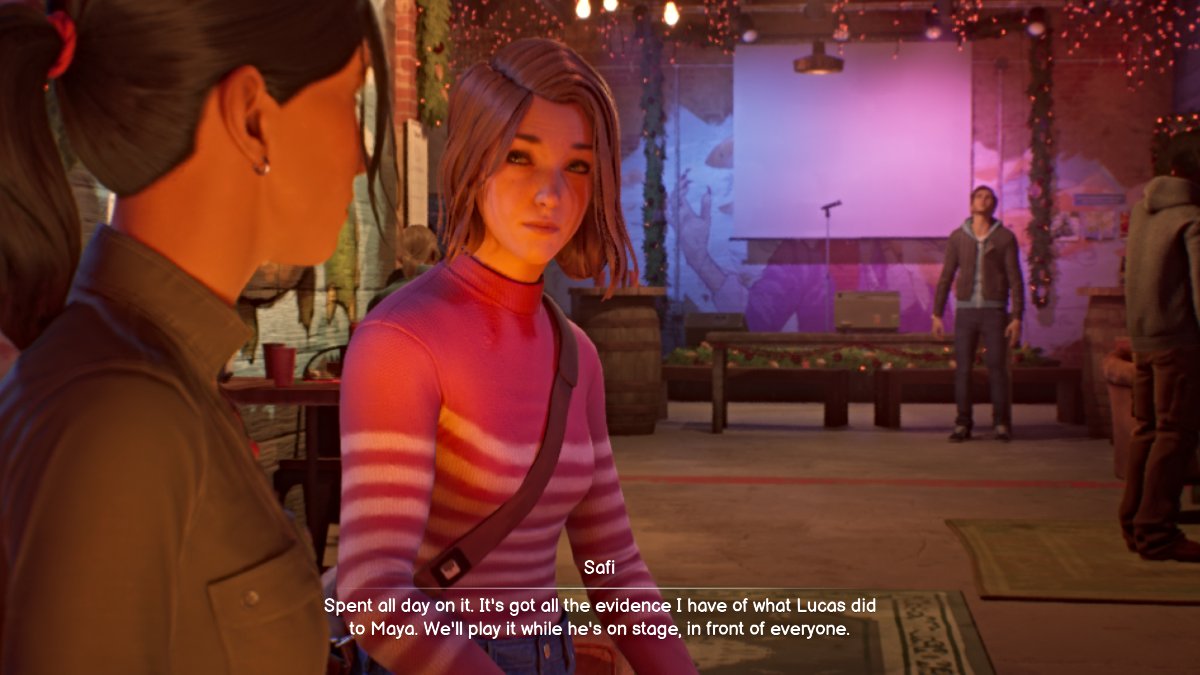
Safi and Max discuss plan to take down Lucas - Screenshot by Pro Game Guides
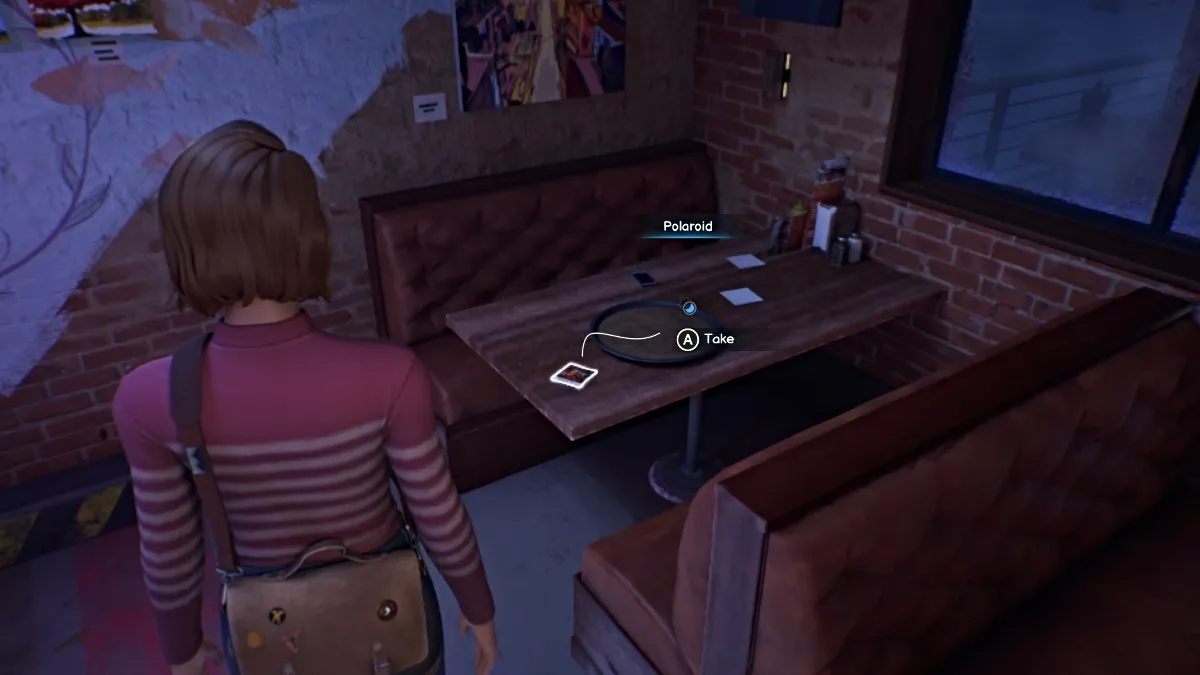
Collect Polaroid 15 in Dead World - Screenshot by Pro Game Guides
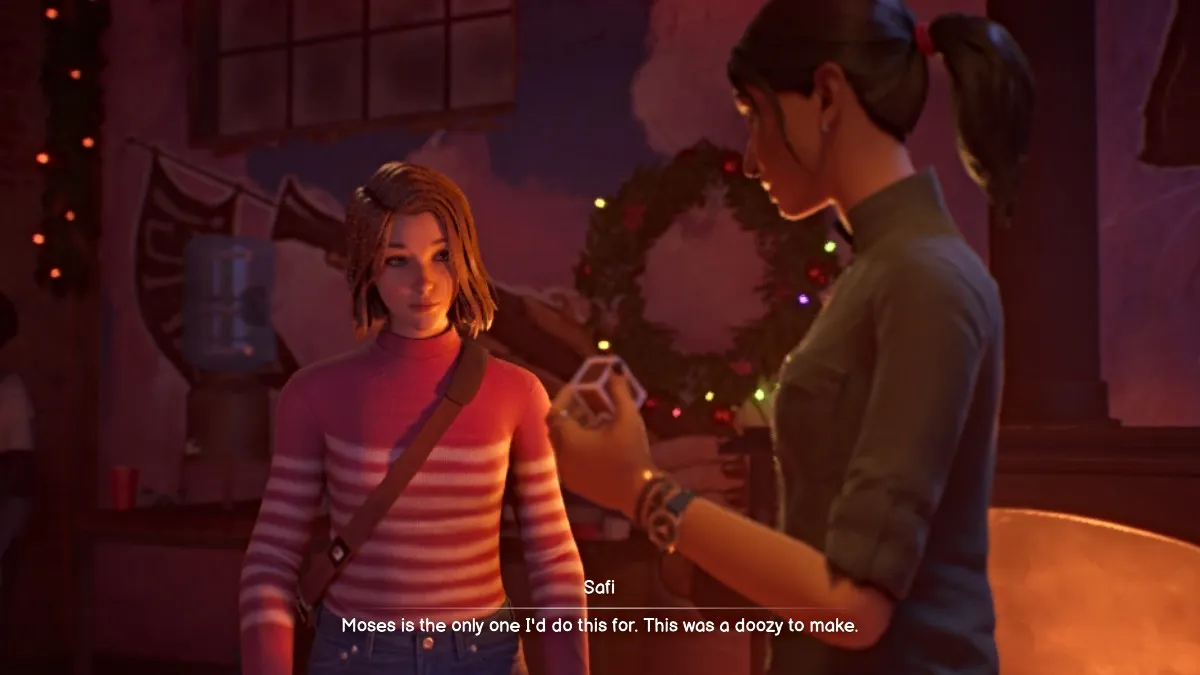
Safi gives Max her gingerbread chimney for Moses - Screenshot by Pro Game Guides
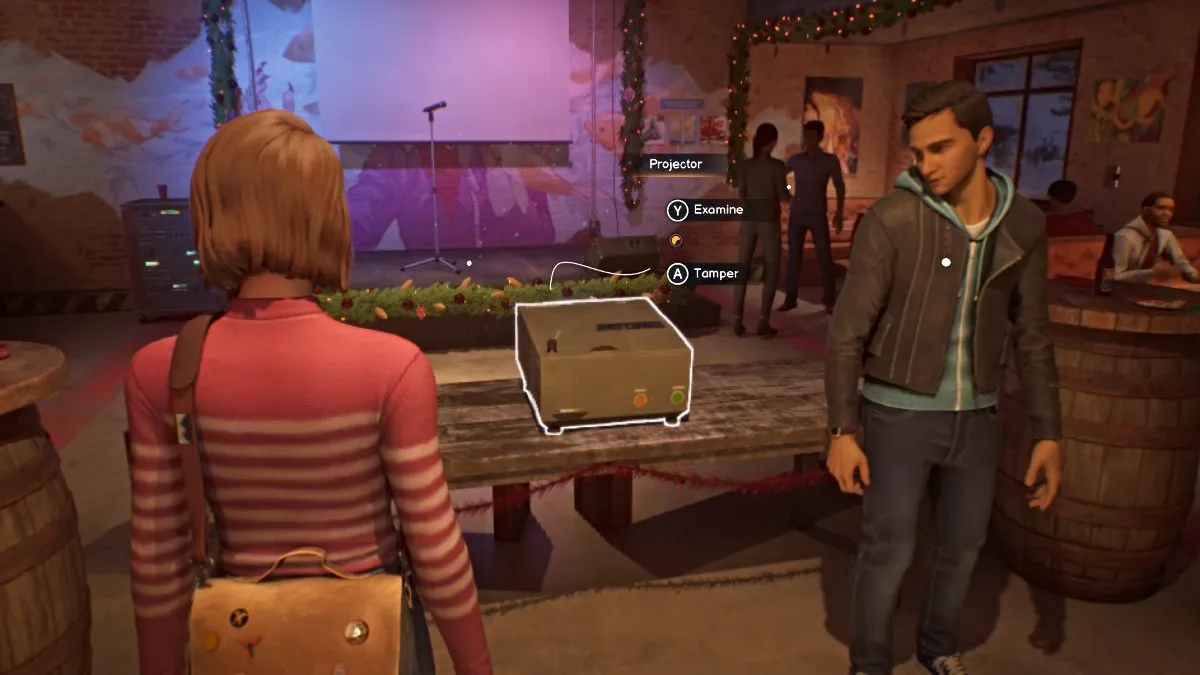
Tamper with Olga the Projector - Screenshot by Pro Game Guides
Max finds Lucas' gun - Screenshot by Pro Game Guides
Max helps “Loretta” with Lucas - Screenshot by Pro Game Guides
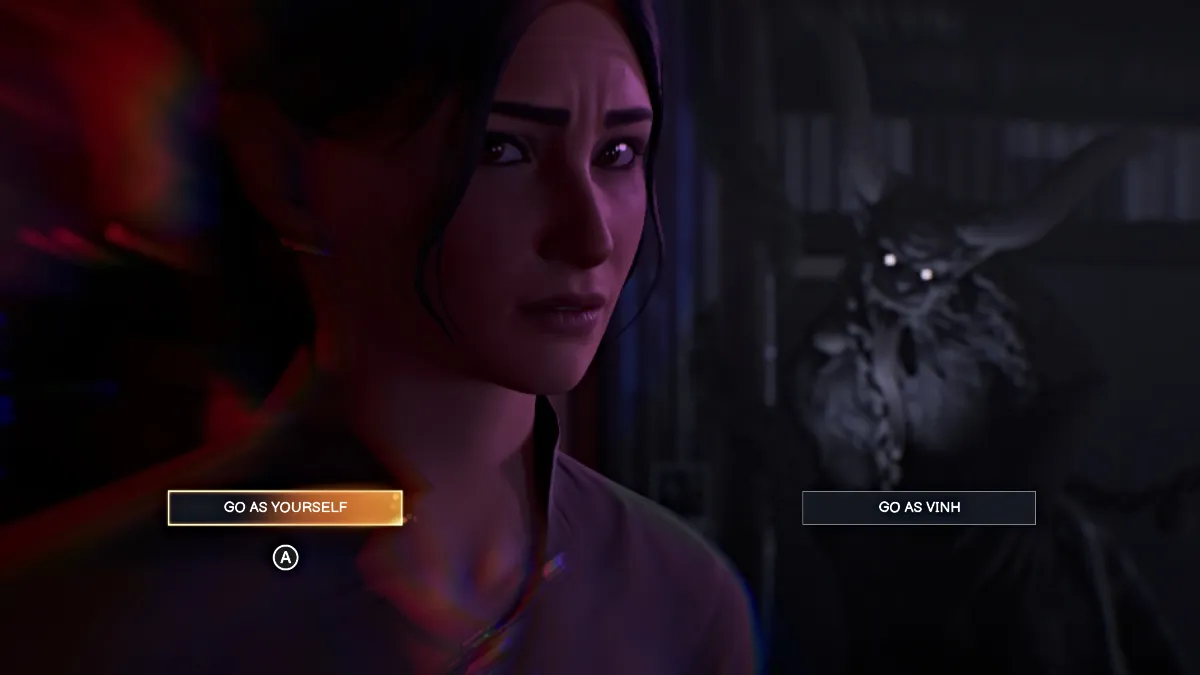
Choose whether Safi tells the truth as herself or Vinh - Screenshot by Pro Game Guides

Vinh exposes Lucas' plagiarism of Maya’s work - Screenshot by Pro Game Guides
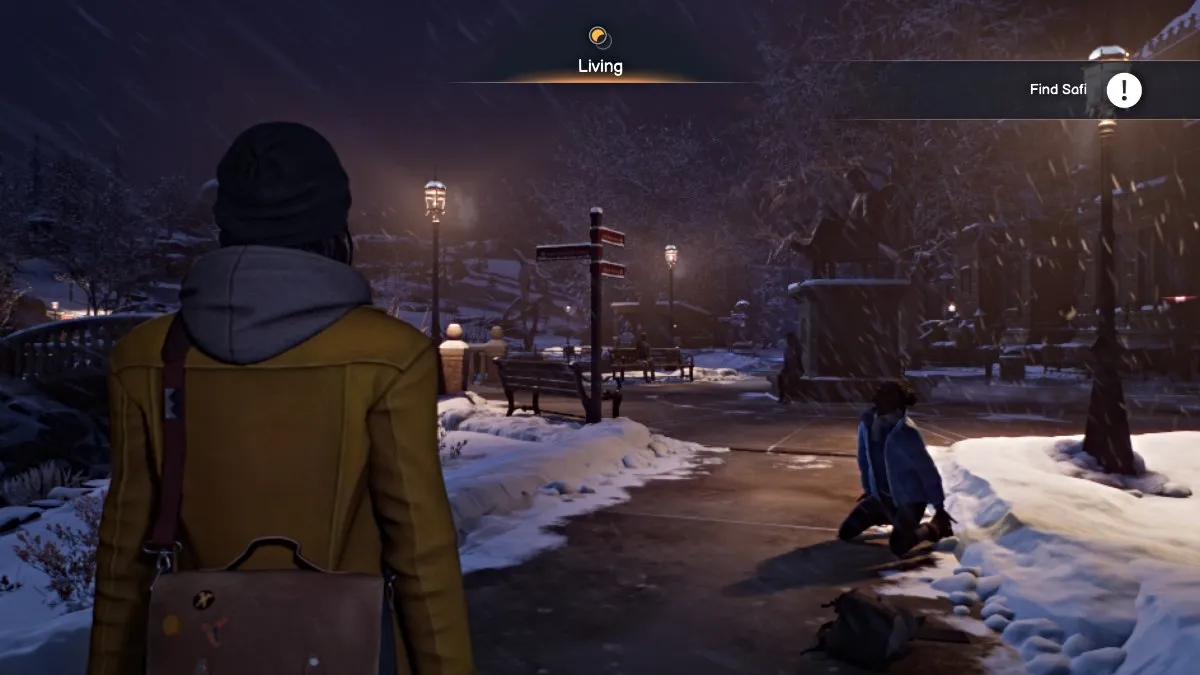
Find Safi in the storm - Screenshot by Pro Game Guides

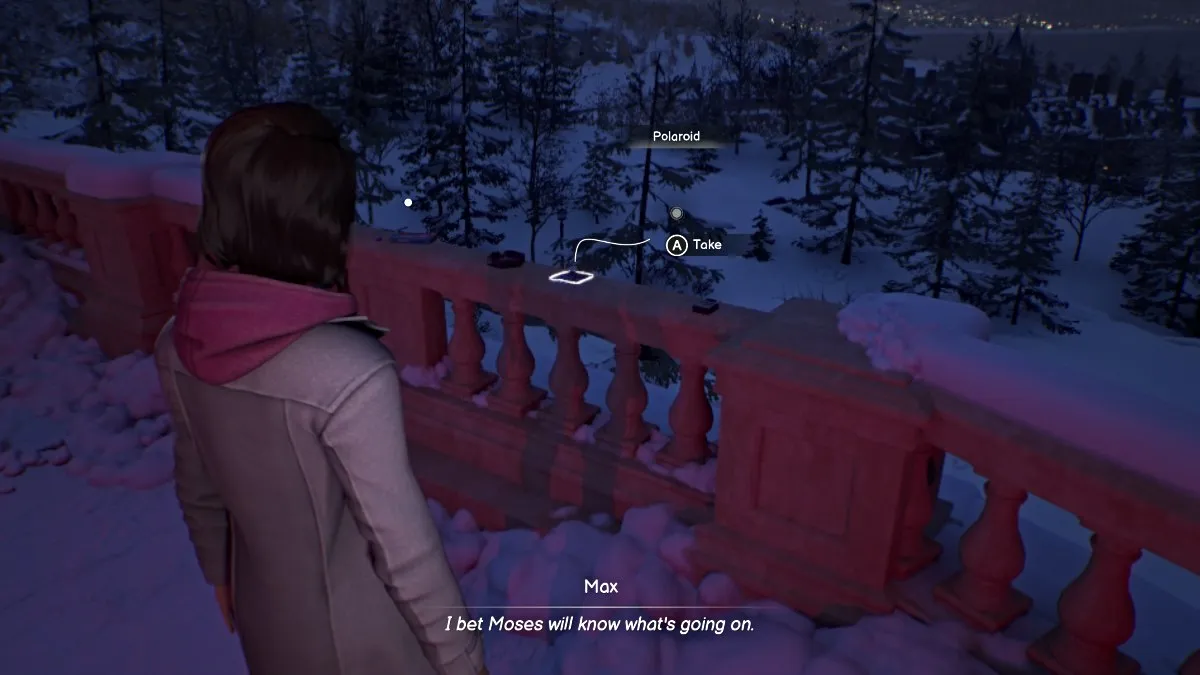
Collect Polaroid 17 - Screenshot by Pro Game Guides
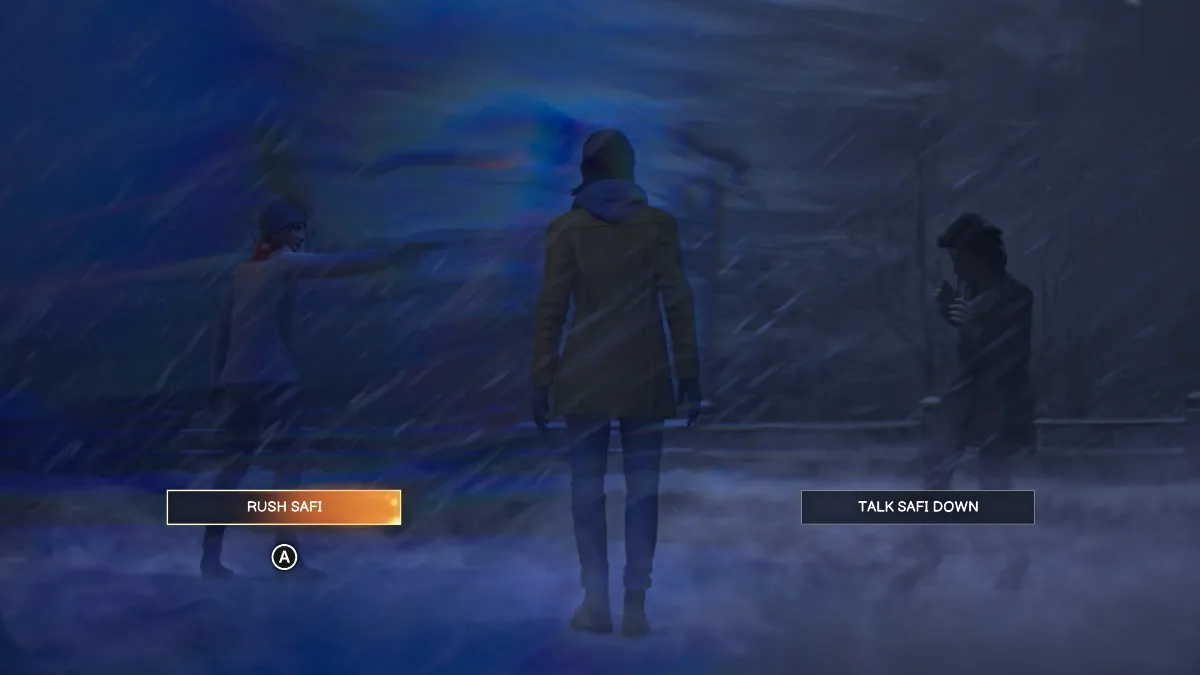
Choose whether to rush Safi for the gun or talk her down - Screenshot by Pro Game Guides

Safi tries to convince Max - Screenshot by Pro Game Guides
Collect Polaroid 18 - Screenshot by Pro Game Guides
Use Max’s camera to save Moses - Screenshot by Pro Game Guides
Collect Polaroid 19 - Screenshot by Pro Game Guides
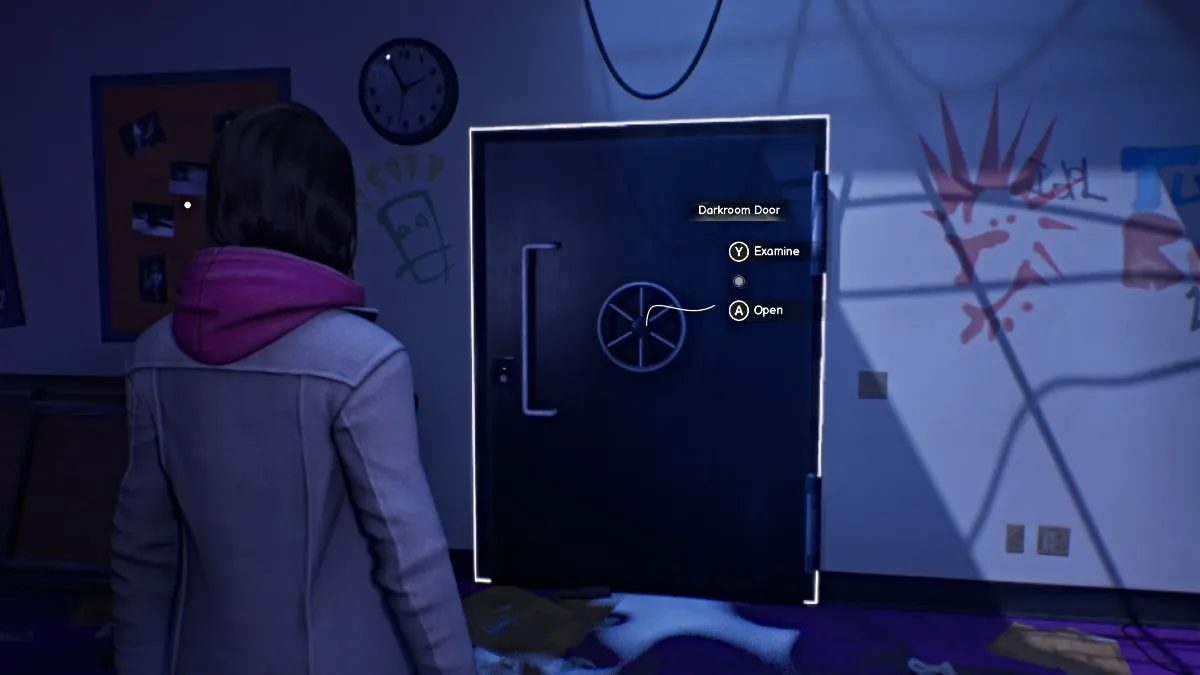
Try to open the Darkroom door - Screenshot by Pro Game Guides
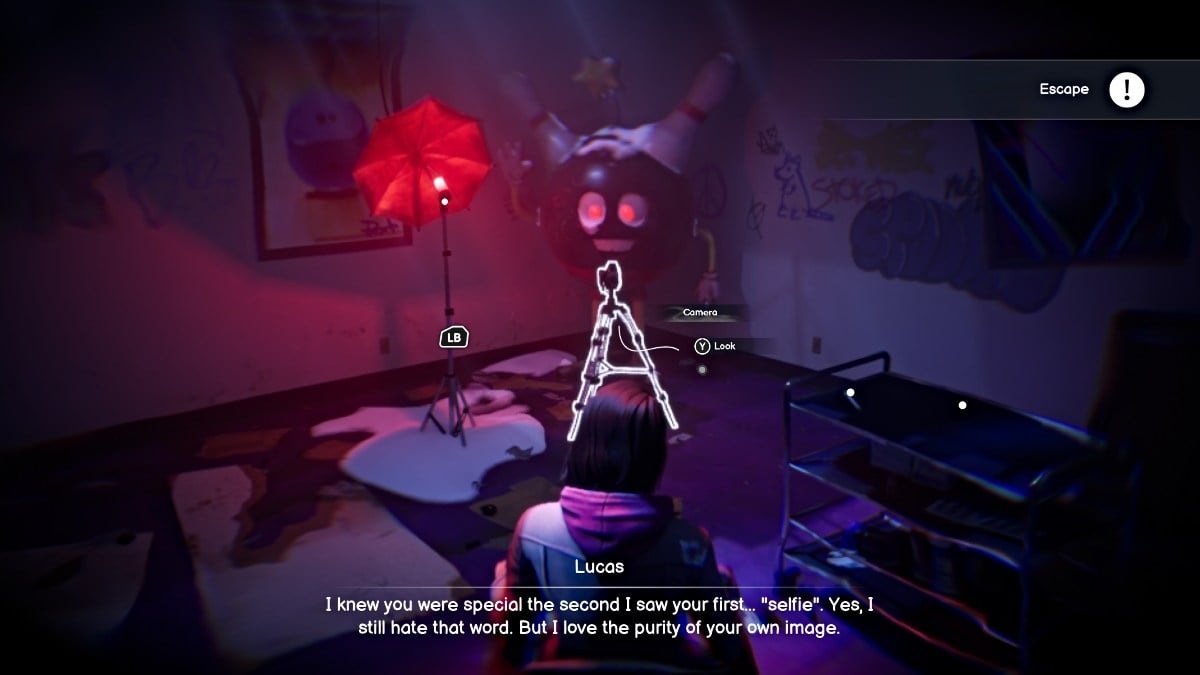
Break free of Jefferson hallucination - Screenshot by Pro Game Guides
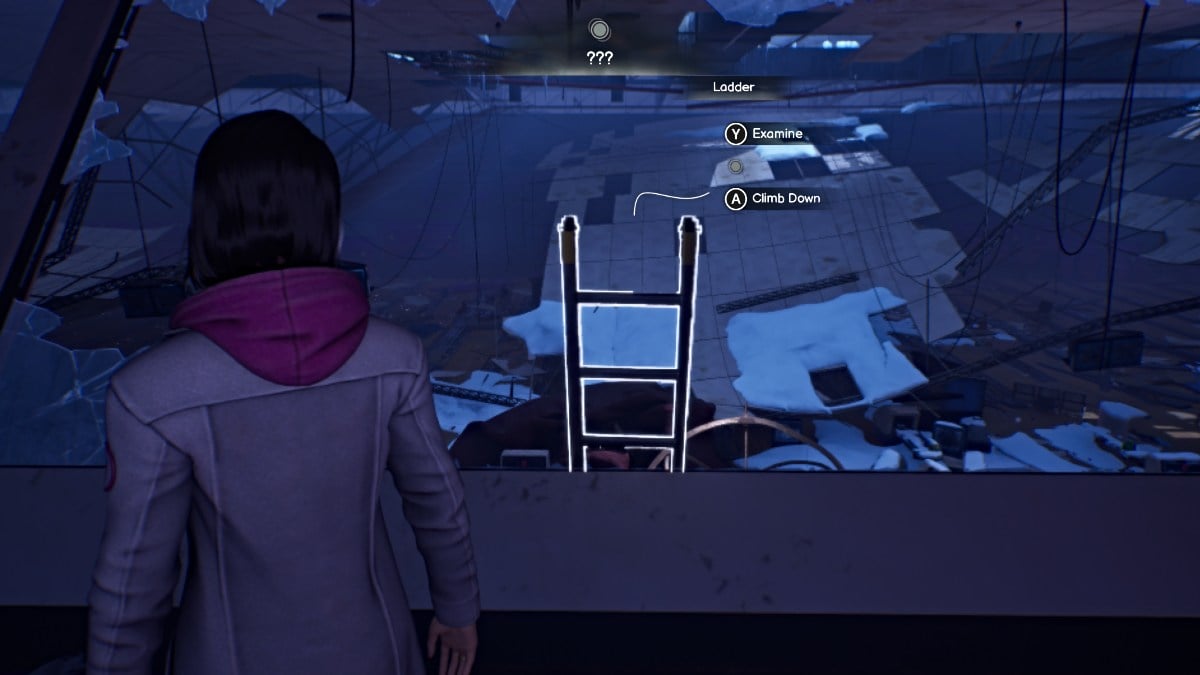
Climb down the ladder - Screenshot by Pro Game Guides

Confront and help Lucas - Screenshot by Pro Game Guides
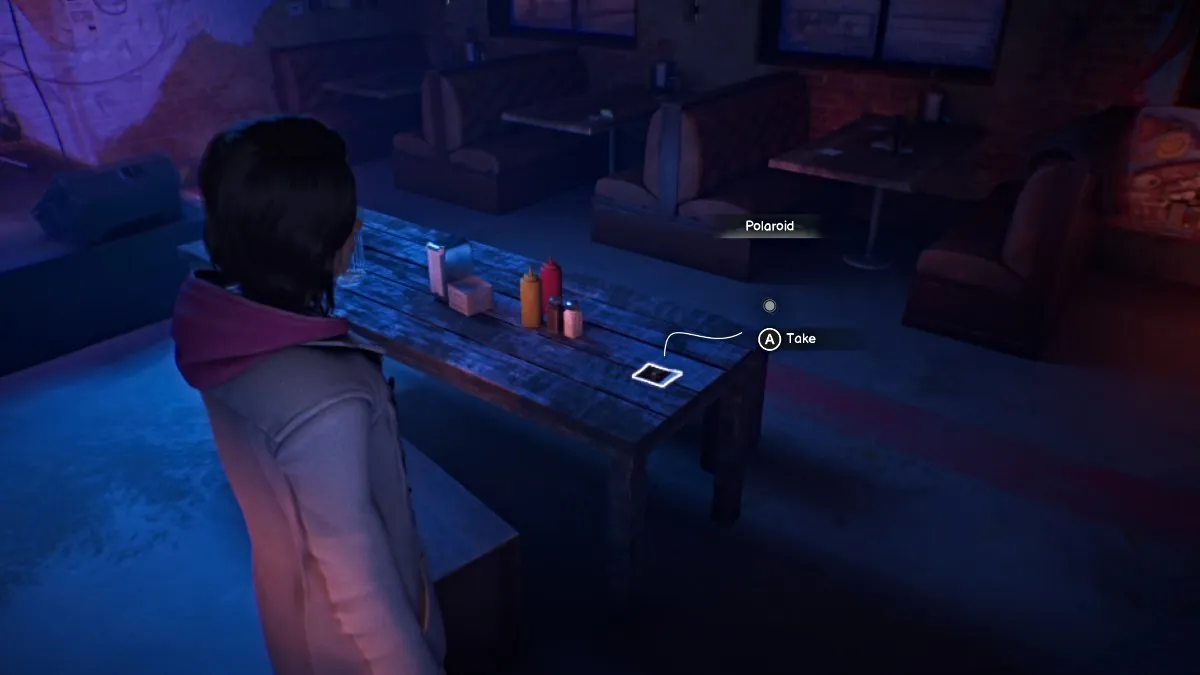
Collect Polaroid 20 - Screenshot by Pro Game Guides
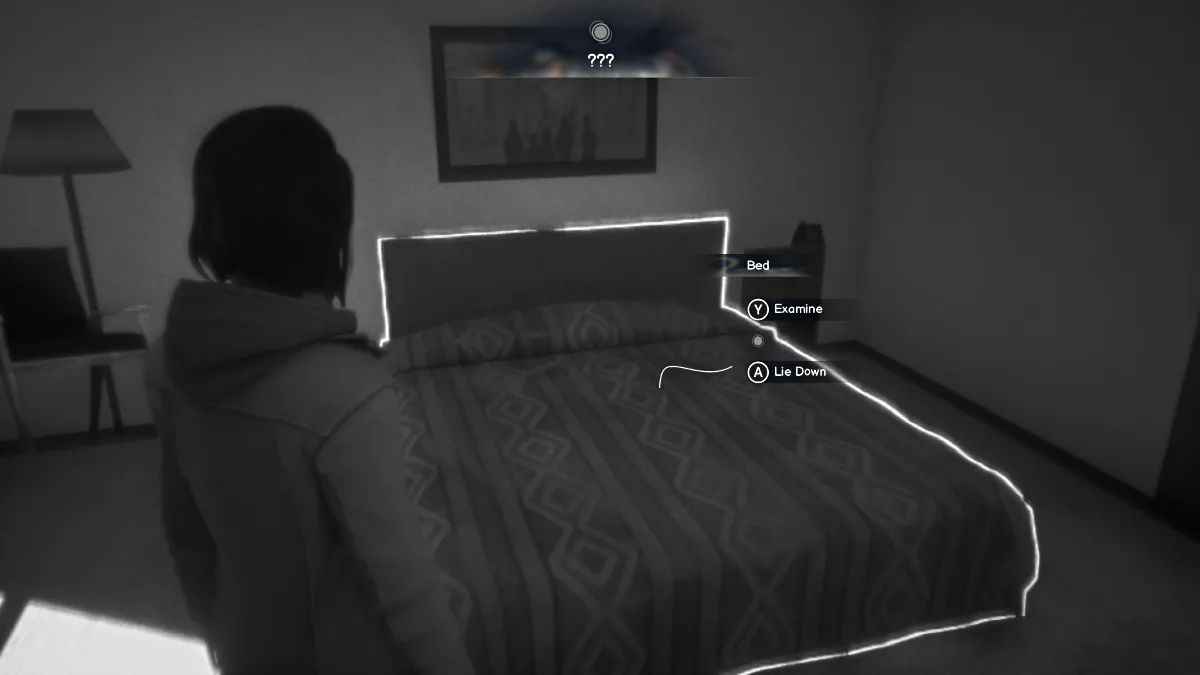
Rest on the Motel Bed to progress - Screenshot by Pro Game Guides
Free Gwen with the camera - Screenshot by Pro Game Guides

Choose whether to support Safi’s plan or not - Screenshot by Pro Game Guides
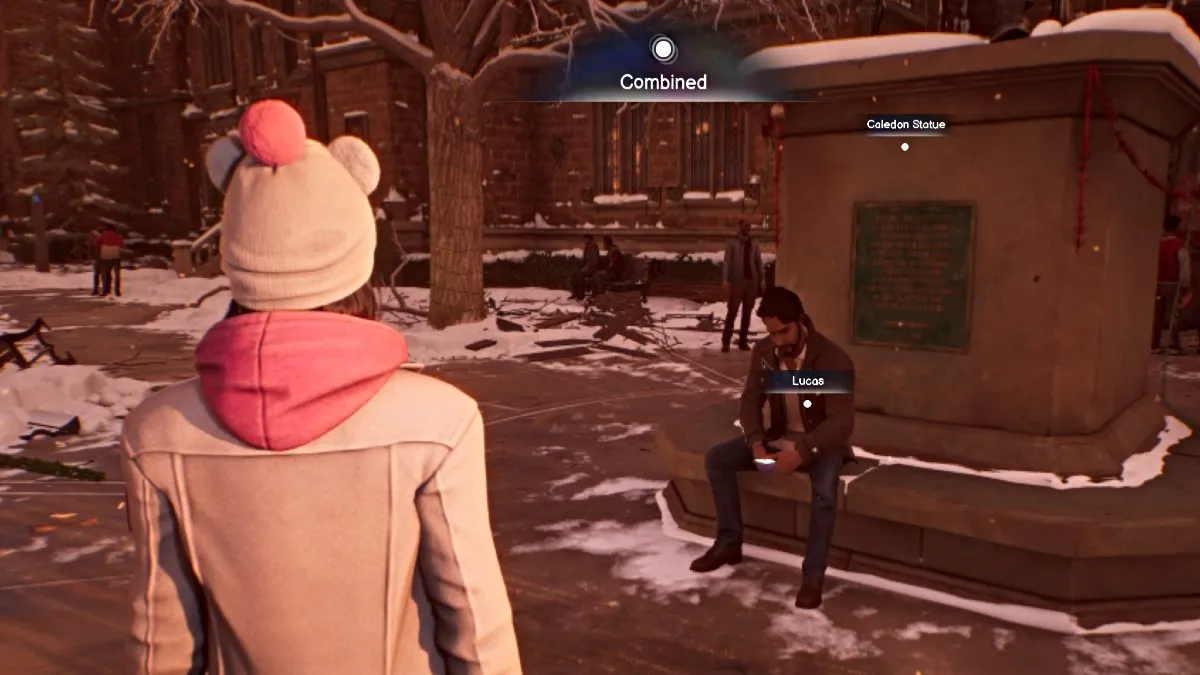
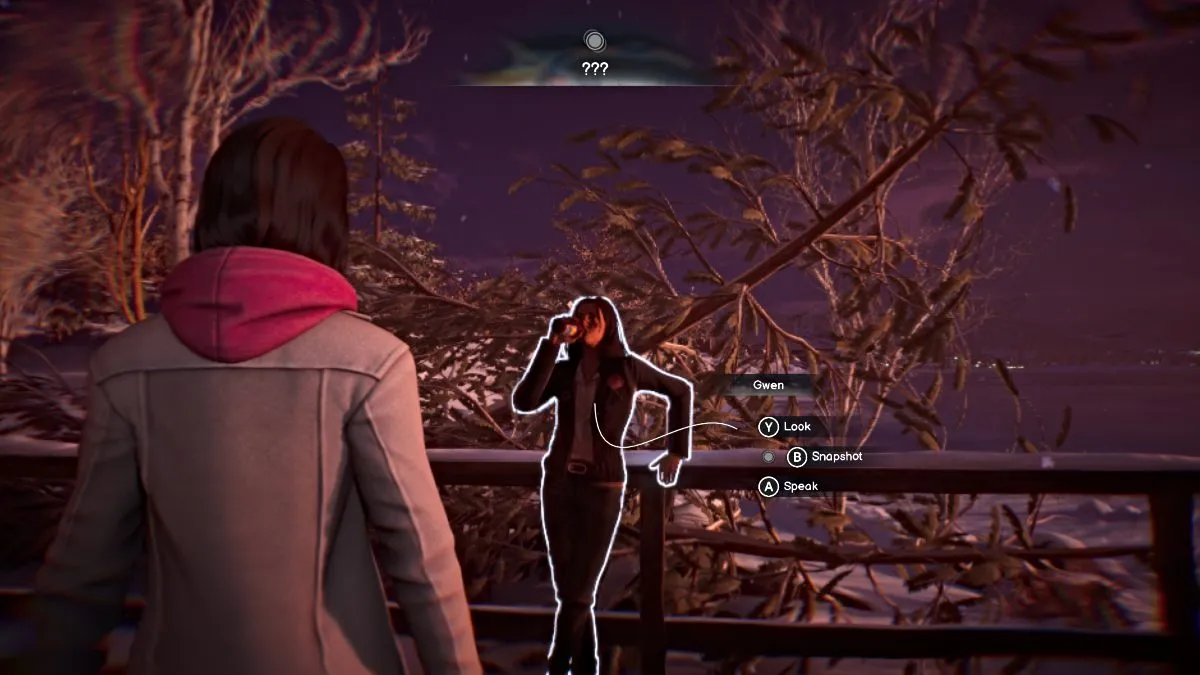
Lucas at the Caldeon statue - Screenshot by Pro Game Guides
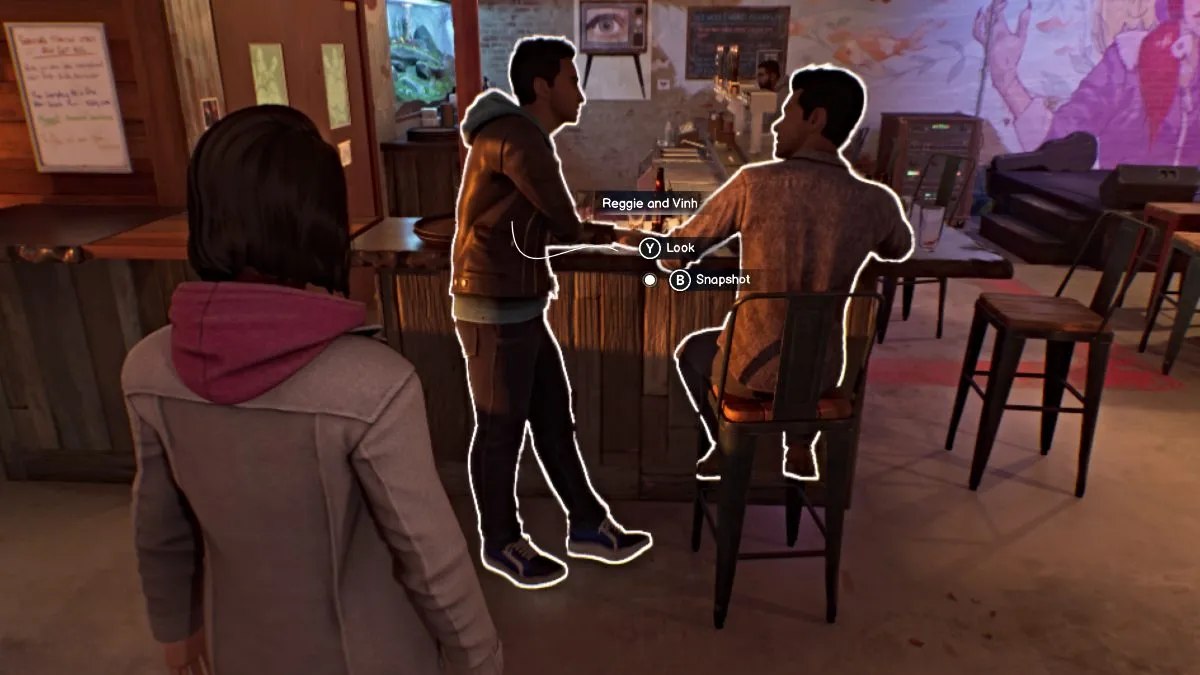
Vinh and Reggie Snapshot point - Screenshot by Pro Game Guides
Diamond and Moses Snapshot points - Screenshot by Pro Game Guides

Screenshot by Pro Game Guides

Screenshot by Pro Game Guides

Screenshot by Pro Game Guides

Screenshot by Pro Game Guides
