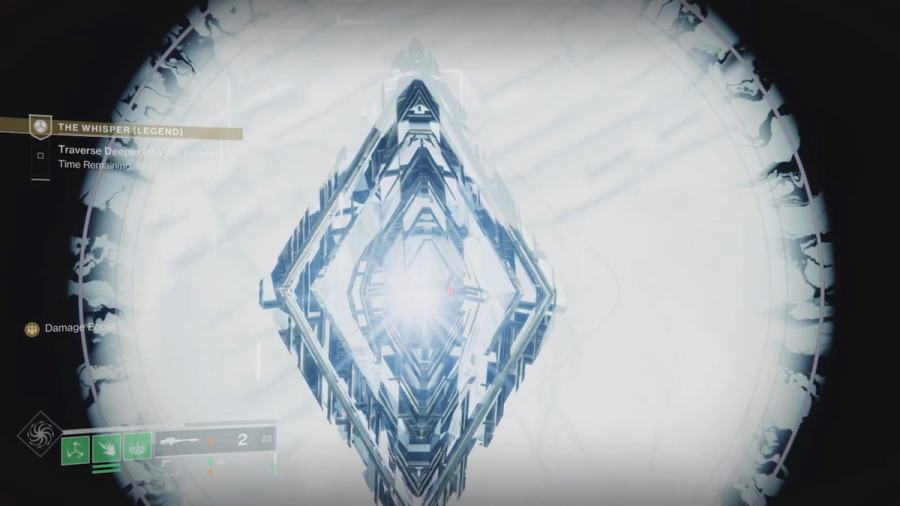
encounter the seven Oracles in the Whisper alien mission !
oracle are the most sought - after closed book in the late Destiny 2 DLC , yielding valuable upgrades that give my arsenal a much - needed boost . If you struggle with destroying Oracles , here ’s an in - depth templet on how to shoot all Oracles during the Whisper missionary station in Destiny 2 Into The Light .
How to complete Oracular Seeker quest in Destiny 2 Into The Light
There are seven Oracles hidden in’The Whisper ' missionwithin the Into The Light finish . regrettably , only twoOracles spawn in Whisper , with the other five ostensibly being time gate . Destroying all Oracle completes the Oracular Seeker Triumph , while every individual Oracle yieldsWhile Nail perksandKarve of the Worm ship blueprint .
If they do n’t look at first , your best bet is to repeat the foreign mission until they eventually spawn in . prophet are easy destroy by any weapon witha 1810 Power layer and above .
Related : How to get Mountaintop and Recluse in Destiny 2 Into The Light
Oracle #1
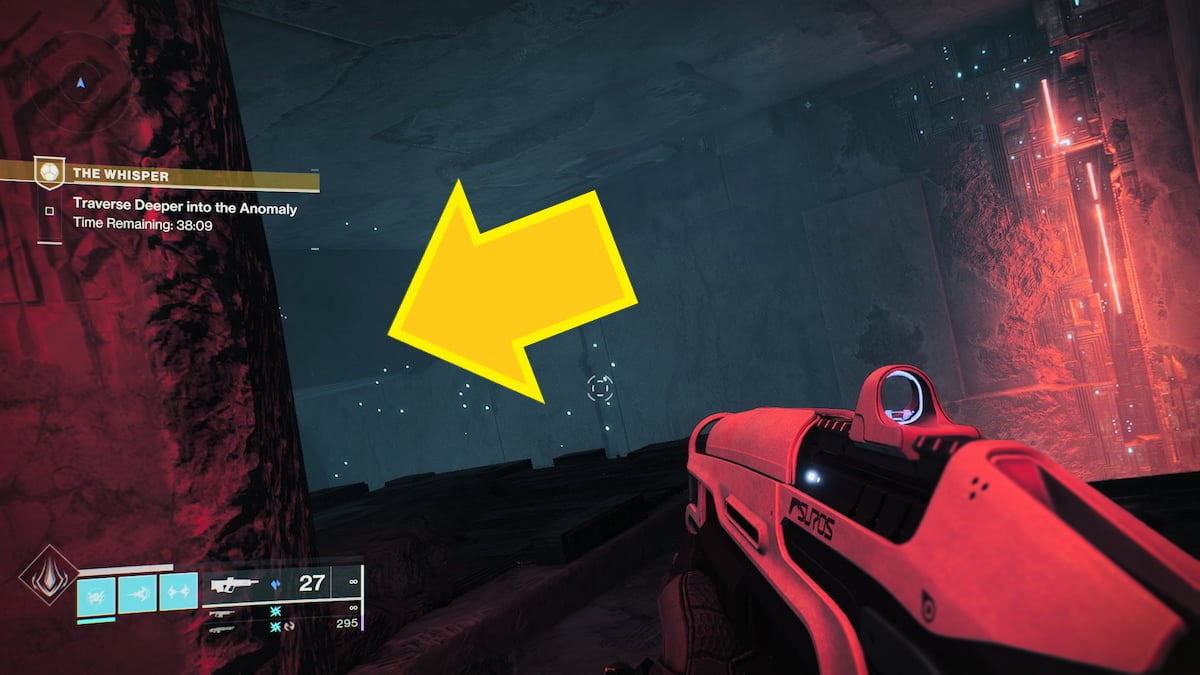
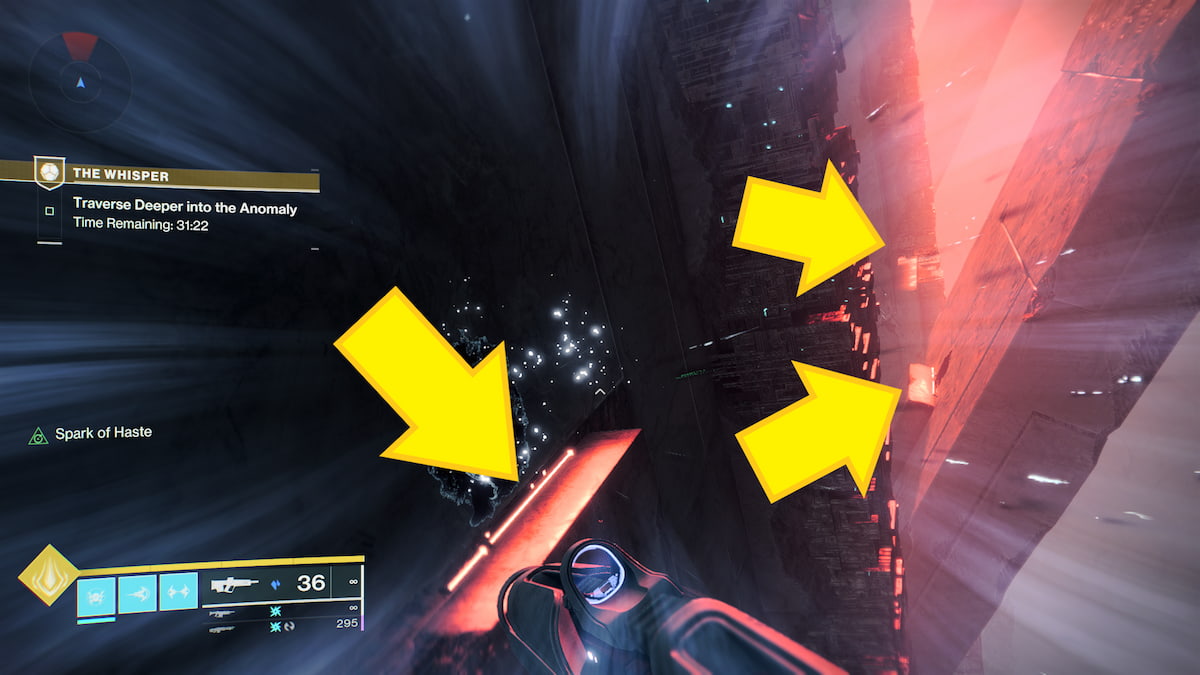
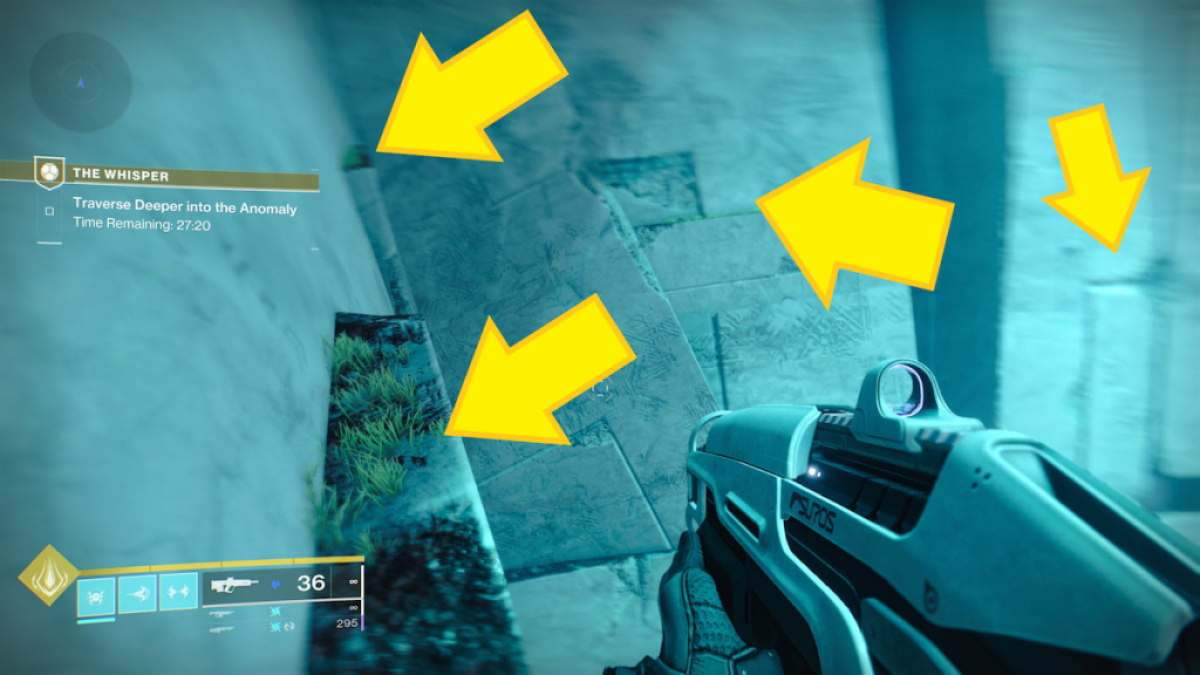
Right after the first big drop , derail through the passage with the reddish glow(Image 1 ) . Once you hear Xol delivering the '' You are alone '' dialogue , go left and jump over the protruding spikes(Image 2 ) . Go to the conclusion of the shelf and then call on odd . Your crosshair will turn red , indicating the location of the first Oracle .
Oracle #2
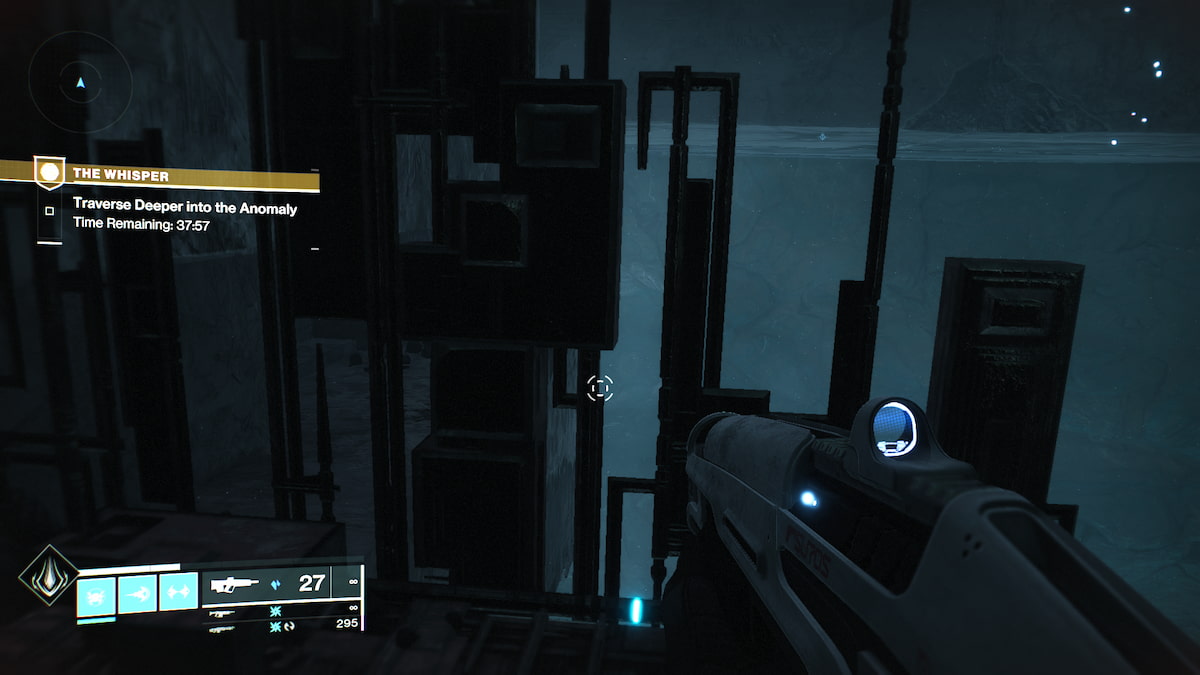
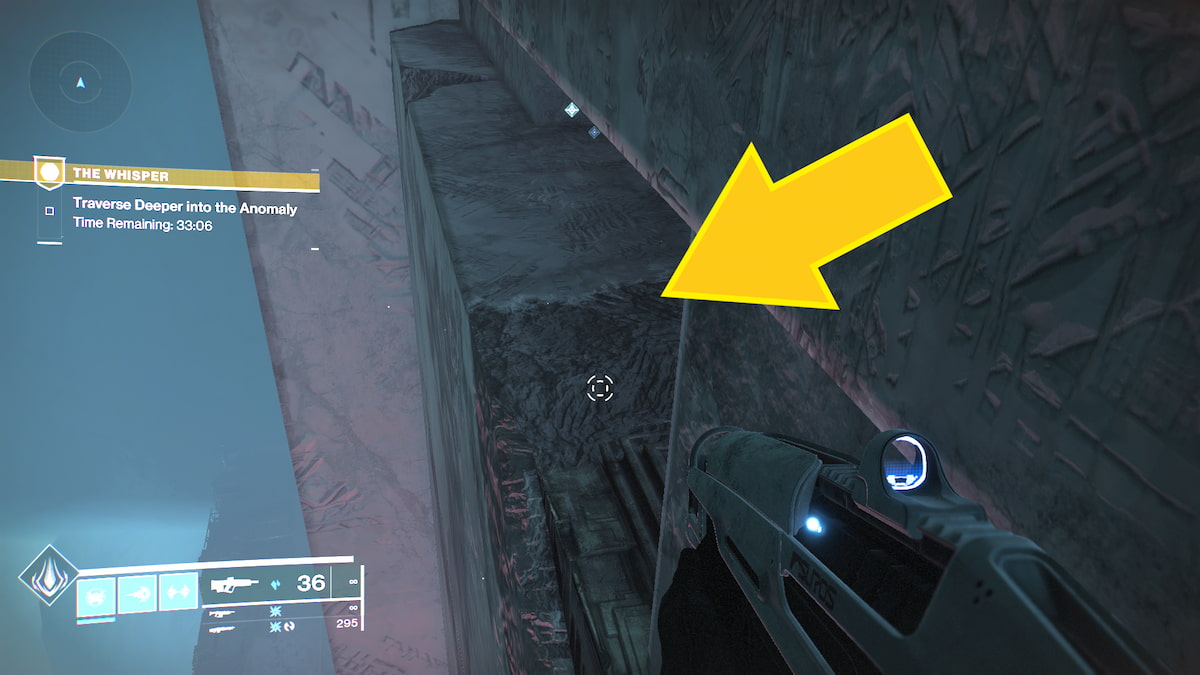
In the first cavernous area , jump onto the move Harlan Stone elevator and all the elbow room to the end of the ledge(Image 1 ) . Jump onto the last ledge , then look up to see an opening(Image 2 ) . leap out up to make a clandestine room , and your crosshair will interlock onto the Oracle ’s position .
Oracle #3
Once you reach an clear area with
Once you reach the gravid open surface area with where you ’ll get shot at by the Taken Centurion , jump and twist to the right field behind the corner . Jump onto the Vex Cube and you ’ll lock onto the third Oracle ’s location .
Oracle #4
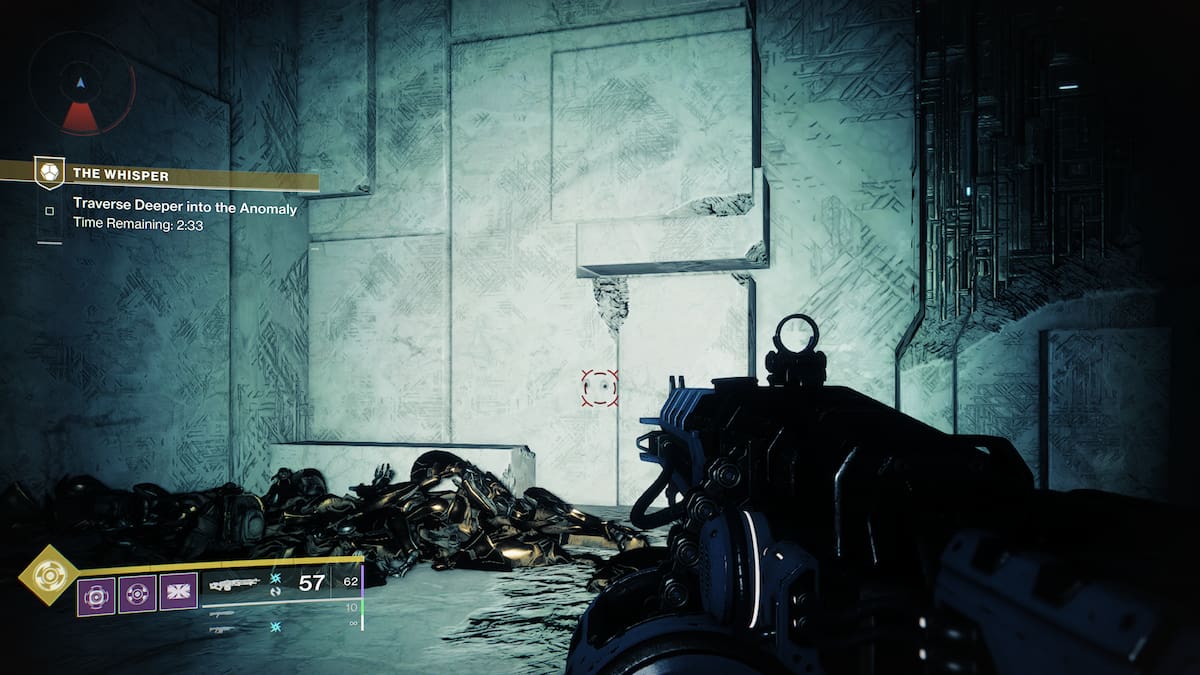
In the giant light-green room , go to the other side and jump down the hole in the minute passage . Once you ’ve reached the bottom , turn leave and cringe through a bantam hole . Once again , the crosshair will indicate to the Oracle .
Oracle #5
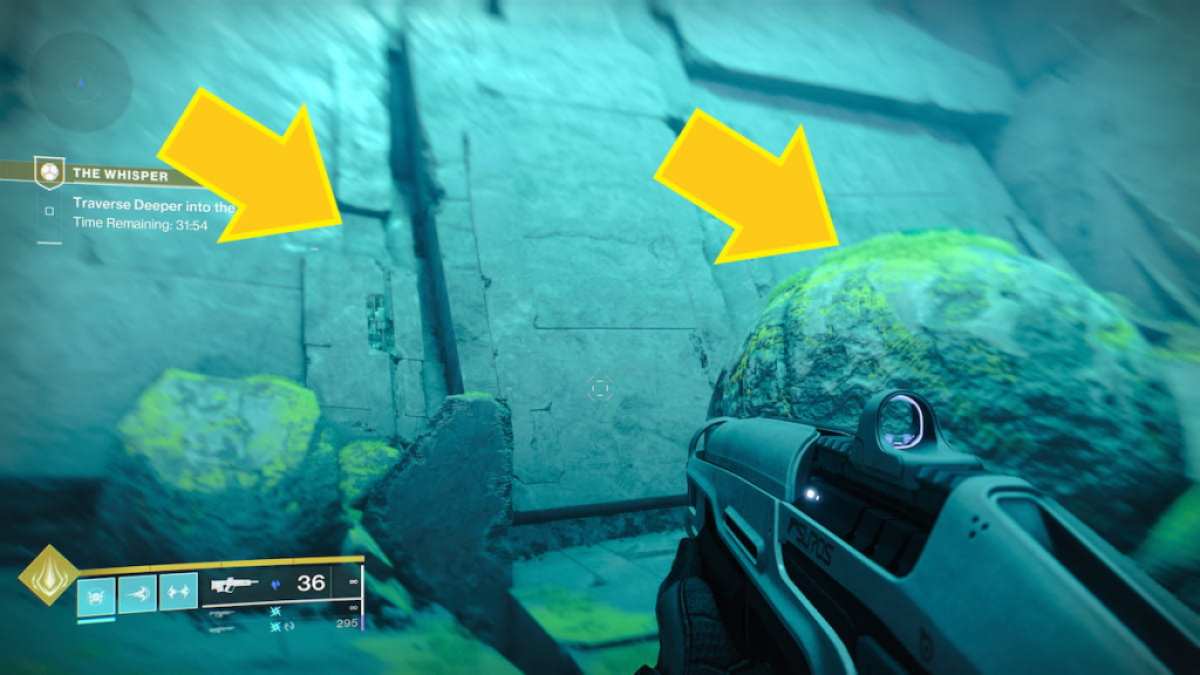
Back in the greenish room , turn to the direction from which you ab initio came in . Jump onto the large glob and habituate it to reach the ledge protruding from the rampart . Keep jump upwards in a straight line to distinguish additional ledges and climb them .
Once you climb the gamey ledge , keep cross ledges that lay in front of you . This way will take you along the walls of the entire elbow room . On the final ledge , expend down and figure the mystical room to chance the fifth Oracle spot .
Related : Where is Archie in Destiny 2 ?
Screenshot by Pro Game Guides
Oracle #6
Oracle #7
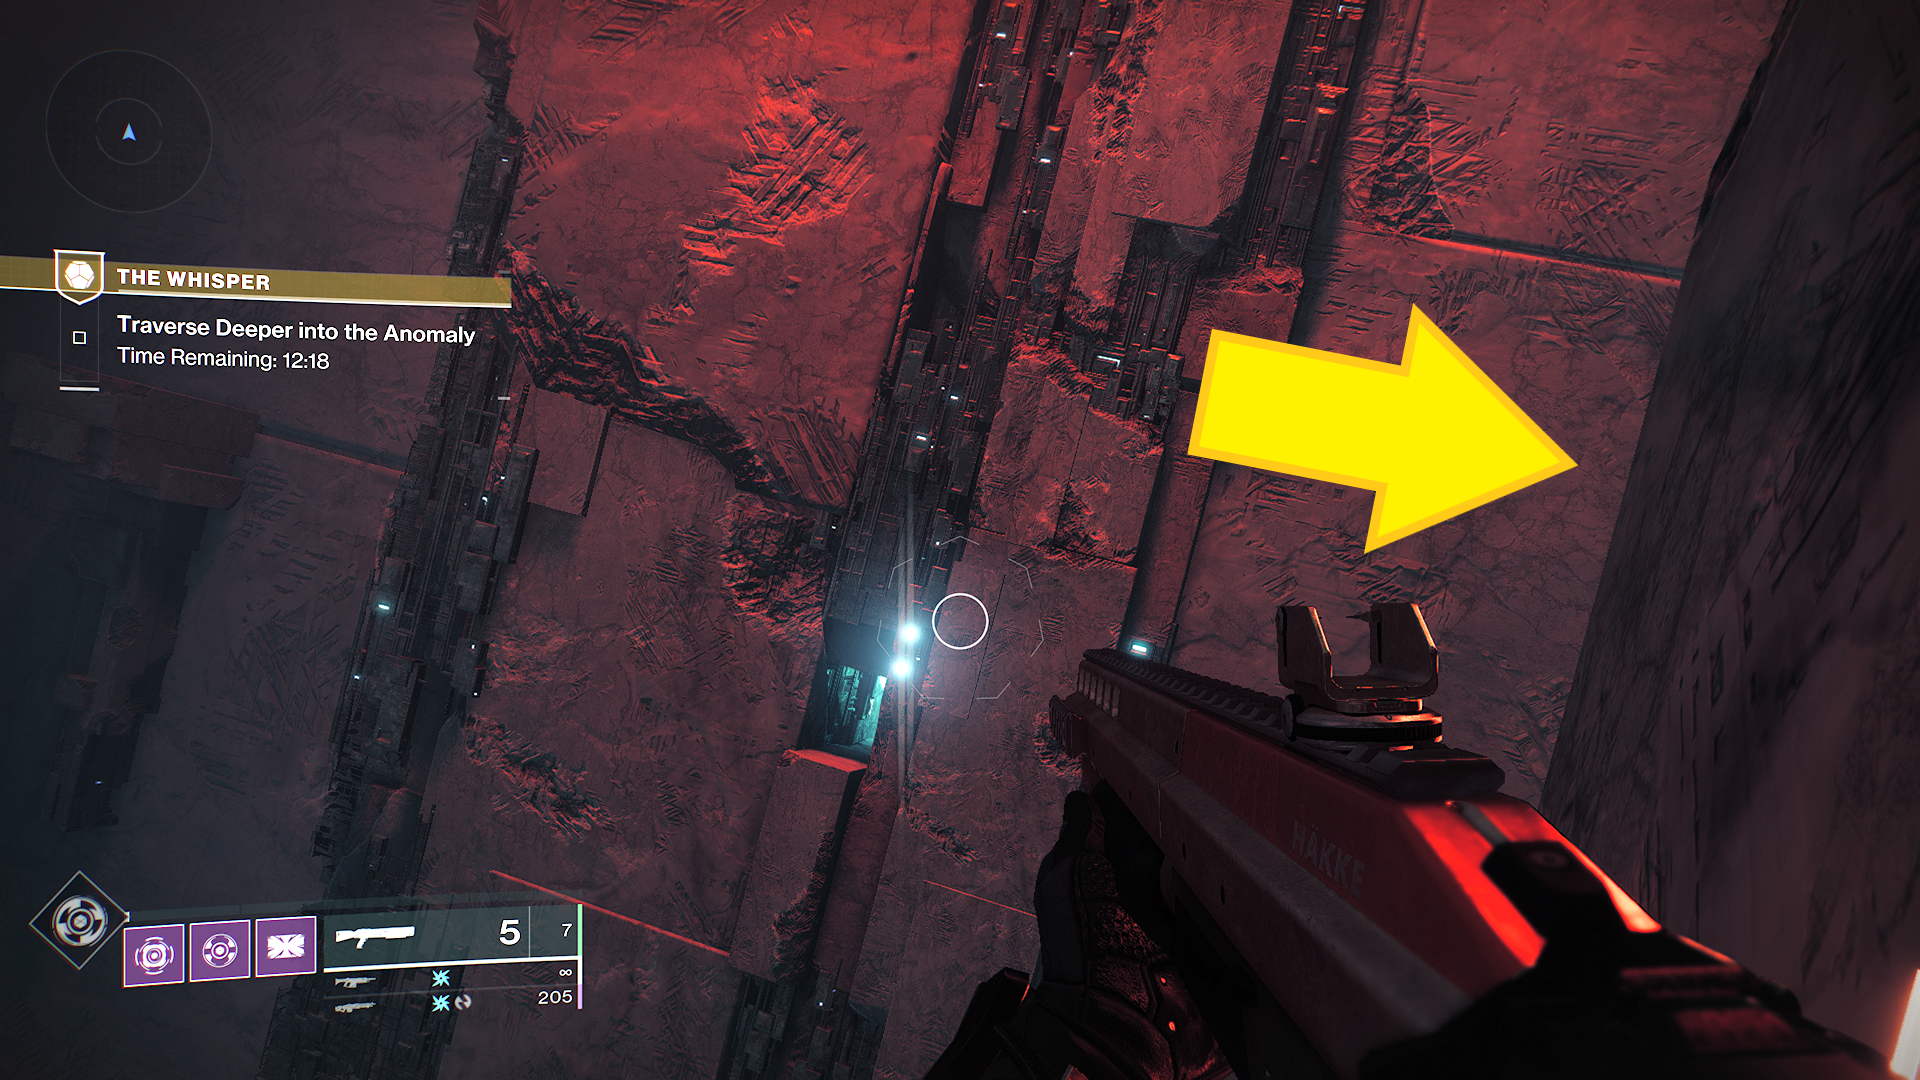
In the same chasm , surveil the thin ledge left of where you record it . Before jumping from the weapons platform at the end of the ledge , turn around and jump down . You ’ll reach another confidential room bear the 7th Oracle .
Who says you need teammates to get Onslaught ? To overreach all ten wave , train outBest loadout builds for Onslaught Horde Mode in Destiny 2on Pro Game Guides .
Screenshot by Pro Game Guides

Screenshot by Pro Game Guides
Screenshot by Pro Game Guides
Screenshot by Pro Game Guides
Screenshot by Pro Game Guides
Screenshot by Pro Game Guides
Screenshot by Pro Game Guides
Screenshot by Pro Game Guides
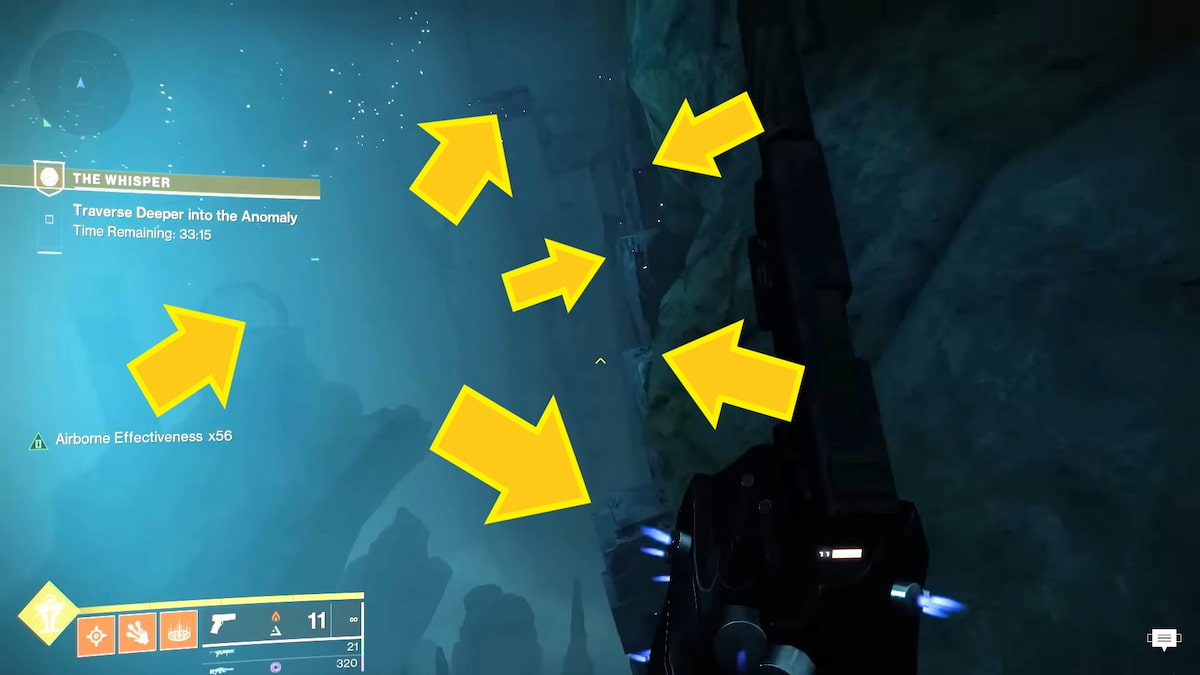
Image via Fallout Plays
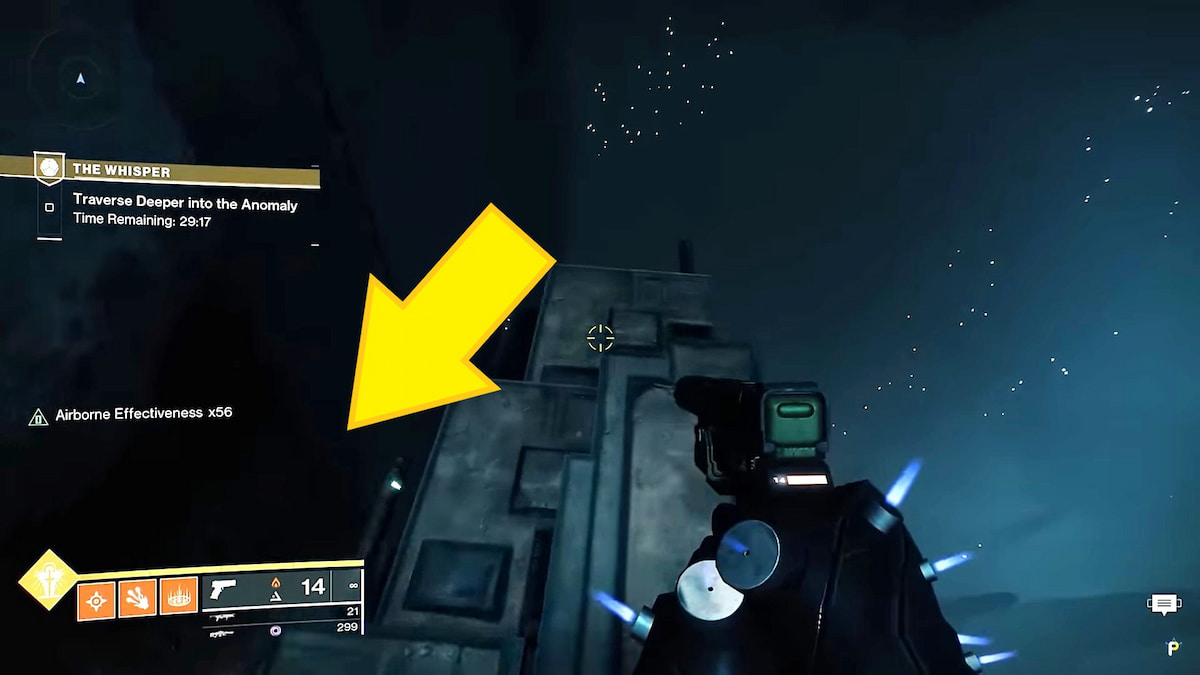
Image via Fallout Plays
