Uncover the lose paladin ’s story and avenge him !
How to follow in the footsteps of the doomed paladin in LotF
To follow in the footsteps of the doomed Paladin and finish The Paladin ’s Request , you must collect Paladin Isaac ’s four Stigmas :
Return to Paladin door in Path of Devotion , use Soulflay to extend bone bridge , and defeat Paladin ’s Burden boss .
incur the Umbral - tinct Flayed Skin , return to Vestige of Ranik , and collect the full hero stage set .
To unlock the Dark Crusader course , defeat the Lightreaper with Paladin Isaac in Upper Calrath .
For detailed locating of each Stigma and further footfall to complete this quest , see below .
Lords of the Fallen Paladin Isaac’s quest guide
You may have amount to an area in the Path of Devotion where you mark a enceinte umbral logic gate that states you must ' follow in the footstep of the ill-fated fighter ' before you ’re countenance to infix it . This is a secret boss combat that can only be completed by follow Paladin Isaac ’s footsteps and collecting all his Stigmas in his past location . There arefour Stigmasyou’ll call for to amass in sum , and to do this , you ’ll need to have at least progressed to Calrath .
To start the pursuance , you ’ll also need to have theFlayed Skin , which you should have from the very first area of the game . you could delay your inventory in your Quest items tab to insure you have it . If you do n’t have it , return to the Vestige of Ranik , run down the hill , and turn powerful past the battlefield expanse where you fight down the Lightreaper for the first metre , and you ’ll see the token at the edge of the drop-off ( or just before the blocked logic gate if in Umbral ) . Once you have it , you may start the path to each Stigma .
All paladin Stigma locations in Lords of the Fallen
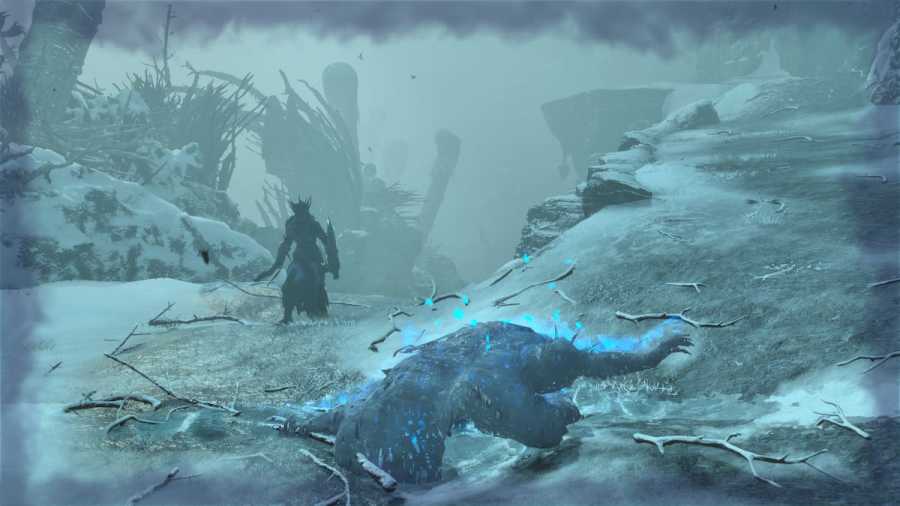
stigma are a patch where you ’ll see blue butterflies flying in the air . In the Umbral realm , you Soulflay them to see a past scene that took position in this position . To ensure you get citation for each one , ensure you wait until the end of the voice lines and see the reward items pop up on the right side of your sieve ; usually , this is Umbral Scourings . You ’ll find the paladin ’s stigma at the different locations record below .
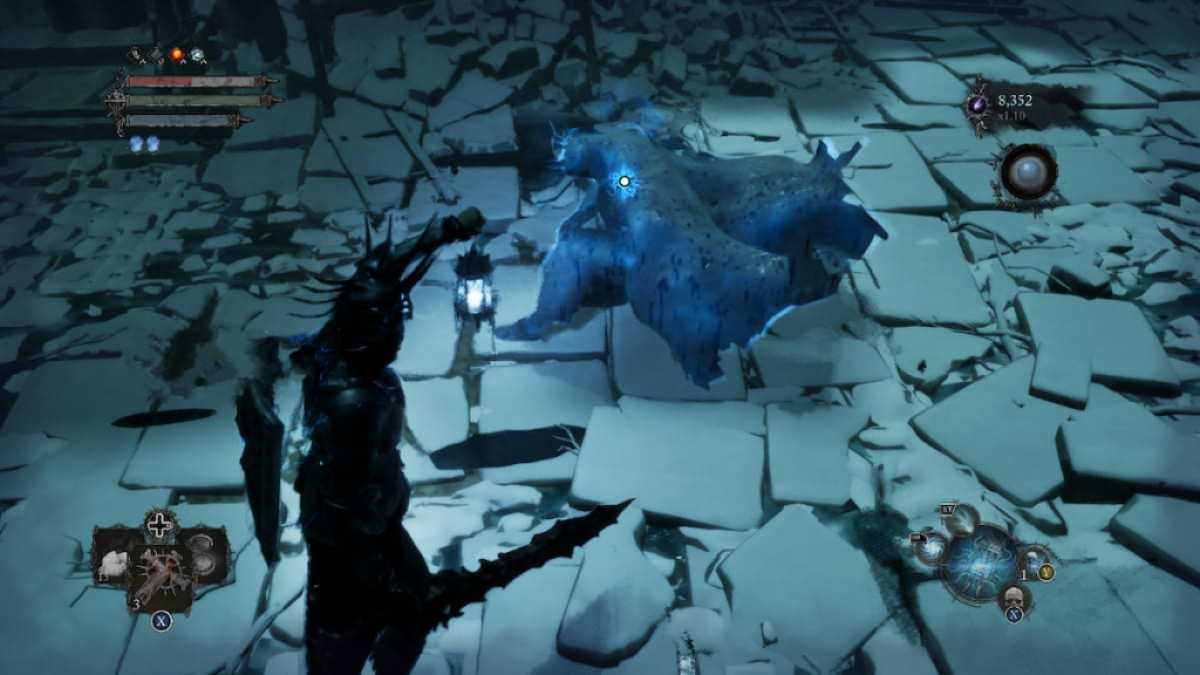
The first Stigma is found in the burning town of Lower Calrath , just after exploring Fitzroy ’s Gorge . To find it more easily , teleport to theVestige of Sebastianto save time andpreserve your progression .
From the trace , take the air down the stairs and turn to the right , where there is a broken bridge . Transition to Umbral now , and you could get across over the repaired bone bridge . After crossing the bridge , forthwith turn to the left field , and you ’ll see the kneel paladin Stigma . Soulflay it to trigger and wait until you get the reward , which should be a Wooden Dark Crusader Cross .
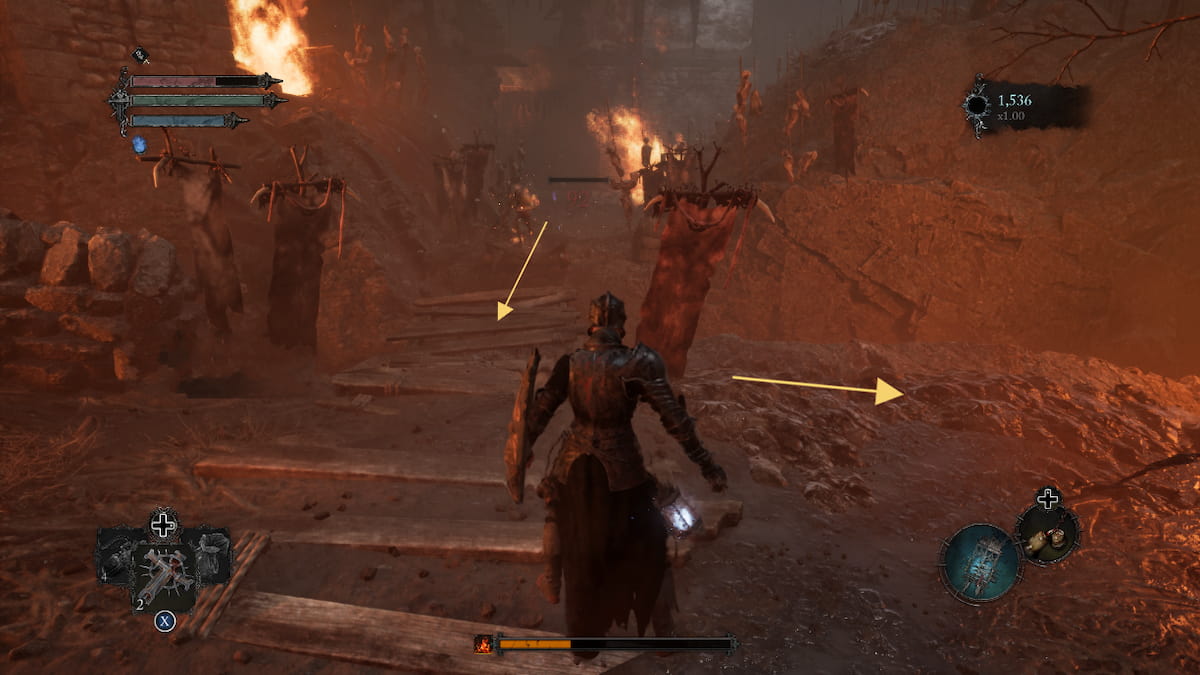
Image by Pro Game Guides
The next two Stigmas are found in Fief of the Chill Curse . This area can only be access by obtaining theFief Key from Andreas of Ebbin Skyrest Bridge . you could get it from him , either by talking to him several times or eventually finding it as an item on the floor where he usually abide .
Once you have the primal , teleport to theVestige of Marco the Axe . This is where you ’ll spot the polar locked logic gate with the chime give ear over it . Interact with the door to use the key and unlock it , giving you access to the Fief of the Chill Curse location .
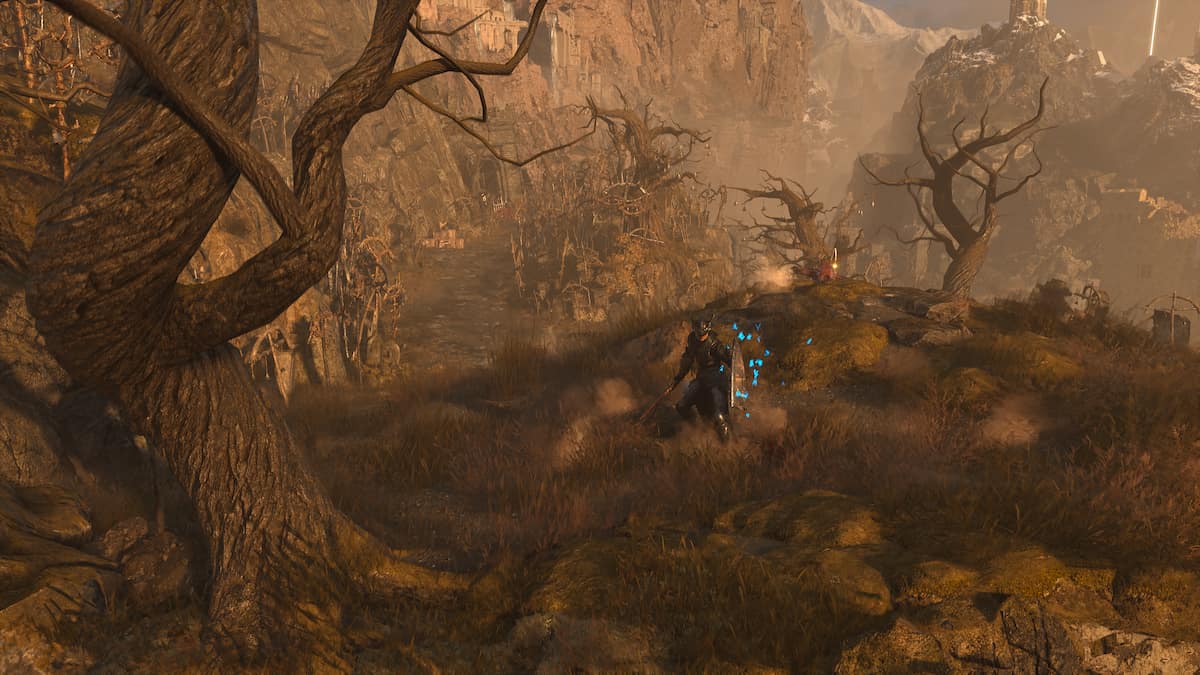
To find the first Stigma , you ’ll need to uphold through the area until you get to theVestige of Svornil . To get there , you ’ll demand to transition to Umbral so you’re able to Soulflay the rooted blockage out of the way on the route to the left .
Screenshot by Pro Game Guides
Now , you will continue forrad , following the path until you reach the mini - boss , Kinrangr Guardian . You ’ll need to complete this boss conflict and exit the cave , where you ’ll come to the Vestige of Svornil and the second Stigma . Do n’t worry ; these are not among the toughestbosses in LotF.
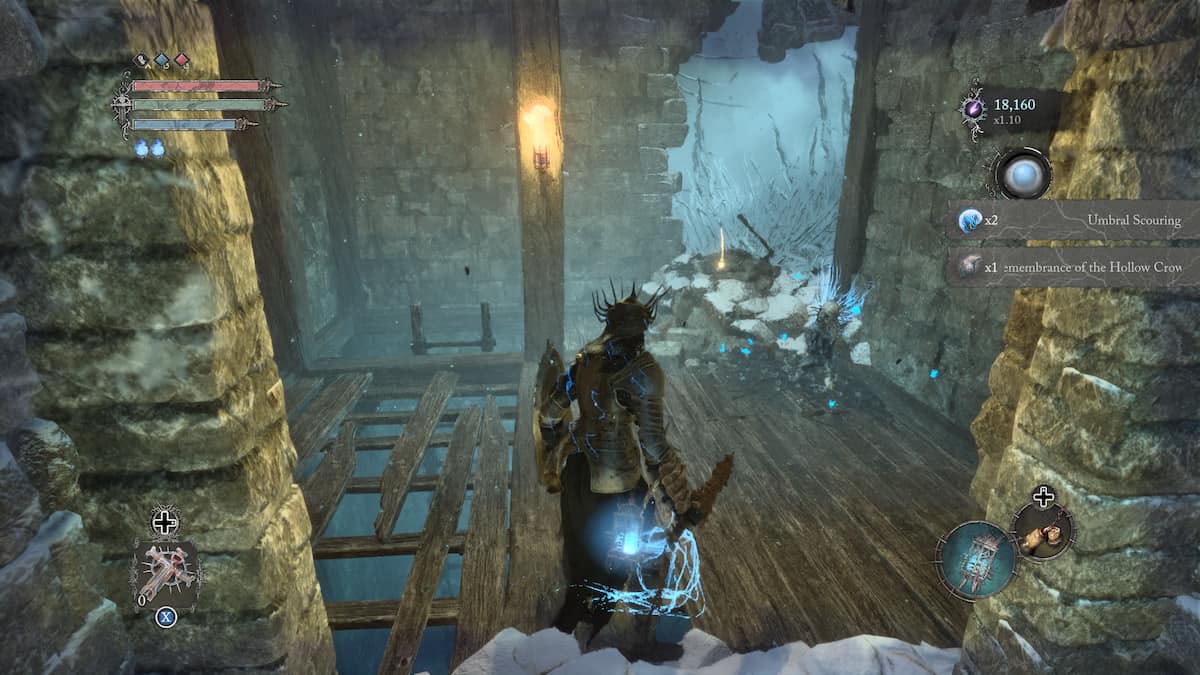
The third Stigma is going to be a lot more difficult . You ’ll necessitate to progress through the Fief of the Chill Curse all the way to theHollow Crow boss . This bulge by climb up the ladder at the Vestige of Svornil and unlocking the logic gate for you to continue . Now , you ’ll want to continue following the path all the way to theVestige of Loash , which is right outside of the Hollow Crow ’s stadium .
The Hollow Crow battle is no easy exploit ; it consist of three waves where you must parry a bunch of ice crystals , ward off the pack palisade you , and seek to defeat the Umbral entity , Lucy , tied to the giant crowing . After completing this , look for the doorway with the get down torch and take the ladder down .
Screenshot by Pro Game Guides
The last Stigma can be found in the Path of Devotion , which is another surface area only accessible by using a key . ThePilgrim Perch Keycan be incur by purchasing it fromStomundor finding it in his spot on the floor in Skyrest Bridge .
With this key , teleport to theVestige of Blind Agatha , where you ’ll blob the door , surrounded by Alexander Melville Bell and candles , which you may unlock using your tonality . From the entrance here , you ’ll want to make your way to theVestige of Dieter .
You ’ll require to travel along the pathways through the caves , forefend enemies as much as you’re able to until you reach the outside overlook area . Here , you ’ll need to be in Umbral to walk across the bone bridge and continue come the caves once more until you reach a turgid boss room .
Screenshot by Pro Game Guides
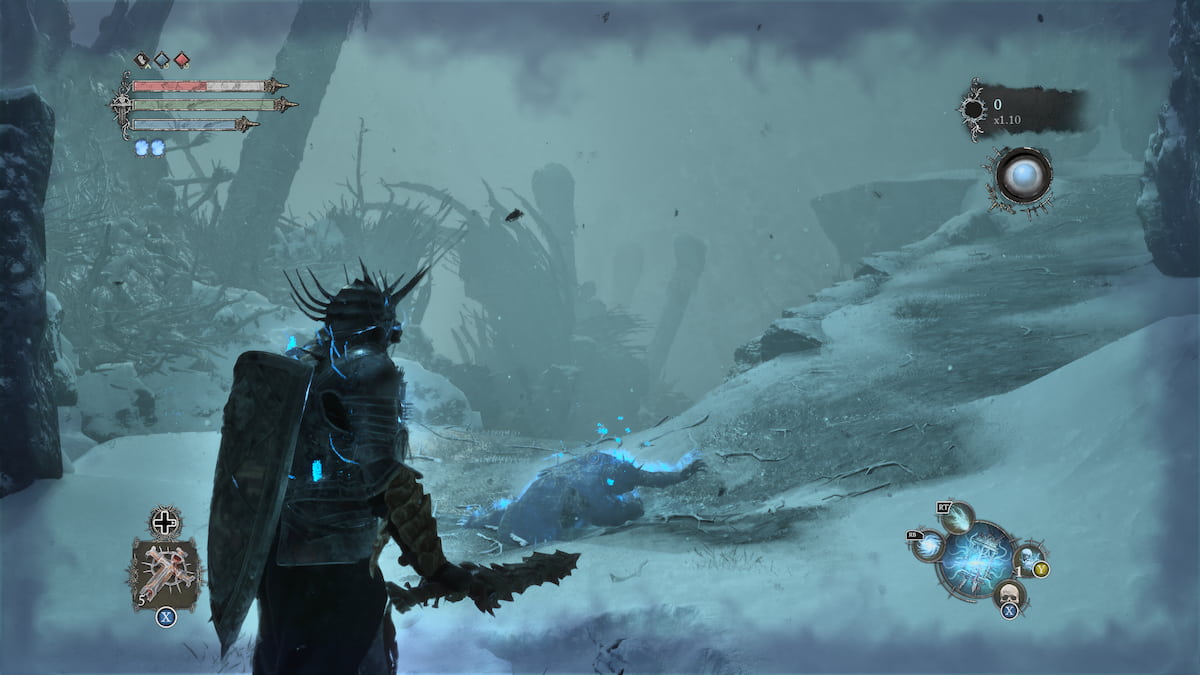
From the Vestige of Dieter , follow the path down until you tell apart a hill instantly in front of you . Transition to Umbral , rise up the mound , and you ’ll spot the last Stigma at the edge of the drop-off beside the tree . check that to receive the Umbral Scourings after heed to the voice production line to complete this step to the full .
How to unlock the paladin door in Lords of the Fallen
Now that you have activated all four stain , you may make your way to the paladin room access and look the Paladin ’s Burden boss . Head down the route from where you gather the quaternary Stigma until you get to an area with several foeman , including an Sagittarius on the hill in front of you . It ’s up to you if you want to try and face these enemies , but I found it easier to make a run for it .
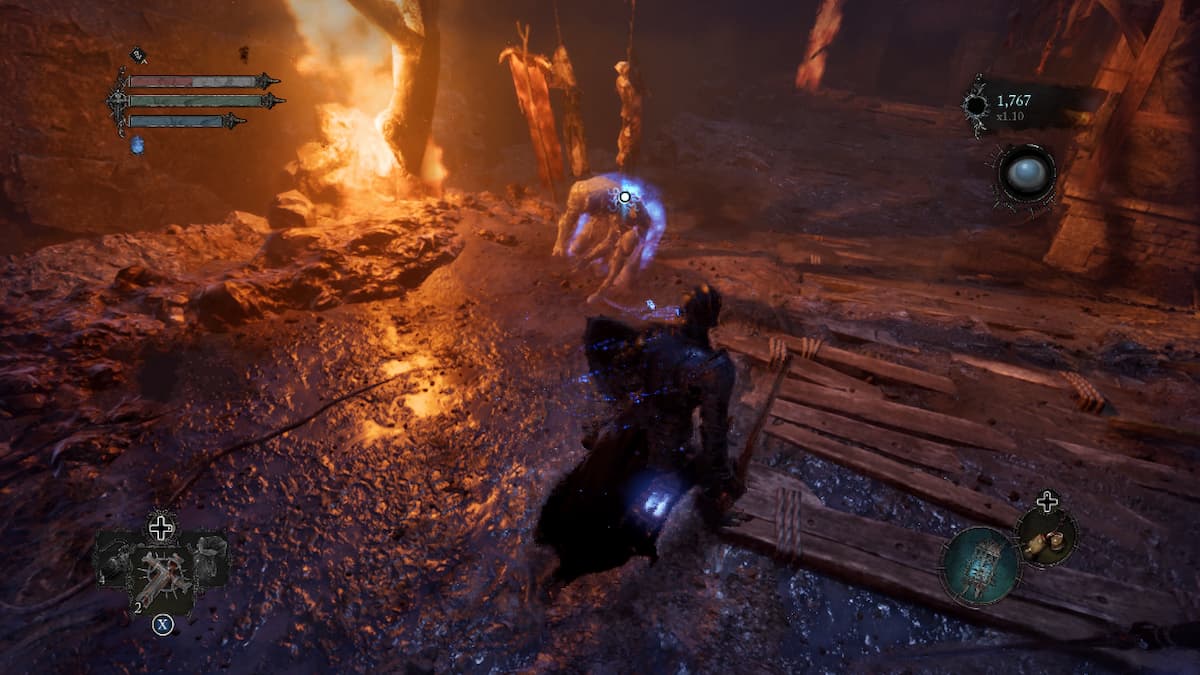
guarantee you are in Umbral , and you will note the threshold will no longer be blocking your course ; instead , practice Soulflay to extend the bone bridge circuit to you and cross over . You ’ll require to Soulflay the Stigma in the midsection of the arena to set off the knob fight . From get the better of the boss , you will receive the Umbral - Tinged Flayed Skin , several Umbral Scourings , and a Vestige Seed .
How to get the paladin set in Lords of the Fallen
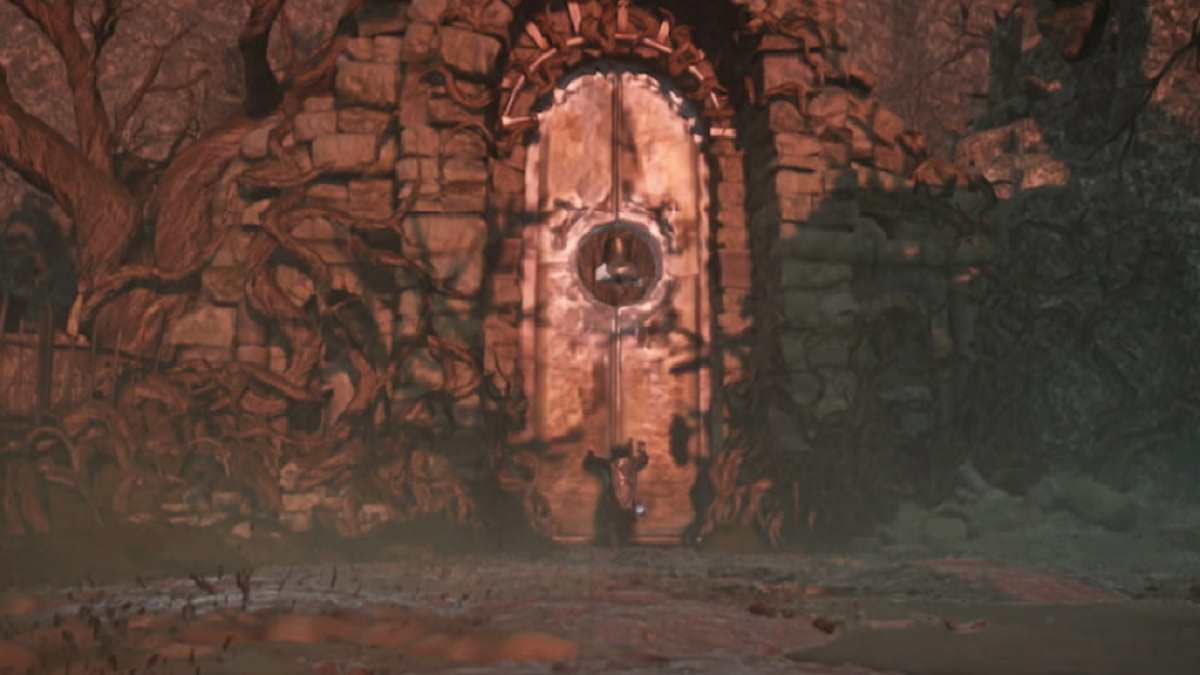
Once you have theUmbral - Tinged Flayed Skin , teleport back to theVestige of Ranikand head back to the spot where you found the Flayed Skin . In Umbral , you’re able to now interact with the gate here and apply the new flay skin to unlock it . Enter through , and you may pluck up the full paladin set , including Paladin Isaac ’s Sword , from the point spot on the ground .
How to unlock the Dark Crusader class in Lords of the Fallen
We know that it has n’t been wanton to follow in the footstep of the doomed paladin . However , this is not the ending of the quest . To completely cease the questline , you ’ll need to face the Lightreaper once and for all with Paladin Isaac by your side .
To do this , guide to thearena in Upper Calrath , where you confront the Lightreaper . insure you have been shoot down once so you canbeckon Paladin Issacbefore entering a second time . Then , defeat the Lightreaper , and you ’ll unlock the secret Dark Crusader class for New Game+ . unluckily , if you ’ve already shoot down the Lightreaper on your own before starting this quest , you wo n’t be able to do this .
Although this is a long and semi - frustrative quest to follow , it is well worth it for those great rewards you ca n’t receive any other path . You ’ll also pick up the accomplishment Vengeful Reflection to show off your hard body of work .
Screenshot by Pro Game Guides
Looking for more Pro Game Guides Lords of the Fallen content ? Check out our guidebook onBest Lords of the Fallen modsorLords of the Fallen – All Stats , Explained !

Image by Pro Game Guides
Screenshot by Pro Game Guides
Screenshot by Pro Game Guides
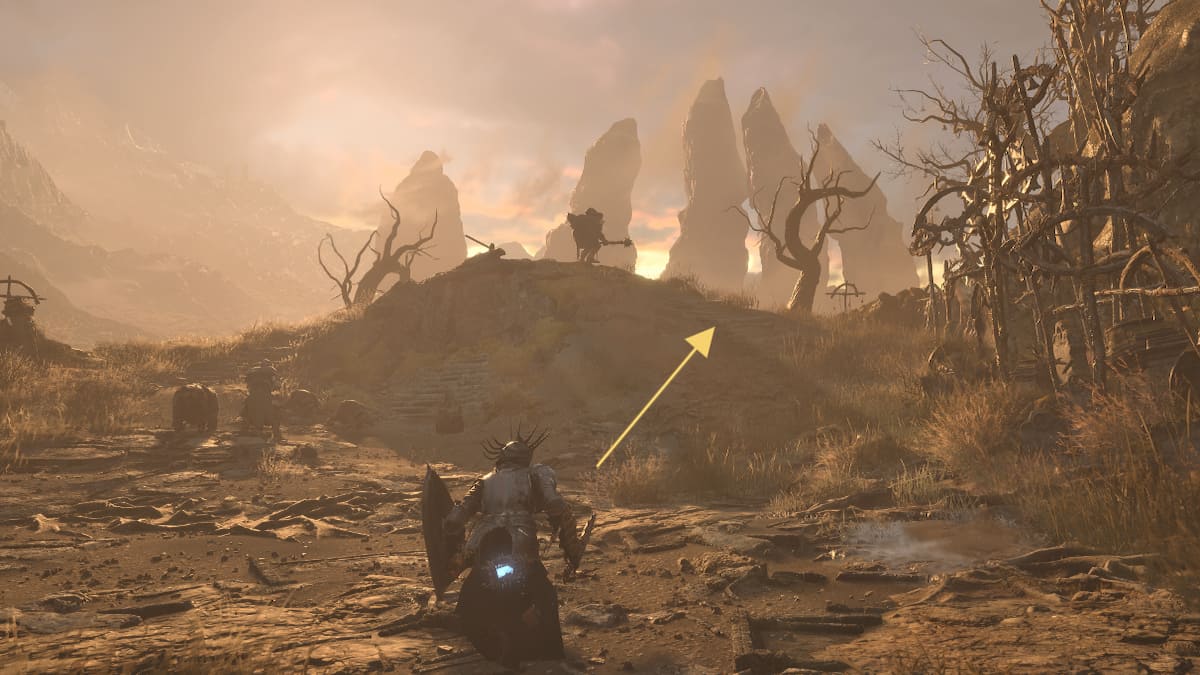
Image by Pro Game Guides
Screenshot by Pro Game Guides
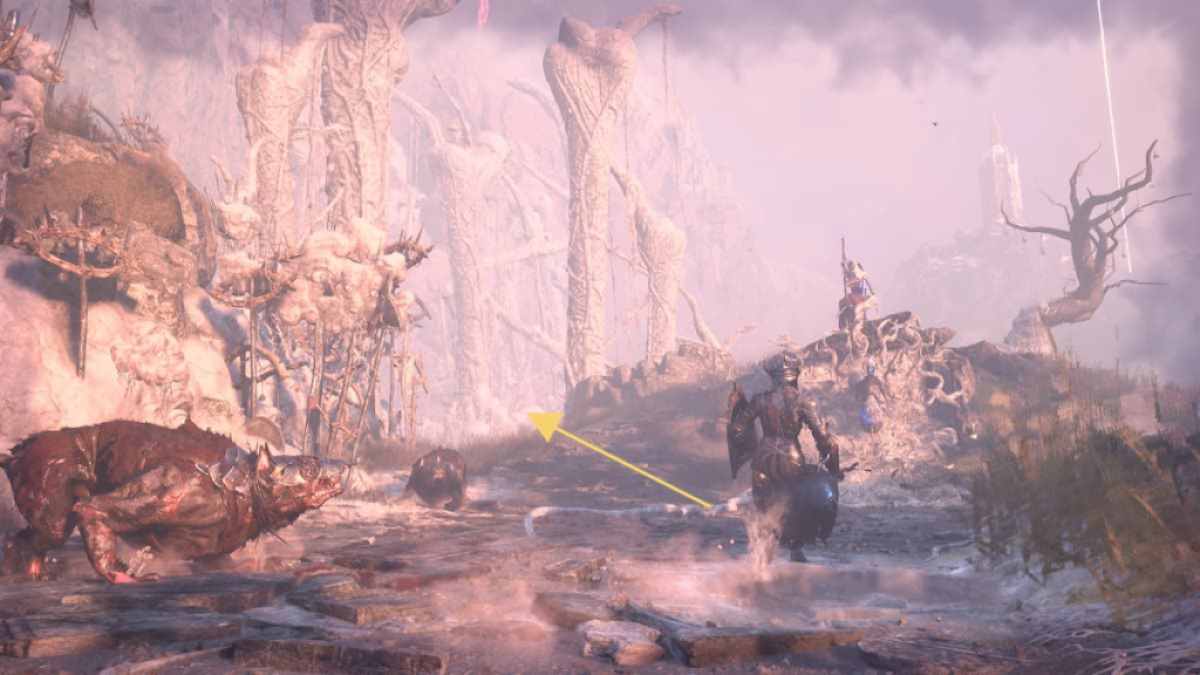
Image by Pro Game Guides
