We ’re off to ascertain the hoarded wealth .
One of the quests you have to discharge to get Kril ’s shell back is a Treasure Hunt . Here ’s how to find all three cereal treasure function pieces in Another Crab ’s Treasure .
How to complete the Treasure map in Another Crab’s Treasure
for make out the map , you have to find three miss while . You get each piece bydefeating three bosses . When talking to the Konche , he will orient you to the Grove , and that is your only hint as to where to go . You ’ll get more clues as you fetch back each map .
Where to find the first Treasure map piece in Another Crab’s Treasure (Location)
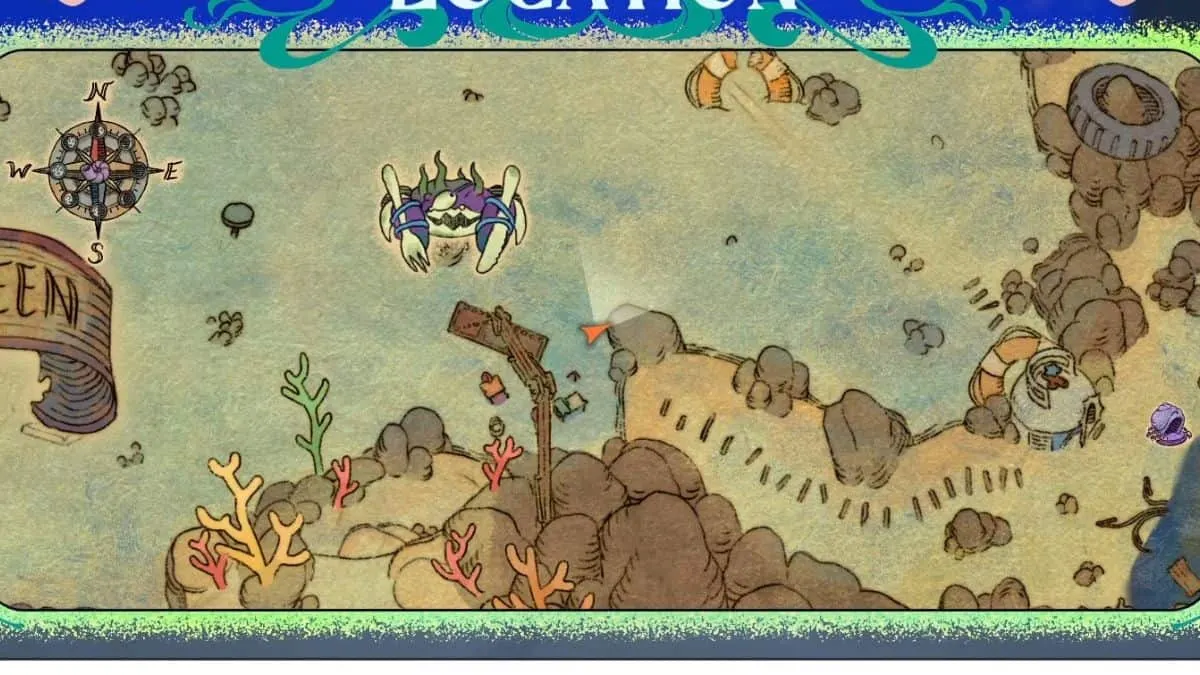
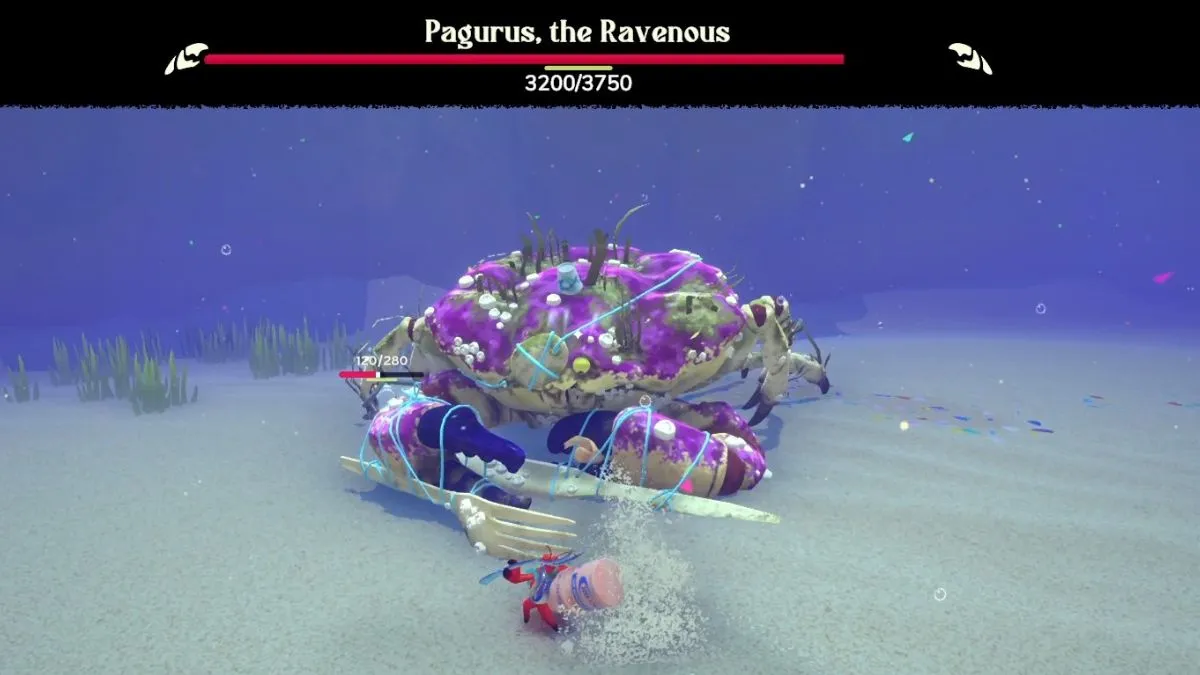
To get to the Expired Grove , you first have to head through theSands Between . You ’ll get the warning that there is something in the area that wants to feed you , and you demand to get to the life floats embedded in the guts to protect yourself . That is actuallyPagurus , a vast boss who will tail you around the sands . He is also the one who has thefirst map piece .
This crabby person is pretty unmanageable to defeat and you might want to be a high-pitched level first before you tackle him . Instead , you may do as I did and run across the sands to search the Grove for more watch crystal andMicroplasticsfor upgrades .
interrelate : How to unlock Umami Skills on the skill tree diagram in Another Crab ’s Treasure

However , if you are braver than me , you may defeat it and grab the map . A good shield for this run is theYoccult shell , which put up unvarying healing while you do damage . Keepdodging towards itand watch out for the red signal attack . The Ravenous has aninstant killwhere he eats you . When you get the mapping , head back to the Upper Crust of New Carcinia to get the next clew .
Where to find the second Treasure map piece in Another Crab’s Treasure (Location)
When you first get to Flotsam Vale , you ’ll have to push with Inkerton . Do n’t concern , you only have to get his health down to about half way before he move forth . Once he does , you could keep make a motion forward . Go through theCompany Townarea until you unlock theUpper Swamp .
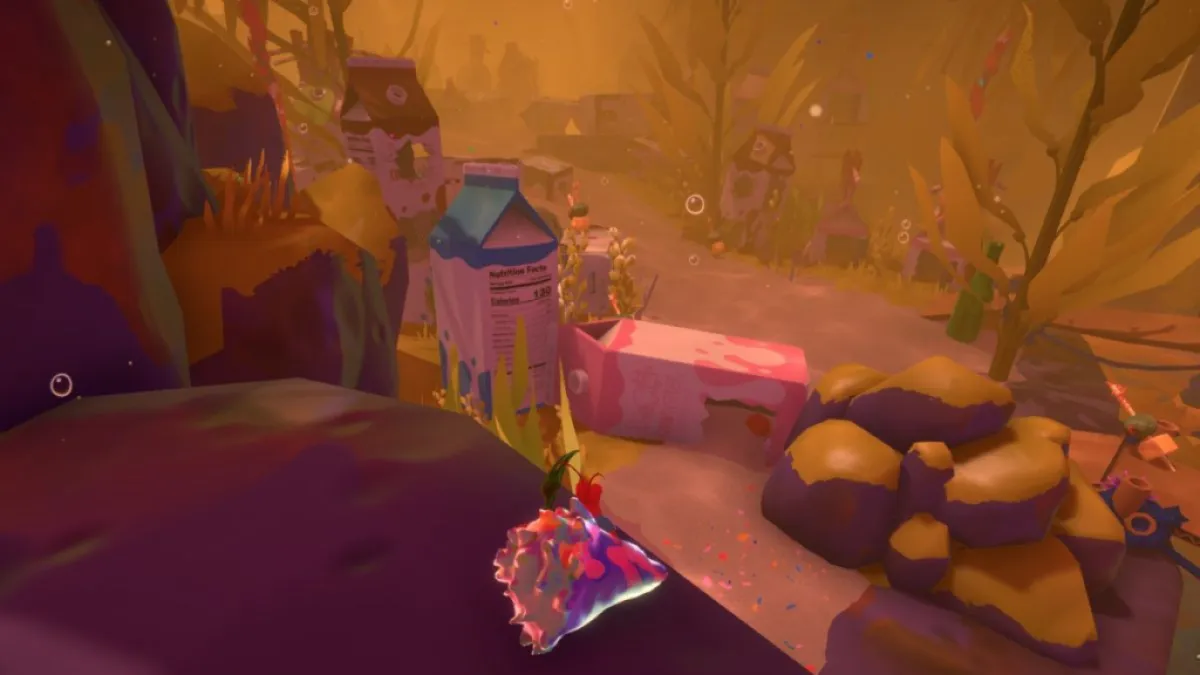
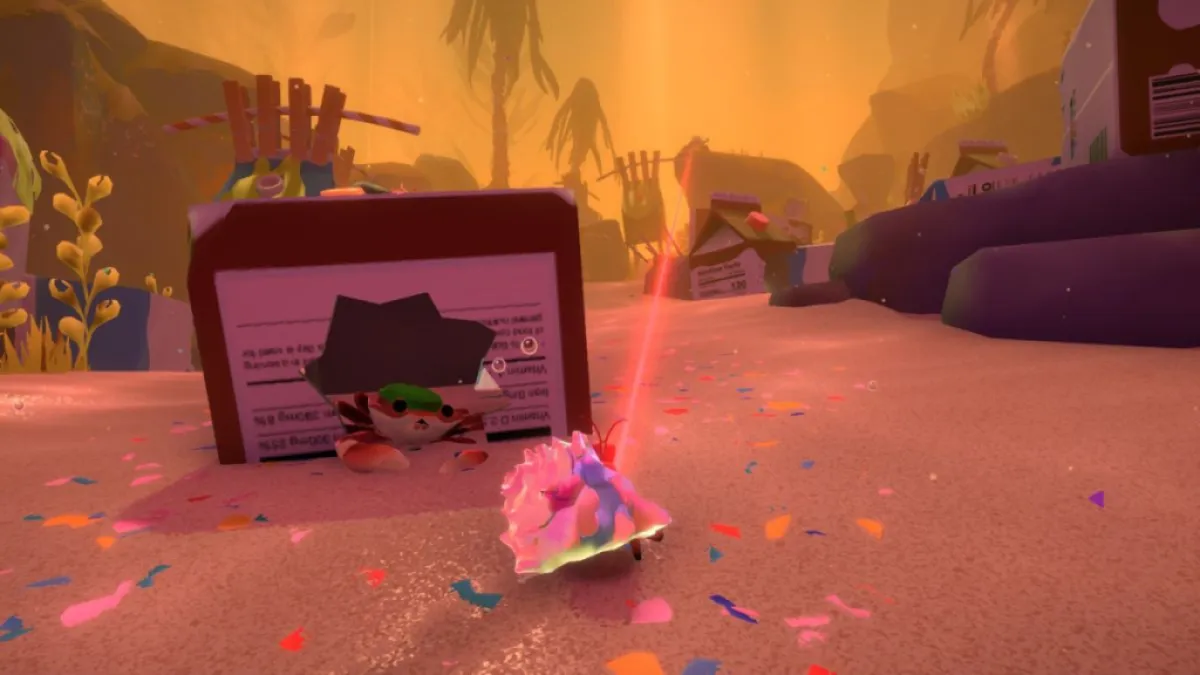
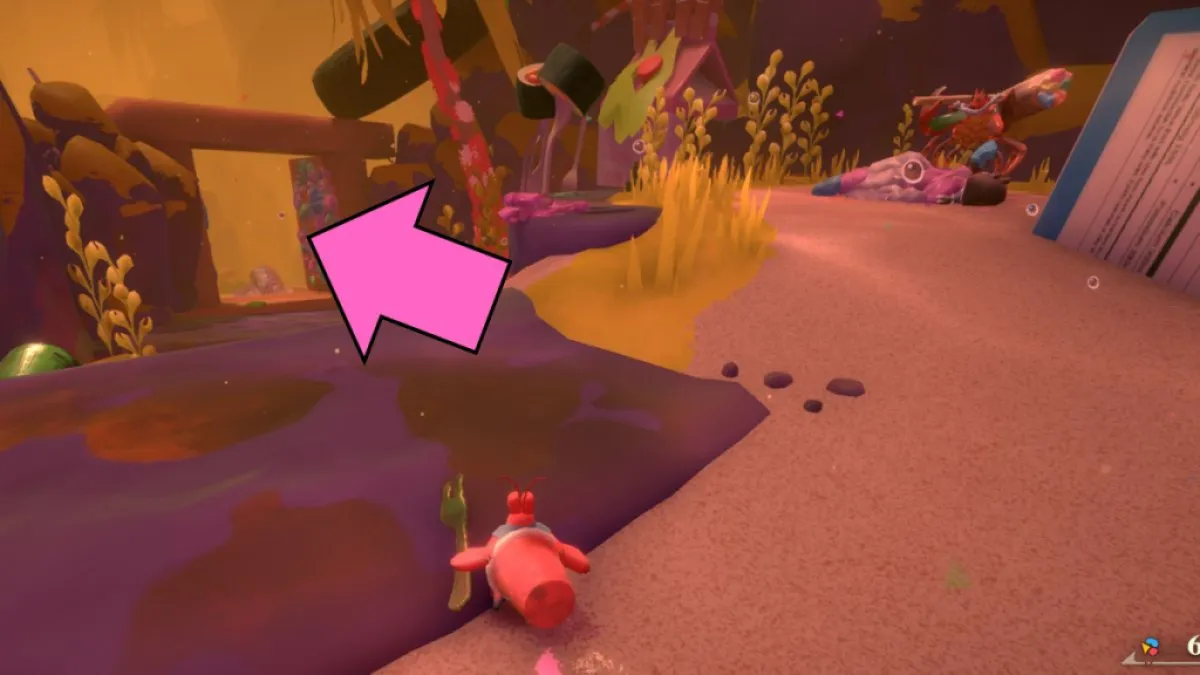
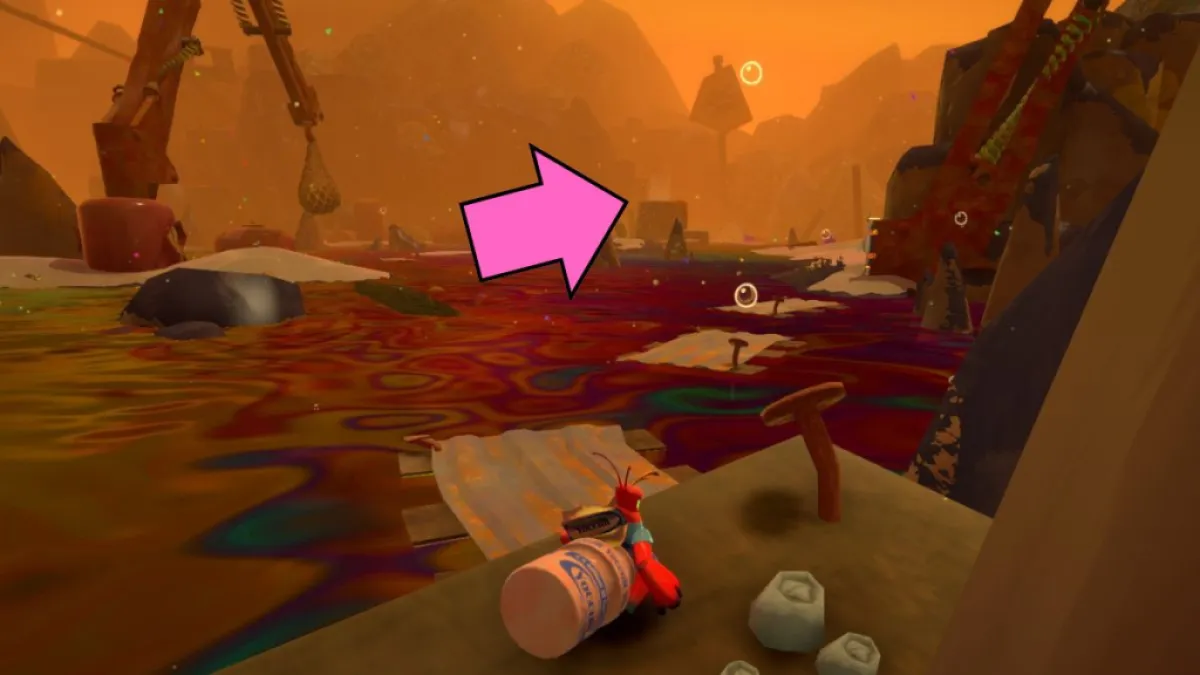
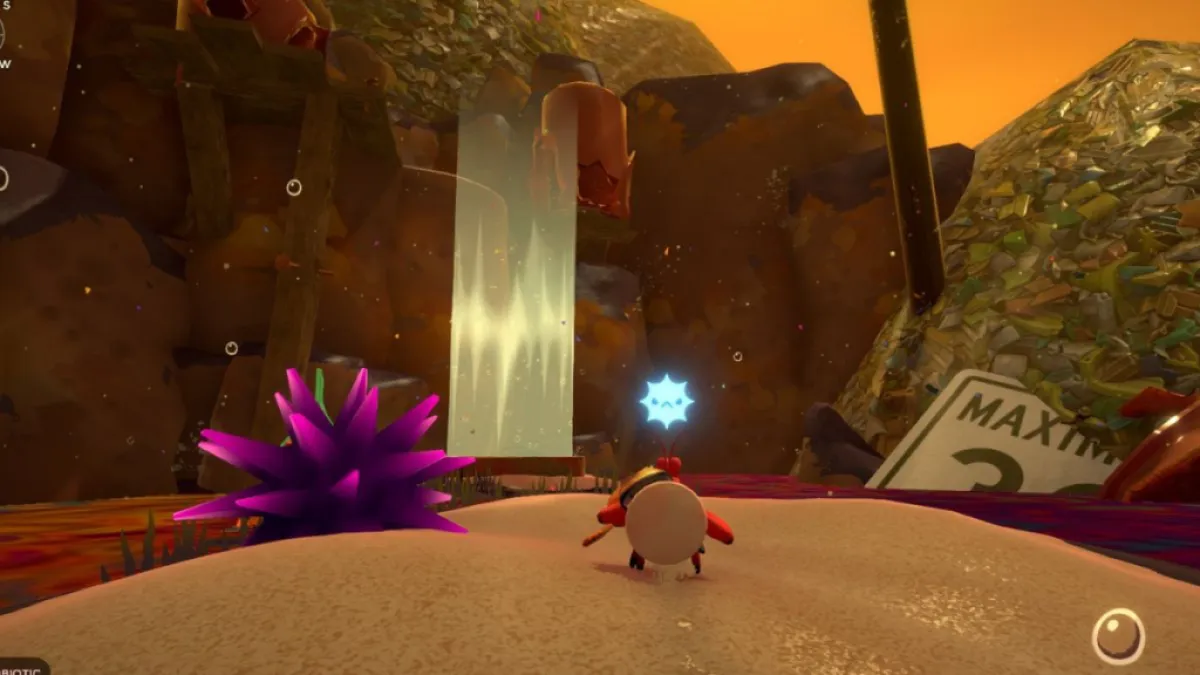
Now , rather of exit further into the swamp turn back around and go the other mode . This path will take you to theExpired GroveandCurdled Village(first picture ) . Getting through Curdled Village is difficult since there are many enemy around and a crab lash out you from up top ( 2d image ) .
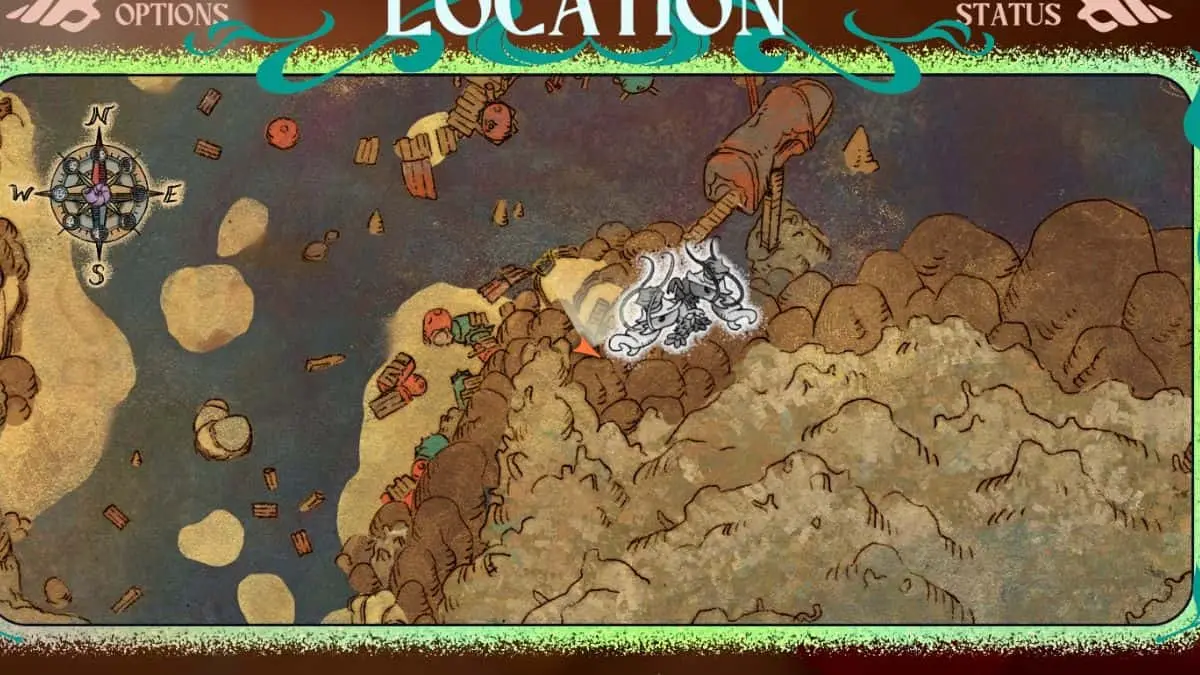
The right scheme here is torun and dodgeuntil you make it past the sniper . If you have to fight , fight , but try on to keep moving . Once you go past the sniper and a bounteous crab with a hammer , open thevillage gates(third image ) and you will seeHeikea , the foreman with the 2nd mapping piece .
Screenshot by Pro Game Guides
If you have n’t kill the Phthirius pubis sniper , make trusted you do n’t get into its line of ken , as it can still down you through the gates . For Heikea , the goal is tokeep distancewhen he uses hisFrighten ability , which makes you hide out in your shell . There are a bunch ofCascadia Rollslying around , so verify to practice them to mend yourself up .
Where to find the third Treasure map piece in Another Crab’s Treasure (Location)
Related : How to grease one’s palms shell indemnity in Another Crab ’s hoarded wealth
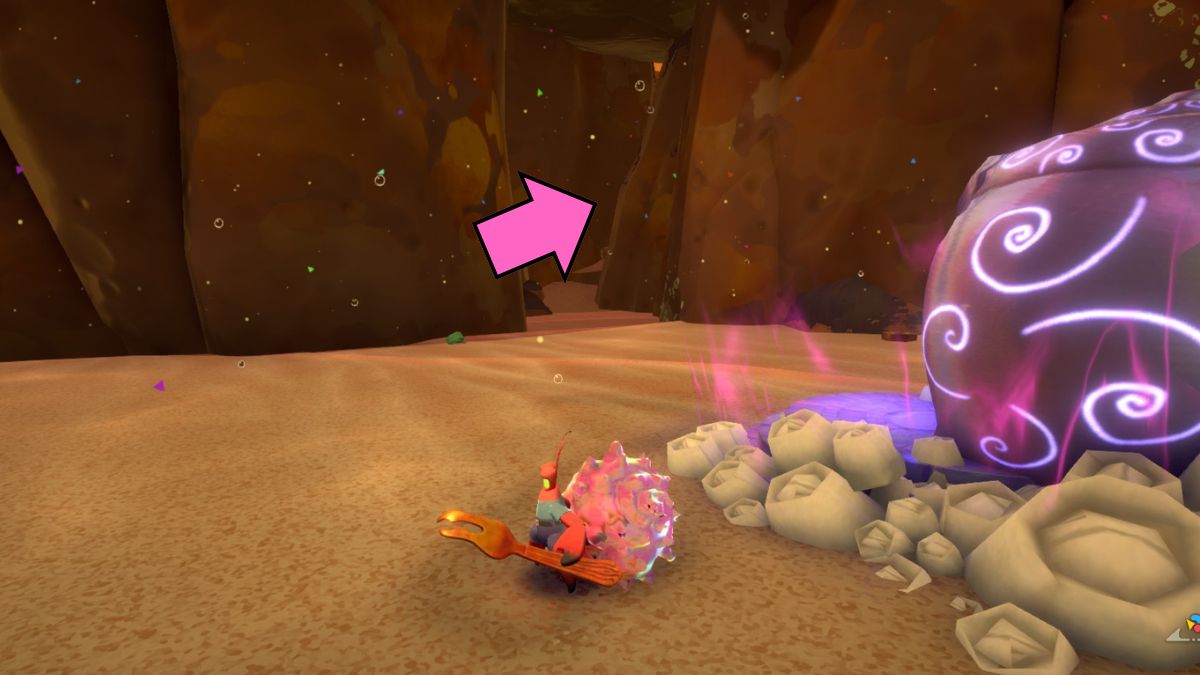
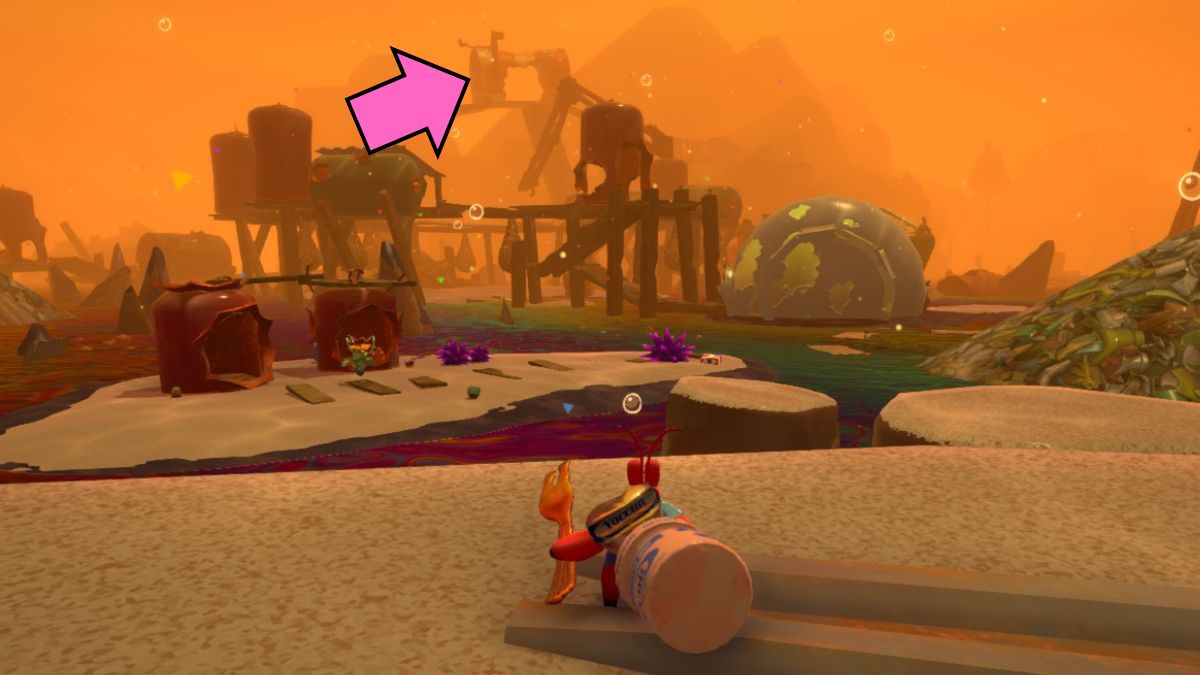
From the Village Gates , go to New Carcinia to get the next clue and then teleport back to theUpper Swamp . Your goal is to get through the mailbox at the top . Make your way through the gunk and try not to devote attention to the enemies . The biz itself tell apart you you do n’t have to fight every foeman . Preserve your health until you reach the honcho fight .
You are head up for the air hike . Double - tap the parachuting button and you ’ll find yourself entering a cave organisation . TheCeviche Sistersare at the oddment of it with the third and last hoarded wealth map spell in Another Crab ’s Treasure . Since there are two of them and they are both ranged enemy , it can be difficult . However , the good maneuver is to focus on one to kill it while dodging the attacks from the other .

Screenshots by Pro Game Guides
Once you have the last firearm , head back to the Upper Crust in New Carcinia to complete the map and find where the Treasure is hide . Nothing can go wrong , for certain ? asunder from Roland swoop in and stealing the map , leading you on a wild boat following , that is .
If you are a completionist , check that to see to it out ourAll Trophies and Achievements in Another Crab ’s Treasureon Pro Game Guides .
Screenshot by Pro Game Guides
Screenshot by Pro Game Guides
Screenshot by Pro Game Guides
Screenshot by Pro Game Guides
Screenshot by Pro Game Guides
Screenshot by Pro Game Guides

Screenshot by Pro Game Guides
Screenshot by Pro Game Guides
Screenshot by Pro Game Guides
Screenshot by Pro Game Guides
Screenshot by Pro Game Guides

Screenshot by Pro Game Guides
