Use adeptal power to pile up adeptal energy !
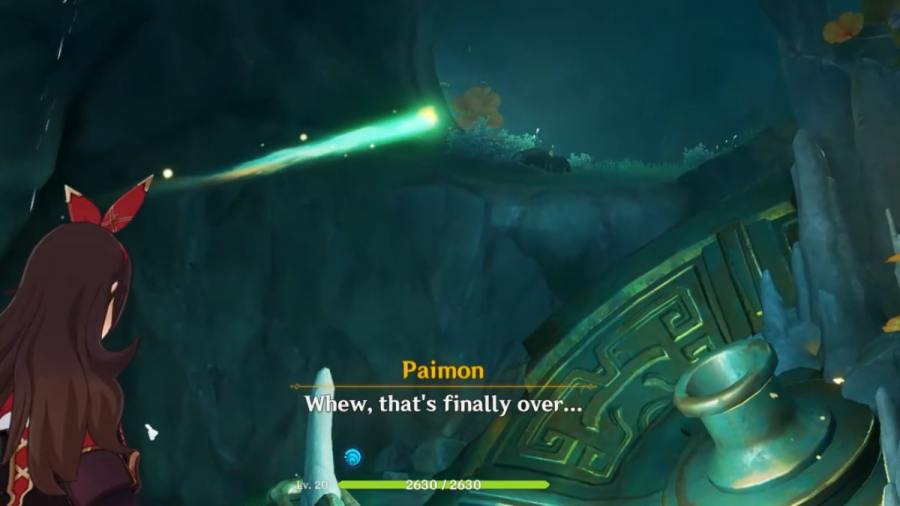
In theFloating Jade , Treasure of ChenyuWorld Quest , you must come in a hidden clearing inside a whirlpool , where you ’ll meet the adepti , Fujin . You ’ll then be deliver with a confusing object lens : collect four of the scattered adeptal vitality in the quest area .
The adeptal energy can only be collected by solve some puzzles and interact with object around the highlighted expanse on the map . I ’ll take the air you through how to bump all of them below .
Genshin Impact collect the scattered adeptal energy puzzle solution – Floating Jade, Treasure of Chenyu
Upon starting the objective , the quest domain will be highlight on the map . You ’re limited to the search region inside the cave in Chenlong Cleft . The adeptal vigor can be pull in in any order , but I evoke follow our walkthrough below in the exact order to forefend mix-up .
Adeptal energy #1
Start by heading to the northwest segment of the highlighted field to find a group of Hilichurls digging by a glowing spot . Defeat the Hilichurls , theninteract with the glowing spotto gun trigger metal artifact to appear .
Three more glowing investigate spots will appear around the metal artefact . Interact with them
Three beam spot will appear on the metal artifacts . Interact with the beam spotsto trigger the adeptal energy to come along . Use thespecial interaction key(T for PC , check the bottom of your blind for the accurate command for your gimmick ) to collect the adeptal get-up-and-go , completing the first part of the objective .

Image by Pro Game Guides
Some Hilichurls and a Mitachurl will engender — I suggest kill them so they do n’t get in the style .
interrelate : Xianyun ’s Special Dish and how to manipulate it in Genshin Impact – Encompassing Gladness
Adeptal energy #2
From the same position you claimed the first adeptal energy , you ’ll find yourself at an intersection . rick right to and lead toward the shine ball circled above , andapproachit to turn it into adeptal vigour . Use thespecial interaction keyto set off the adeptal energy to run forth , transforming into a boar .
Climb the nearby rampart to find the Sus scrofa . When you draw close it , it will run away like a super - fast Seelie . Your goal is tokeep following the boaruntil it reaches its destination . Some enemies will spawn along the path , but you’re able to ignore them .
The boar will break running away once you get to the brilliantly lit glade , as pictured above . It will transform into the " Beast Lord of Fuyu , " which you must defeat to trigger the adeptal free energy to breed .

Image by Pro Game Guides
After defeat the " Beast Lord of Fuyu , " the adeptal energy will appear again . apply thespecial interaction keyto gather up the adeptal energy , fill in the objective . Do n’t forget to ransack the Precious Chest for extra rewards !
Related : All Clearwater Jade locations in Genshin Impact
Adeptal energy #3
You postulate to return to the start point at the center of attention of the seeking area . From the clearing , I recommend using the peculiar interaction key to trip across the drop in the air , which will guide you to your destination .
The three Seelies will take you down what looks like an delusion of a pond . Be deliberate and glide downward instead of jumping to prevent character expiry . They will accumulate around the adeptal energy at the bottom of the pit . Use thespecial interaction keyto collect the adeptal vim , fill out the objective .
As a bonus , you could bear on following the Seelies to guide them back to their posts , which will repay you with an Exquisite Chest .

Image by Pro Game Guides
Adeptal energy #4
Head to the nearby body of water in the upper correct corner of the quest domain . You ’ll find two Pyro Monuments underwater , but you’re able to easilylift them up using the particular fundamental interaction tonality . After lifting a Pyro Monument , quick light it up using any Pyro accomplishment — Amber ’s Charged Attack is the easy to use . Do the same for the second Pyro Monument , until both are perch up at the same time .
This section wasa picayune buggyfor me , so you might have to examine a few times andwork quicklyfor both of the Pyro Monuments to light up without one sink back down .
Once both Pyro Monuments are lit up , a glade will emerge from the nitty-gritty . border on it and utilise thespecial fundamental interaction keyto hoard the adeptal energy , dispatch the objective . Do n’t forget to exact the Exquisite Chest for extra rewards as well .
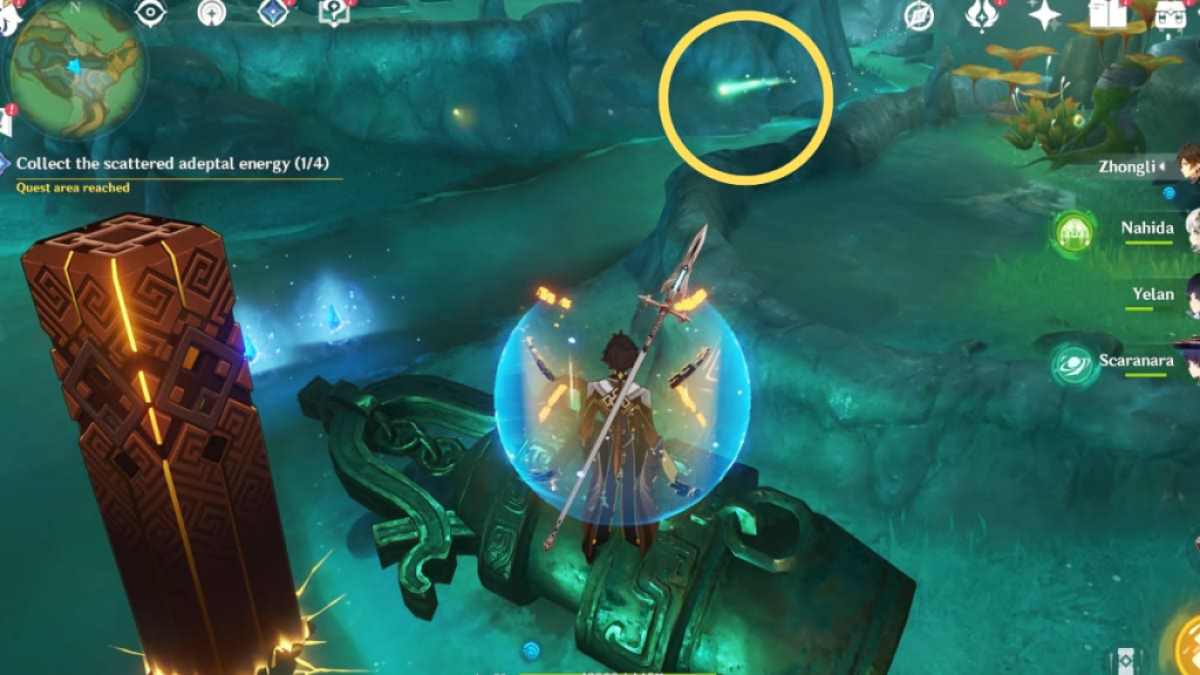
Image by Pro Game Guides
For more on Chenyu Vale , check out our template onWhere to find Solitary Suanni in Genshin Impacthere on Pro Game Guides .
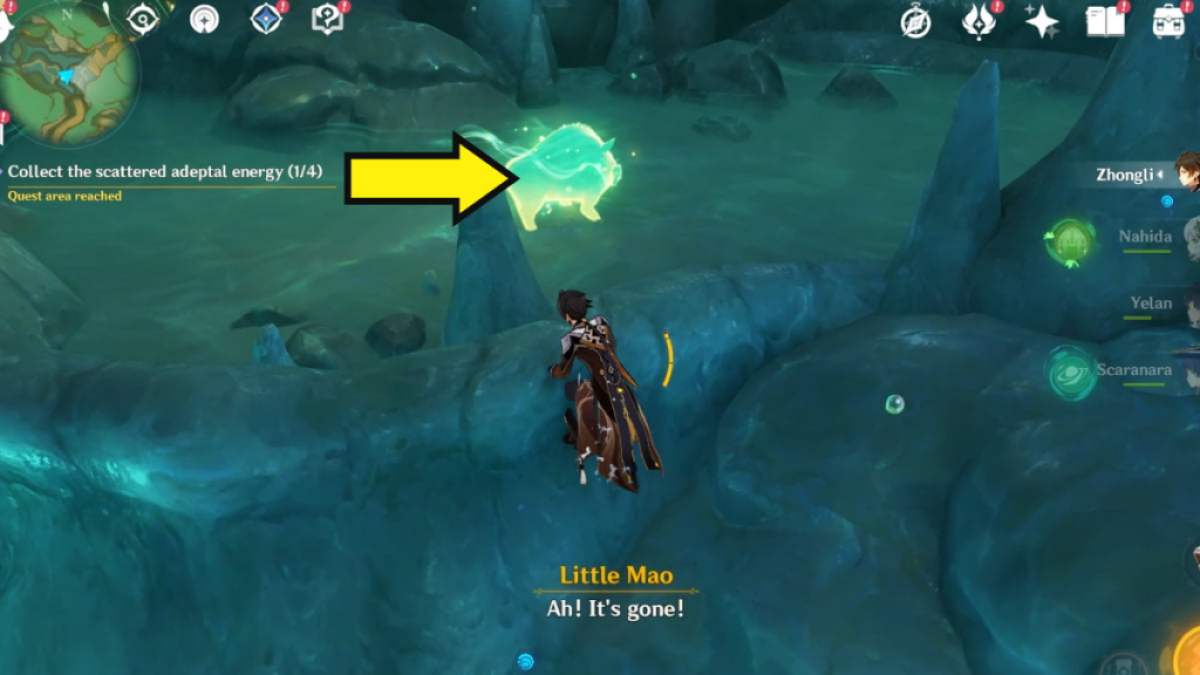
Image by Pro Game Guides

Image by Pro Game Guides
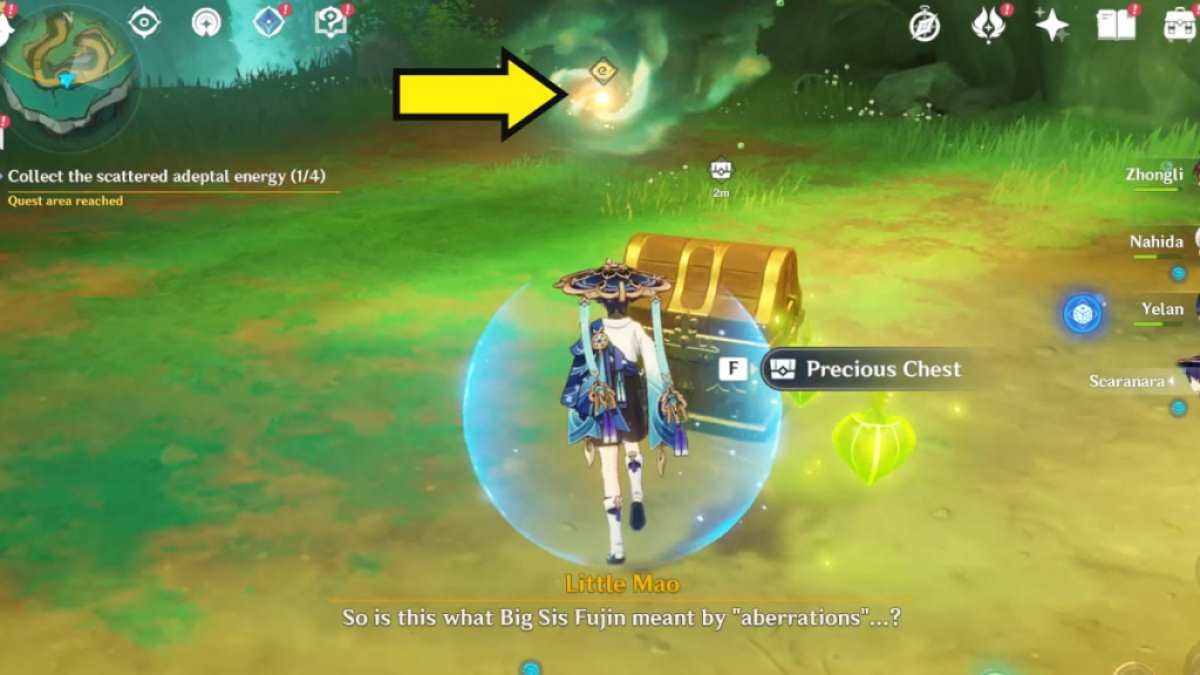
Image by Pro Game Guides
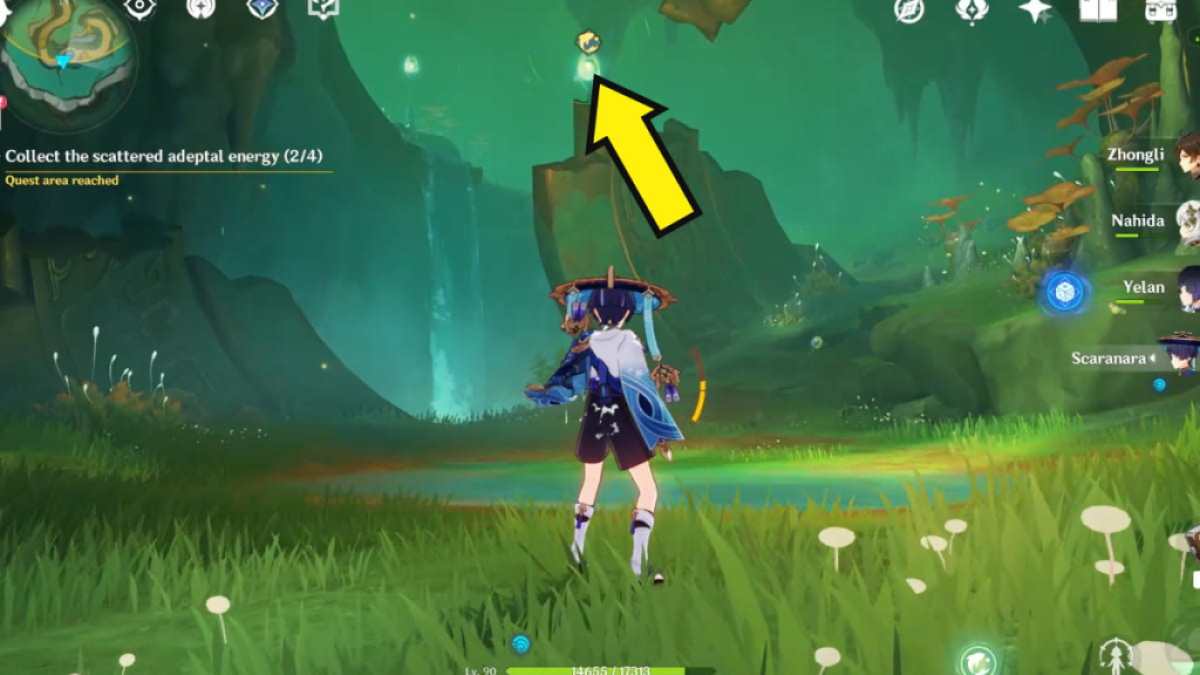
Image by Pro Game Guides

Image by Pro Game Guides

Image by Pro Game Guides

Image by Pro Game Guides

Image by Pro Game Guides

Screenshot by Pro Game Guides

Image by Pro Game Guides
