Unlock the 100 % Hard Mode achievement !
Awaria is the new challenge developed by Vanripper , a biz that frame you in the haunted tunnels with little girl ghosts , who you must first get by and then snog . In this guide , we ’ll offer you with tips on how to beat the game on the hardest difficulty , which remove drone and work generators die faster .
Awaria: How to Beat Hard Difficulty
Note that you simply require to interact with the broken generators to fix them by pressing the " Enter " key and prompt around the active component if any are uncommitted in the way .
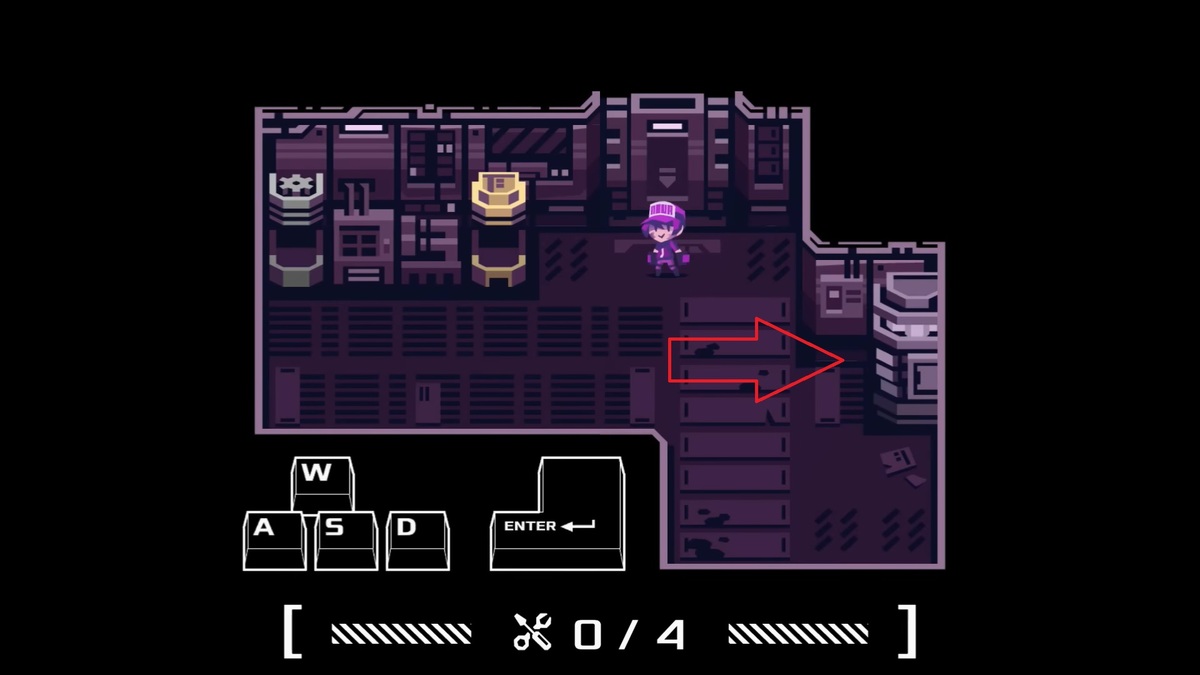
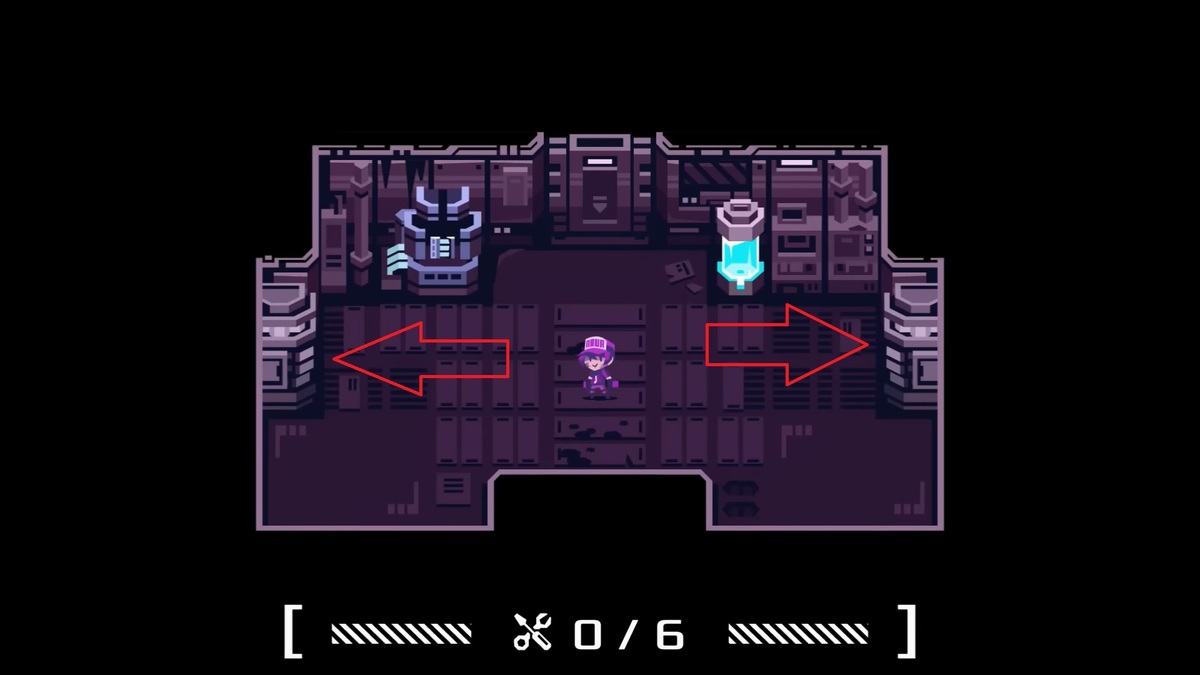
Chapter 1: Zmora
The first chapter is the easiest , where you simply need to interact with the source in the room until the spectre of Zmora appears . Keep fixing the generator three more times for a sum of four , while escaping her attack , and her world power will fade . At this degree , you ’ll get the prompting to osculate Zmora .
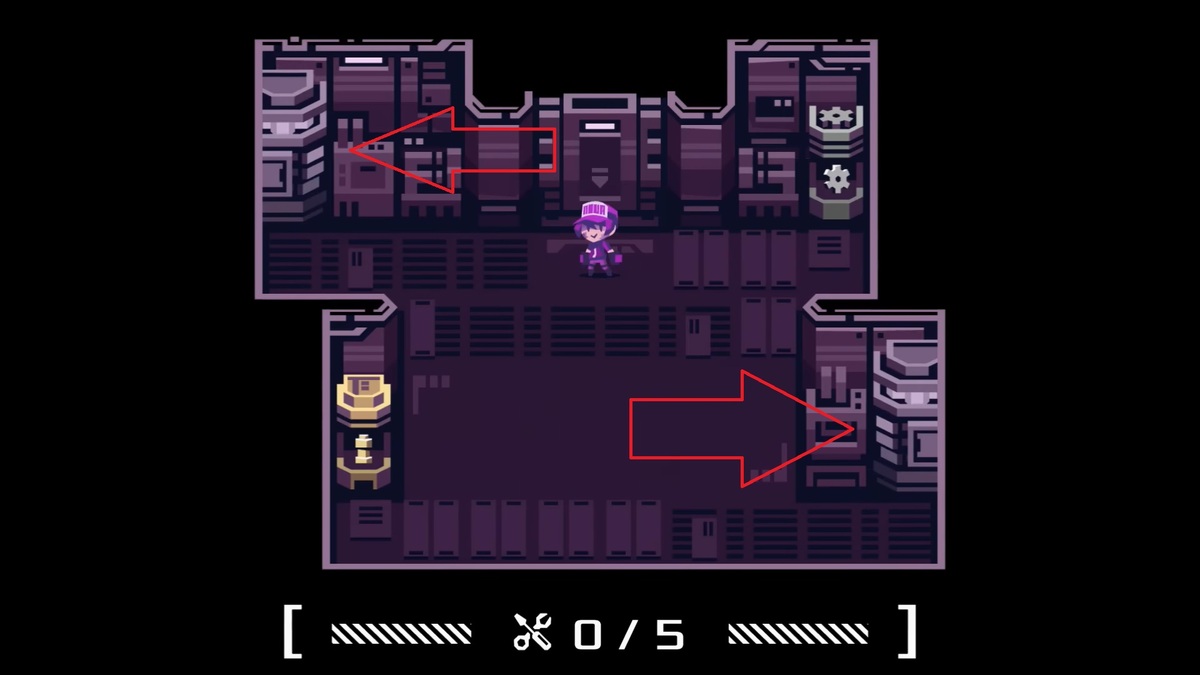
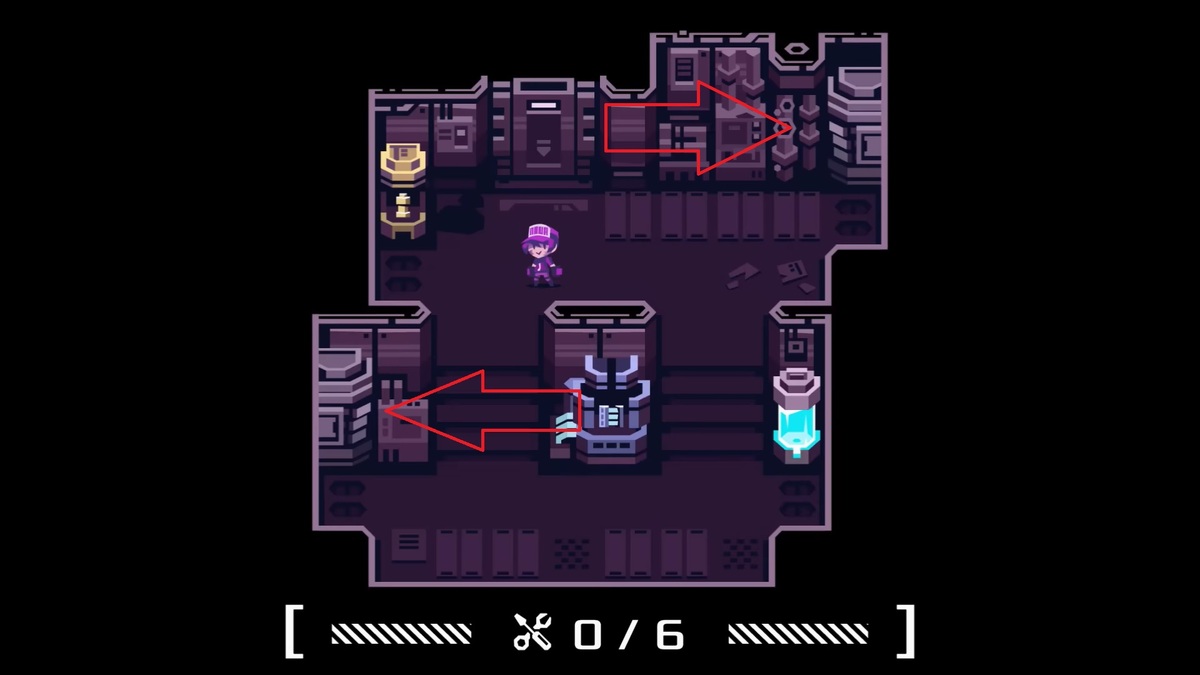
Chapter 2: Zmora II
Here , you need to fix two author , and Zmora appear much quicker than in the first room . Once again , fix both generators for a total of five clip for Zmora ’s power to fleet . In the end , Zmora will take your gift of pud and leave behind you alone .
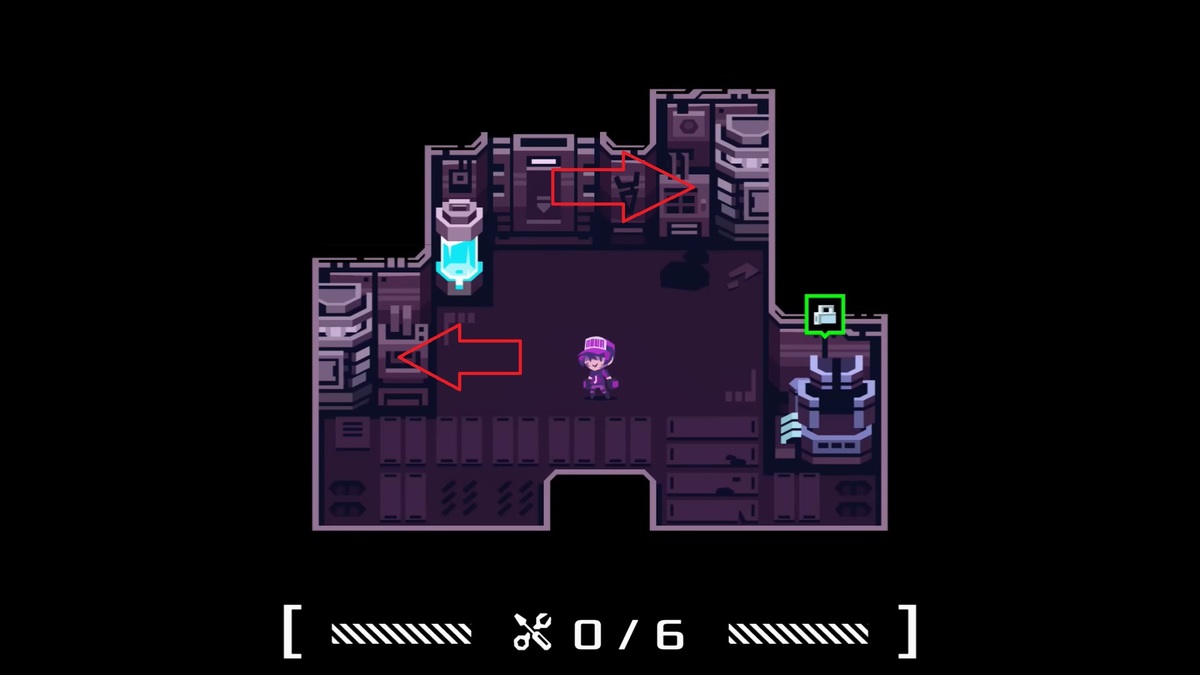
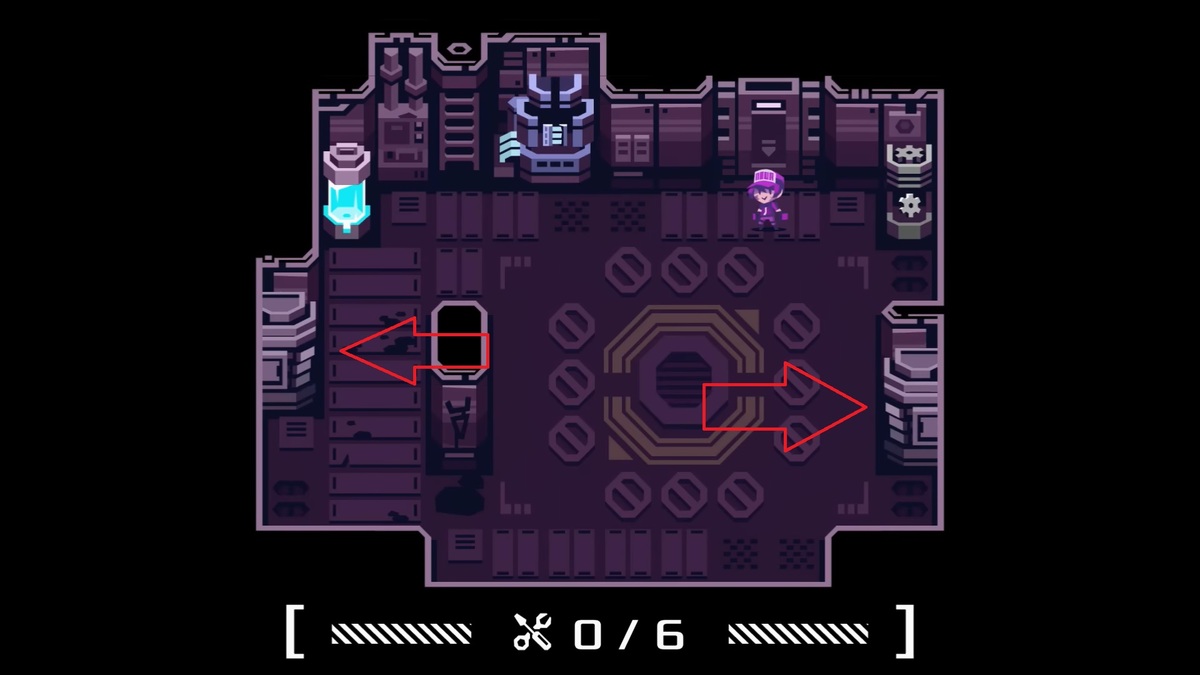
Chapter 3: Cutwire
This elbow room is similar to Chapter 2 with two generators , but Cutwire is a different type of ghost , who shoots ternary missiles and position plier trap in the shape of skull on the flooring . So be prepared for these when you restore one of the source . This time you ’ll also need to fix the generators a sum of six times . The in effect way to do this is to move around the edges of the room , evading Cutwire ’s attack .
Chapter 4: Cutwire II
The same process reduplicate in this room , but this time you ’ll involve to fix generators six metre . Cutwire will place her skull signs on the floor , which you must avoid at all cost . If you fend on the preindication , you ’ll be immediately demolish . So move through the sum of the elbow room , and once Cutwire come out the sign , move around the edges to safely avoid them .
Chapter 5: Nikita
Nikita is an even more severe ghost , shooting rocket in all guidance . This means that it ’ll be a quite a little harder to parry , but you still can do it by simply waiting out in the corners of the room . Once the projectiles are gone , you could go ahead and set the source six time to complete the chapter .
Chapter 6: Nikita II
In this room , Nikita will be acting far more sharply than before , shooting projectiles one after the other . But the room is also bigger , so it ’s a lot loose to dodge projectiles , although it ’s authoritative that you avoid moving through the center of the room , as that ’s where a bunker will destroy you . Once you fix the generators six times , the chapter will be over .
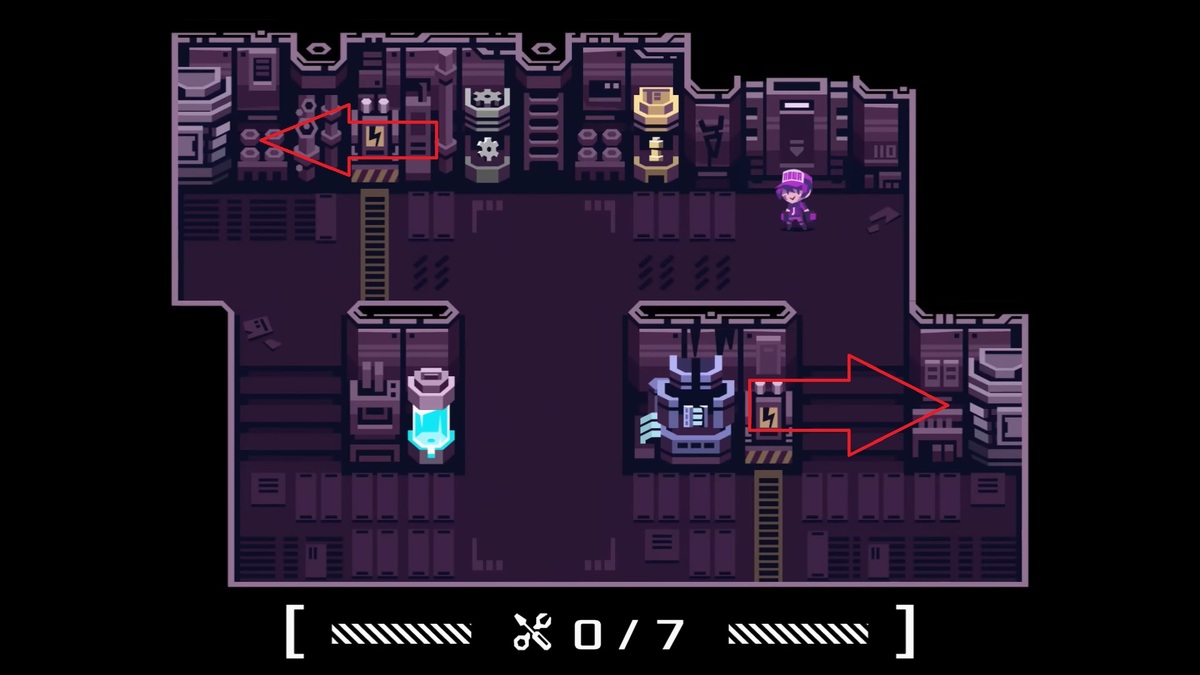
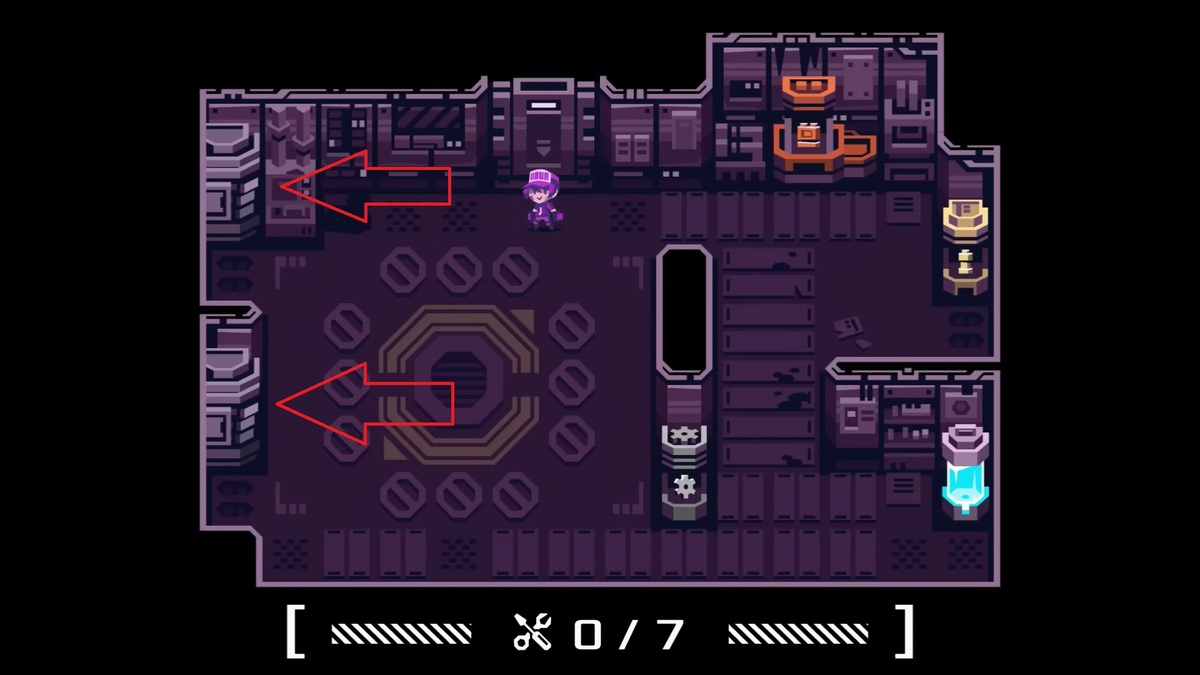
Chapter 7: Zmora III
Zmora render for the seventh room , which now has permanent traps that look like electric ladder . you’re able to move through them but only when they ’re not charged . Zmora will be chasing you with with child speed , throwing electric charges all around . To survive , you must always move around and wait to see Cutwire invade the way , too . This happen when you desex the generator four clip out of seven , ask for completing the chapter .
Chapter 8: Zmora IV
Even before the ghosts start come along , this room will immediately start shoot you with projectile , emerging from the centre of the room . As always , look them out in the corner . Zmora will come out soon enough , go after you , as well as Nikita , with even more rocket on the way . The only way to survive this room is to move around the edge as fast as possible in one way , preferably clockwise . You ’ll have to limit the generators seven time .
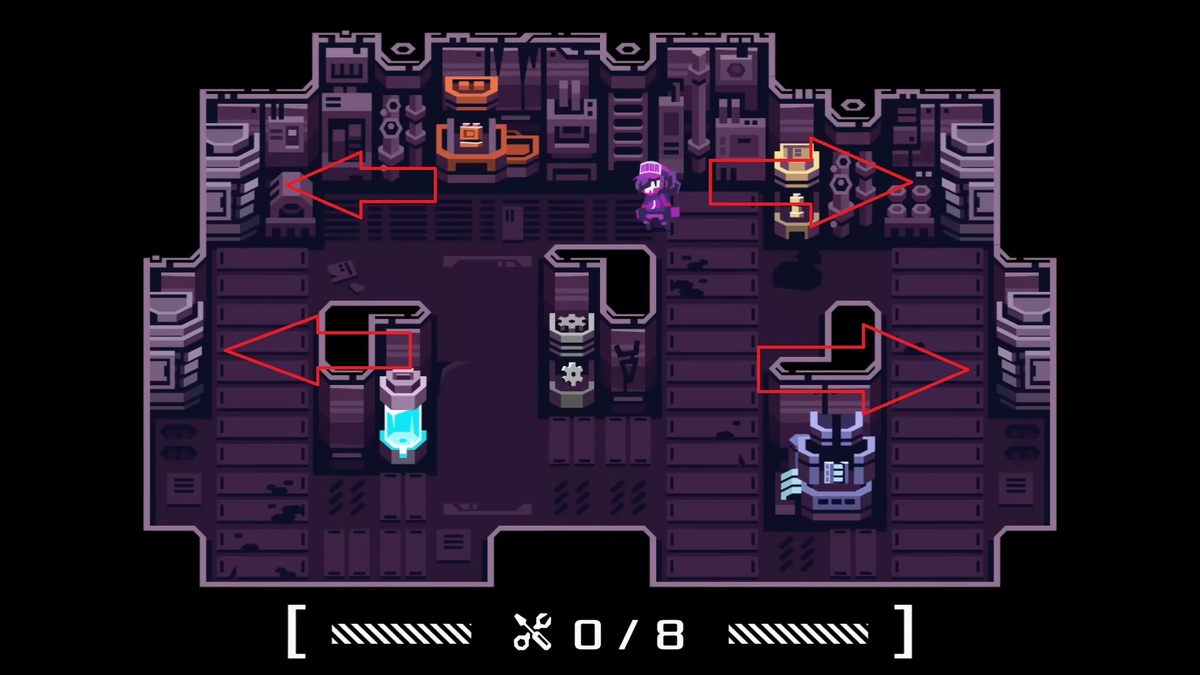
Chapter 9: Zmora V
This is the same way as in Chapter 7 , but this time there are four galvanising ladders instead of two . Zmora set about blasting you with lightning bolt all around the room , so either wait them out in the center or the corners of the way . There are also four generators in the room this fourth dimension , which actually makes things a scrap easier . There ’s also no Nikita this sentence , which again pretend things a fleck easier for you . Once you fix the generators eight time , it ’ll be over .
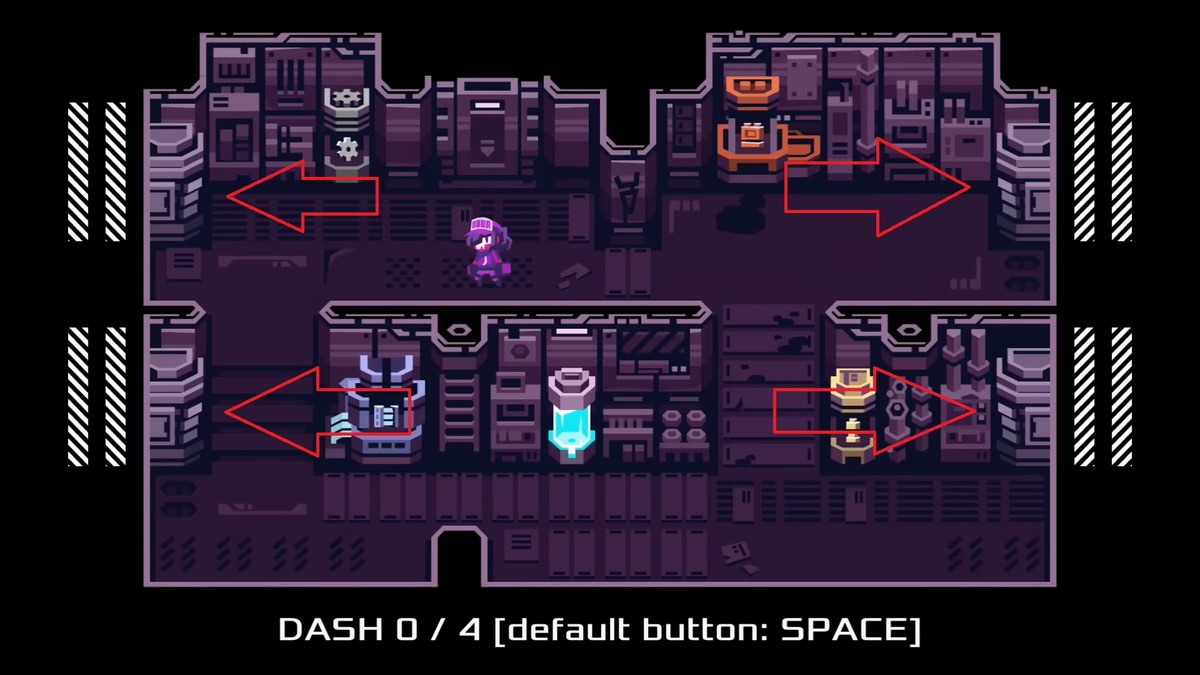
Chapter 10: ???
Here , you get to see all three shade again in the next order : Cutwire , Nikita , and Zmora . Each one spawn after one generator fixture , but at least there are no other trap in this room , which makes it a little bit easier . Also , be sure to step onto the dashes on the floor for quicker move . They will grant you to quickly avoid wraith flak , and after get the generators four times , this chapter will be over .
Chapter 11: Dr. Striga
With Dr. Striga , we ’re entering the final stages of the biz . She appears now , give you no time to think , be active super fast , photograph missile everywhere , and spawn small horned mobs . You ca n’t really do much against them but simply persist forth , moving from one generator to the other as quickly as possible .
One of Dr. Striga ’s strongest abilities is teleportation , which is very random . But you may still see for a fraction of time where her portal appears in the room to avoid it . In this case , move around the edges of the room in a clockwise direction and touch on generator eight times to dispatch it .
Chapter 12: Dr. Striga II
Here , Dr. Striga summons four dissimilar type of rout . Here ’s how to void them :
make the two source in the way eight time to make out this chapter .
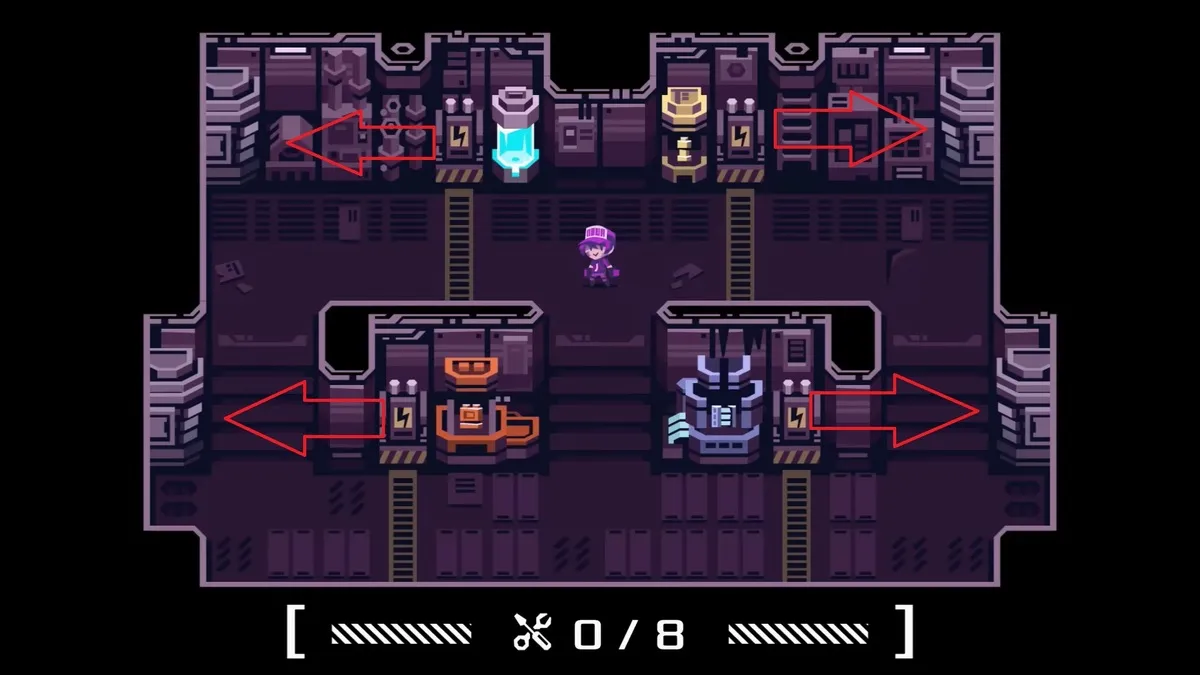
Chapter 13: Dr. Striga III
This is just the same room as the old one , but Dr. Striga doubles the amount of all mobs and appears as a giant mechanical monster that always hits the eye of the elbow room . All you need to do is head off the mob as before and decamp the midpoint of the room . Once you prepare the generator eight clock time , the biz is complete .
That ’s all you need to know on how to trounce Awaria in hard mode . For more guides , check outImmortal Rising 2 Best Skills Tier ListandUnlight resuscitate Best Cards Tier List .
Screenshot by Pro Game Guides
Screenshot by Pro Game Guides
Screenshot by Pro Game Guides
Screenshot by Pro Game Guides
Screenshot by Pro Game Guides
Screenshot by Pro Game Guides
Screenshot by Pro Game Guides
Screenshot by Pro Game Guides
Screenshot by Pro Game Guides
Screenshot by Pro Game Guides
Screenshot by Pro Game Guides
Screenshot by Pro Game Guides
