They somehow manage to make the Amphitheatrum Flavium stuff hard .
FF7 Rebirth ’s Golden Saucer has a treasure treasure trove of minigames for you to explore , but some of them are hard than others . One is by all odds the Musclehead Colosseum , which may be hard or not , depending on who you take with you into the ruffle .
How to win all the Musclehead Colosseum battles in FF7 Rebirth
A affair you should recall is that you’renot required to do any of these Amphitheatrum Flavium conflict now . you’re able to just push the main story forward and take them on with somebody else later in the game . In fact , I highly recommend you do this if you ’re struggling .
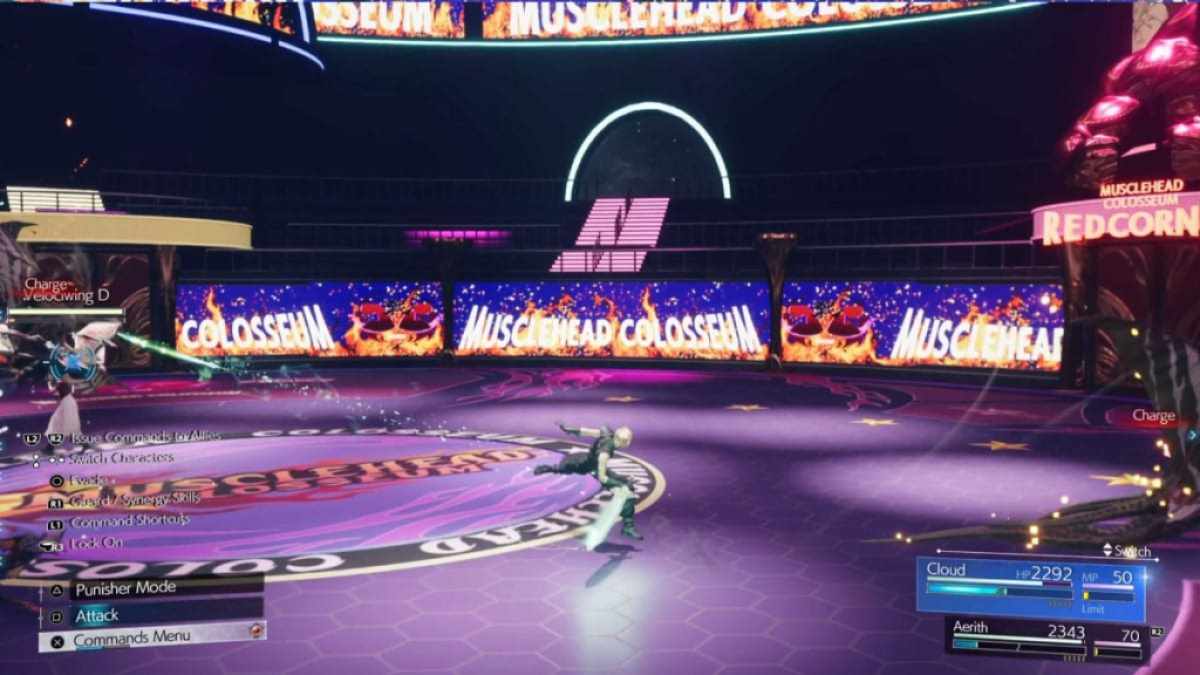
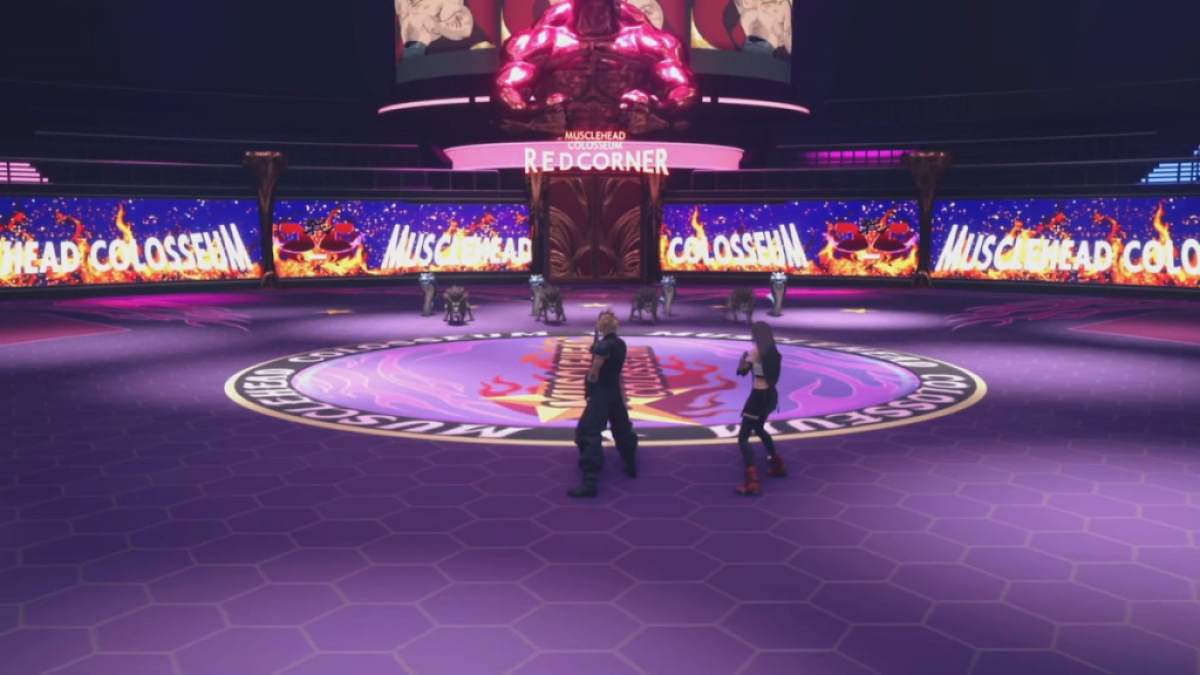
Two Person Bout (Easy)
I ’ll beCloud - centrical with my advice for the first two challenge . After all , I ’m not sure which partner you have with you during your first visit , and this might be a challenge you want to prove to yourself that you’re able to do at this point — and that ’s fine !
The third and 4th challenges are 11 levels above the first two . That ’s your mansion to do back for them later .
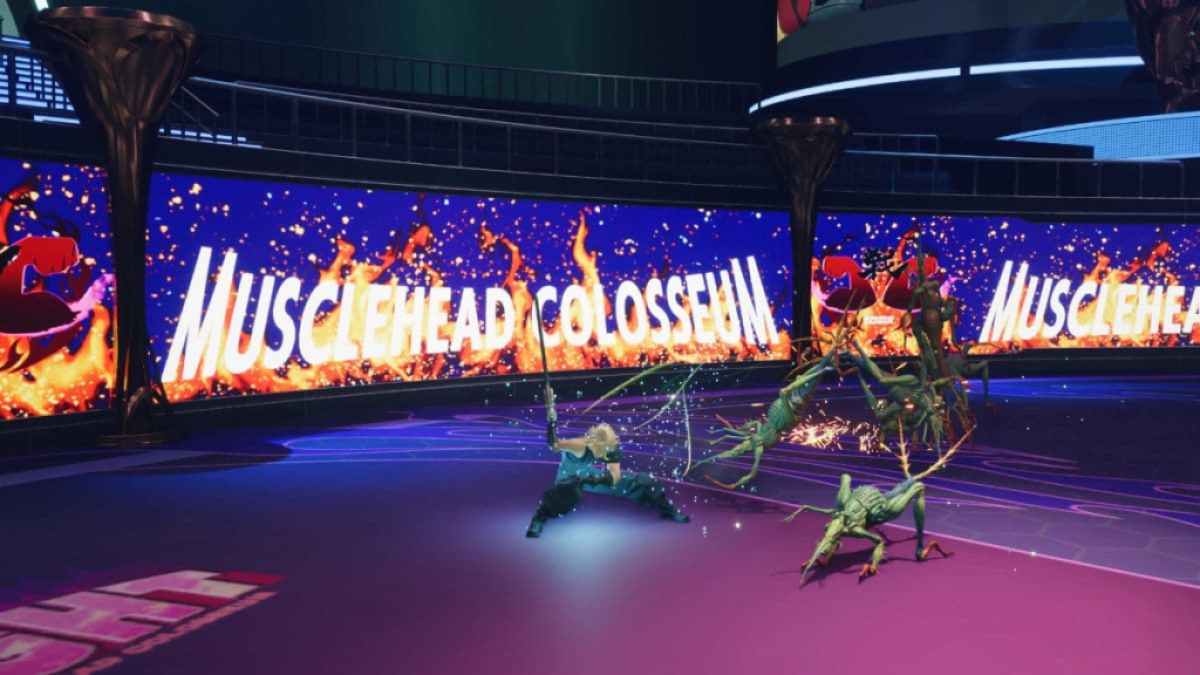
Are the Flame Whorls killing Cloud before he can move ? No job ! seize yourElemental Materiaand slap it into Cloud’sbracer . connect it with your Fire Materia . At level 2 , you ’re already immune to Fire Damage but even halved is n’t high-risk .
All the foe are weak to Wind . EquipEnemy Skillon Cloud for admittance toSonic Boom , a tip plan of attack that also boost his ATK / Magic ATK stat . Take full reward ofCloud ’s farseeing distance slashes . Keep a unfluctuating distance away , dodge / roll , and press Square . It ’ll make an air slice attack and keep you aside from peril .
Once your ATB is charged , rise into the disturbance with aTriple Slash . It ’s a accomplishment that hits three freestanding enemies if it can . And it works for airborne ones too ! This should throw those foe off substructure and cancel whatever attack they were preparing . Finish off the ace you’re able to .
Related : dear attainment & core to unlock for all characters in FF7 Rebirth – Folio Guide
Screenshot by Pro Game Guides
In the second round , you ’ll be up against J - Unit Sweepers , which are much well-situated to beat than the Lavalisks . There are only two of them , and both are weak to Lightning . Cast Sonic Boom for the self - raw sienna , and be certain you take in out for their attack .
Two Scripture : Firebolt Blade . It ’s one of Cloud ’s Folio - unlockable abilities that allow him release a diminished fire pellet and imbue his own artillery with the element . hack on those bandits into frustration after you do this and move on to the next round .
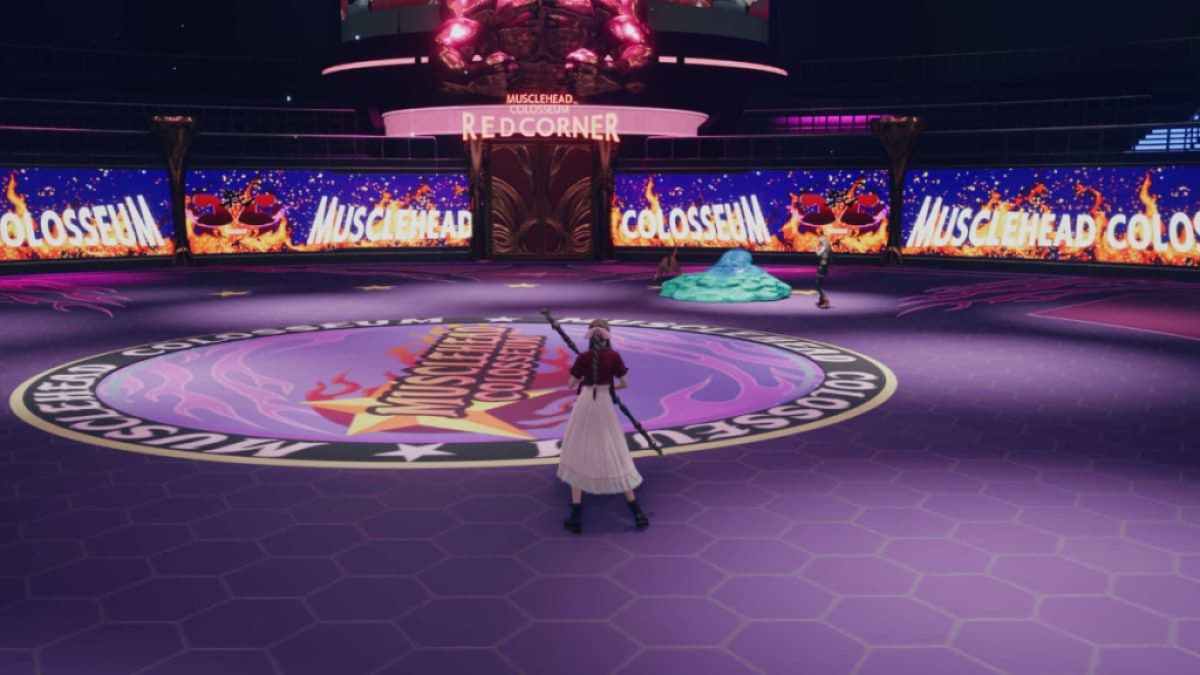
The White Mousse is not a hard monster to kill if you know how it serve . It ’s weak to magic trick but absorb whatever last element you hurtle at it . Pick two materia elements and cast those in alternating order . Once the White Mousse is pressured , get Cloud or a partner to spam their abilities on it so it stagger chop-chop .

Screenshot by Pro Game Guides
Now , we get to the hard part of the Musclehead Colosseum . Exemplary Exterminators is truly an annoying challenge , specially in the first round . You call for to battlefour Junon Flametroopers and four Daemonic Entitiesfor the first round and aQuetzalcoatlin the second .
fortuitously , all monsters in the first round are weak to methamphetamine hydrochloride . Since I battled this at level 29 while using theLightning Punch Tifa build , increase her first ATB and immediately castPlasma Discharge . Having Plasma Discharge procs willincrease their stagger barsas long as they get hit by the A.O.E. terms .
Also , you ’ll need totarget the four Junon Flametroopersand endeavor to promptly obviate them as soon as possible as their flames pain a lot , especially when you ’re seriously under - leveled me . For Cloud , have himcast Triple Slashevery time he get an ATB up .
Screenshot by Pro Game Guides
Once the Junon Flametroopers are done , toss off the rest of theDaemonic Entitiesas they ’re not that difficult as long as you’reblocking or perfect blockingtheir attacks . If you ’re having a very rough time with this round , summon Shivato help oneself you finagle the fight good .
Now that the most hard part of the challenge is done , you ’ll front theQuetzalcoatlfor the second round . The Quetzalcoatl is one of the most enjoyable political boss I ’ve ever run into , and it ’s fairly well-to-do to press if you knowhow to pressure it .
Since I used Tifa , I equipped theElemental + Fire and Ice materiaon herKaiser Knuckles . This allows Tifa to continuously dealIce elemental damagewith her normal attack , and with thePlasma Discharge procs , you ’ll pressure the Quetzalcoatl in no time .
Screenshot by Pro Game Guides
call back to useUnbridled Strength two timesandfully recharge Tifa ’s ATBbefore you stagger Quetzalcoatl so you’re able to inflict as much stumble multiplier as potential . While the Quetzalcoatl is staggered , it ’s the sodding opportunity to bust out Tifa and Cloud’sRelentless RushSynergy Abilityto furtherincrease the stagger multiplierandextend the stagger prison term .
Ghoulish Delights is another high - level challenge , which advocate your political party to be at leastlevel 40 . For the first cycle , you ’ll fightfour Crawlers and four Grassland Wolves . On the second , you ’ll fight the malevolentMindflayer .
This engagement is a tad bit wanton than the Exemplary Exterminators as long as you bringElemental Materia + Fire and Ice . Of course , since I had the same frame-up as the premature challenge , I still have myPlasma Discharge procs .
Screenshot by Pro Game Guides
For the first round , utilise Tifa and set her up forPlasma Discharge . As Cloud , your goal is to trim the Crawlers as they’reweak to fire . Hence , Firebolt Bladeis the key . Tifa will be able to quick dispose of the Grassland Wolves as they arevulnerable to glass .
Thesecond roundis more manageable but still hard since Mindflayer ’s attacks polish off like a motortruck . The key to cheese the Mindflayer is by usingSynergy Abilities . The best way to cursorily load Synergy Abilities is by usingweapon ability .
I recommendCloud ’s Focused Thrustfor lend pressure and a point in hissynergy , and as for Tifa , Unbridled StrengthorFocused Strike . Once you have two bars of synergy on both of them , use their Synergy Ability calledSynchro Cyclone .

Screenshot by Pro Game Guides
Synchro Cyclone will grant youunlimited MPfor a circumscribed prison term , so you’re able to employ this as an advantage toheal or buffyour party . Repeat until you flounder the Mindflayer , and unleash Tifa’sUnbridled Strength stacksto increase the lurch multiplier . If you have any synergism point left during the staggered phase of Mindflayer , useRelentless Rushfor more impairment !
Related : FF7 Rebirth Biological Intel Head Case guide – How to get Mind Blast
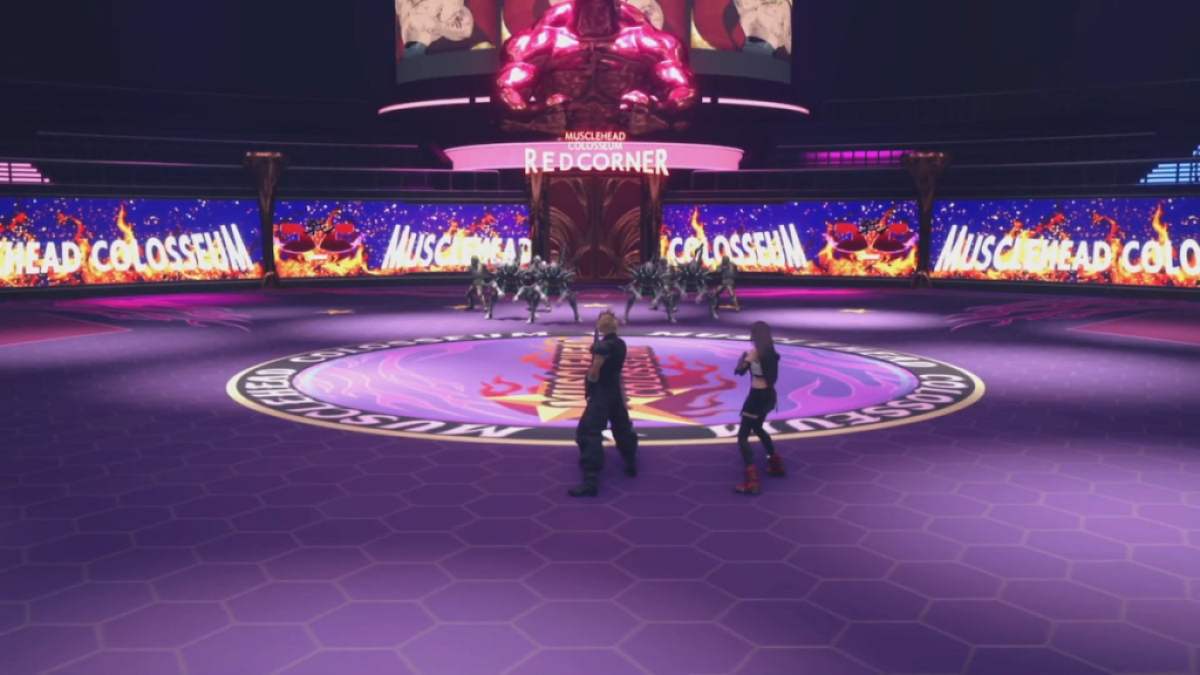
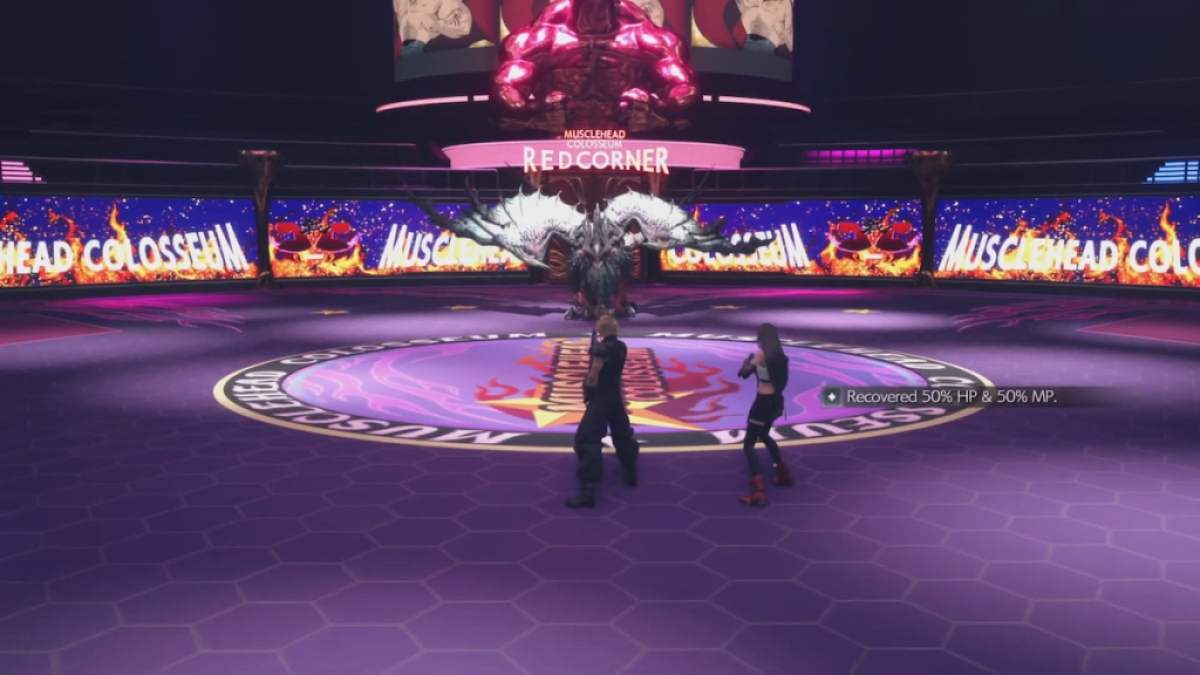
Six Person Bout (Easy)
Once you have Cait Sith with you , you ’ll unlock the Six Person Bout in the Musclehead Colosseum . Here , you accede two battles with two freestanding teams . Be sure you have abalanced compositionwithat least one healer on each squad .
This challenge should give you no hassle . The first one is arguably harder , so put Cloud there and spam Triple Slash when given the chance . Keep a safe distance by and dodge + introductory tone-beginning to do foresightful - distance melody slashes . Even without exploiting their ( Ice ) weakness , they show go down quickly .
For the second round , they ’re just a radical of bandits ! Tifa and Omnistrike can very in all likelihood get the better of each in one smasher . you could also use Red XIII here for his AoE onslaught .
Screenshot by Pro Game Guides
It ’s a petty well-situated to get overwhelmed by the Sandhogs , so just , again , keep a safe distance and address with damage from afar . A tasteful trick I did her was useYuffie . I threw her shuriken and dodge , Ninjutsu - d , dodged , Ninjutsu - d repeatedly . She ’s tight enough to take out off a cheat winnings like that .
The next round , with flans , is whereAerithshines . build up her with anything that can allow her cast Fire / Firaga ( either the Fire Earrings or a three - star Fire Materia ) . Cast anArcaneWard , build ATB , and have her bang Firaga . Try and see your other part and have them ceaselessly attack the enemies to draw the aggro out from Aerith .
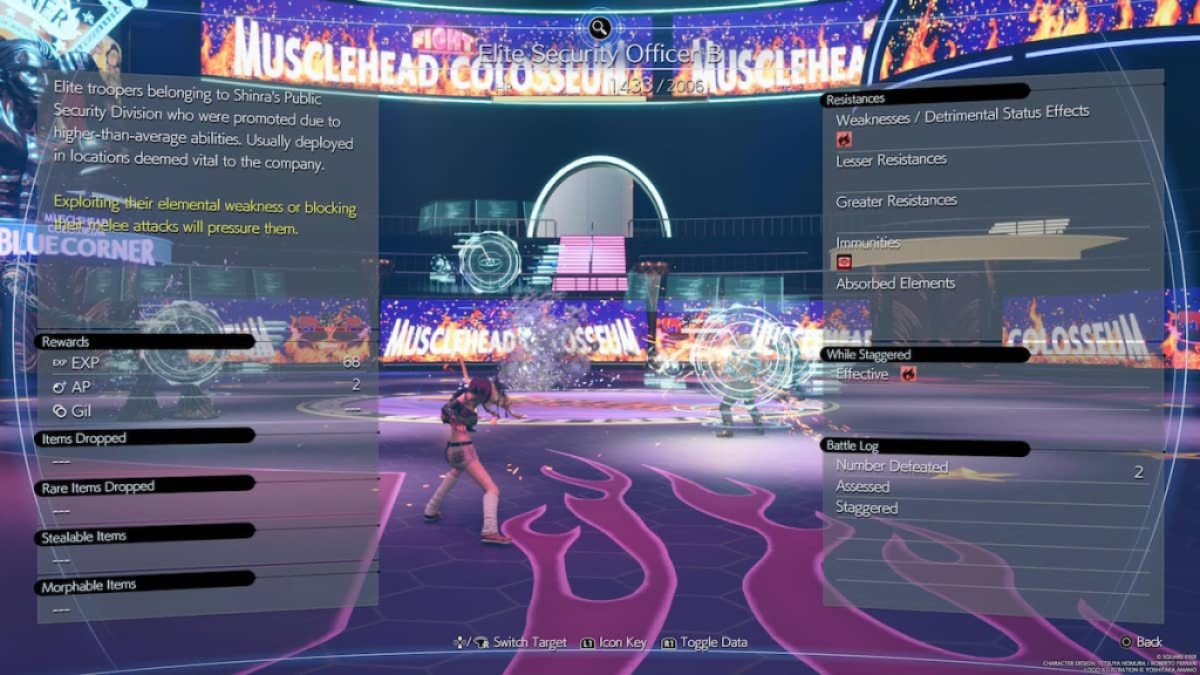
This is another easy challenge to complete once you have master your right political party composition . The first round consists ofone Saberhawkandthree Fleetwing enemies , while the second rotund hastwo Shriekersandtwo Elite Security Officer .
Screenshot by Pro Game Guides
I urge puttingBarret or Aerithon the first team andCloudon the 2nd . For my run , I went with the standardLightning Tifa buildand usedLeaping Striketo shut down the disruption with the vanish enemies . I always kept an ATB gage ready at all time so I could skirt any enemy fire withFocused Striketo massively increase their stumble calibre .
For the 2nd round , Cloud is the best option since you’re able to use hisPrime Mode(i.e . enhance Punisher Mode ) to altogether decimate theShriekerswhile they are whirling their arms around . The two Elite Security Officers are weakly tofire , so you’re able to useYuffie ’s Fire Ninjutsuto quickly put away of them .
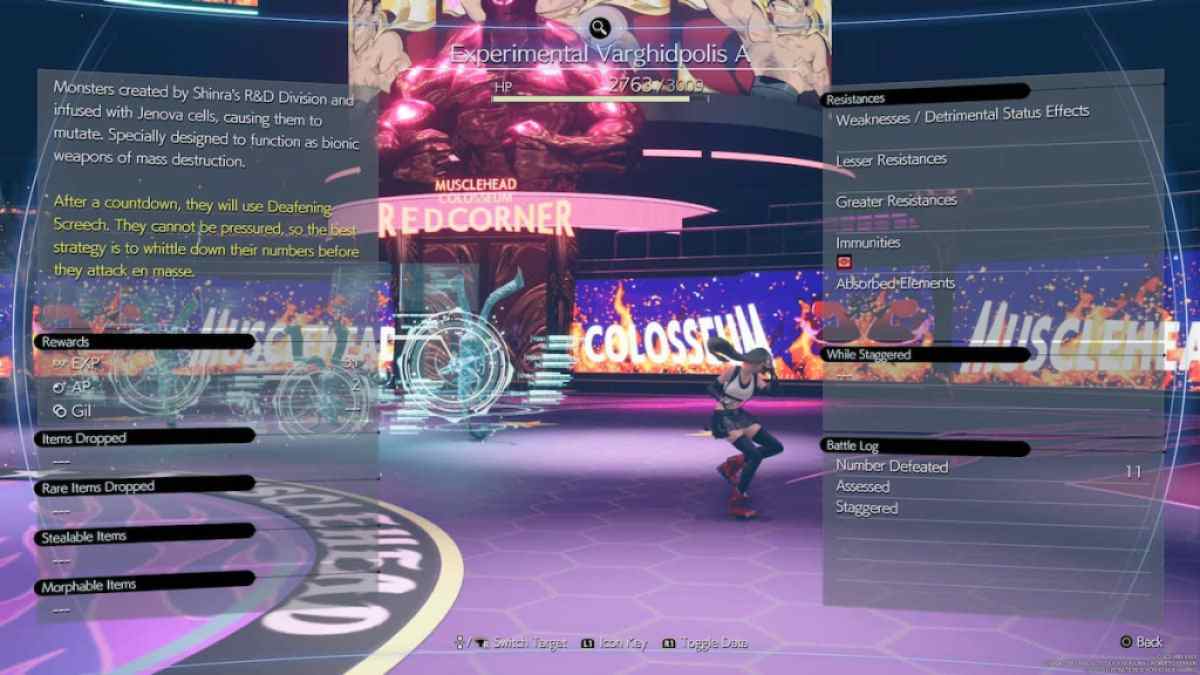
This challenge is a snatch more unmanageable than the first two , as it has an enemywithout a weakness , an foe whomostly occlusion attacks , and another that only has aspecific vulnerability window . around 1 consists of fourExperimental Varghidpolis , and Round 2 has oneShoalopodand twoCrown Lances .
Screenshot by Pro Game Guides
For the first round , I recommend using Cloud . The trick to fighting the Experimental Varghidpolis is toquickly eliminate them . Their numbers may overwhelm you , peculiarly when they employ the move Screech . Using Cloud , consistentlycast Triple Slash , and when you see an enemy with half an HP allow for , apply Braverto trim their numbers down .
The second round is arguably the most frustrating during my playthrough sinceShoalopodcan systematically stoppage approach , and theCrown Lancecan dodge through most of your attempt if you do n’t expect for the right time to take . Both enemy areweak to firing , so I advocate a spellcaster likeAerithto quickly dispose of the two Crown Lances first , then the Shoalopod last .
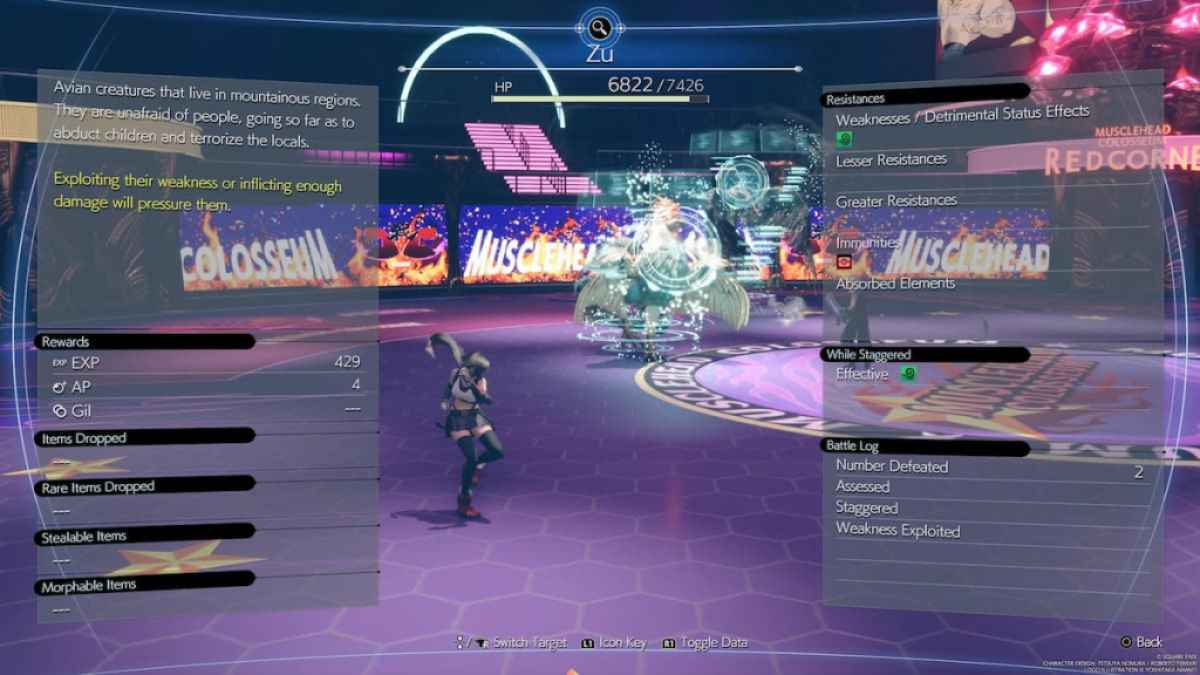
Match Made in Pain is an all - around " fun " challenge for me . The first troll involves 1ZuandCockatrice , while the 2nd round has aBagnadranaand twoDeath Claws . Zu is weak toWind , Cockatrice toFire , and Bagnadrana toIce .
Screenshot by Pro Game Guides
For the first unit of ammunition , the easy elbow room to annihilate Zu is to expend the Enemy Skill Sonic Boom . afterwards , you could focus on the Cockatrice with fire attacks or , instead , utilize anElemental + Fire materia .
The second round is slippery than the first . TheBagnadranaworks likewise to the Shoalopods as they only get full damage in the frontal area . I suggest youtake out the two Death Clawsimmediately , as they can pose a vast terror if you have noSafety Bitequipped for your party extremity . After take care of the Death Claws , useIce attacksto do away with the Bagnadrana .
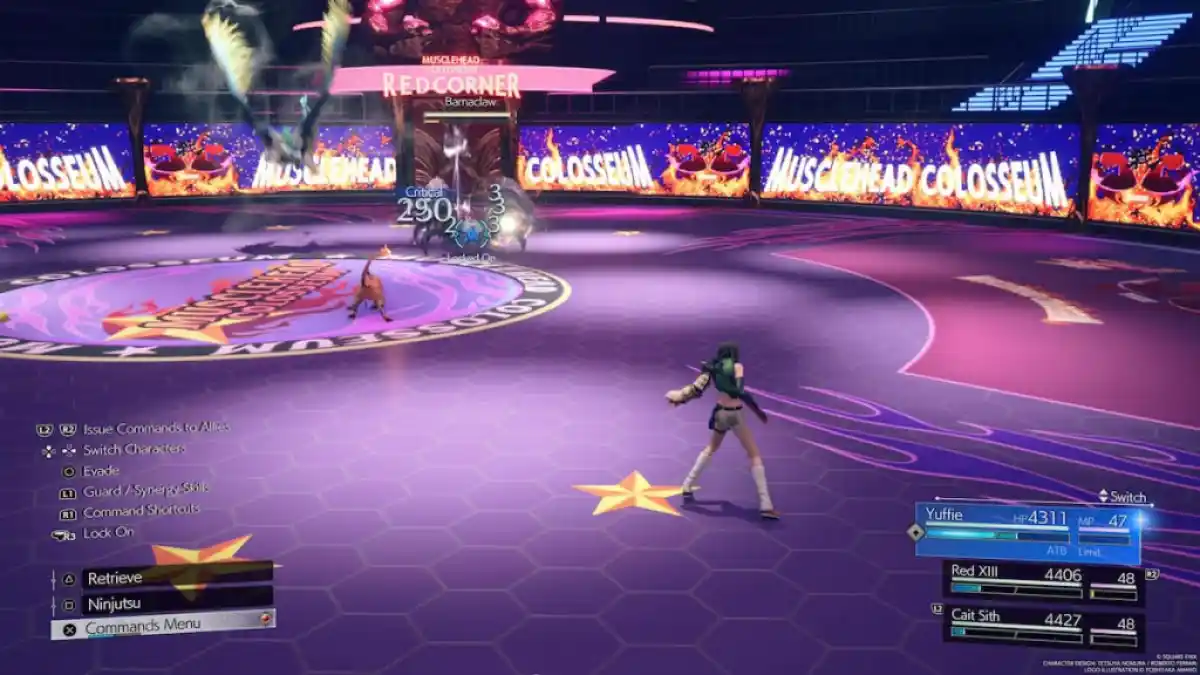
League of Reprobates is among the most bothersome challenge I ’ve faced so far . It includesBurt and Deathwheelin the first round andBarnaclaw and Tonaduin the 2nd .
Screenshot by Pro Game Guides
For both rounds , I propose you useTifa on one teamandYuffie on the other . In the first round , eliminateBurtas early on as potential . He isweak to flame , so any fire attacks from Aerith or Yuffie will rapidly take him down . For the Deathwheel , avoid trying to chase it down while it ’s move ; wait for it to stop , and unleash either Fire , Ice , or Wind attack .
The 2d round is a spot more manageable , as you only need to concenter onTonadu . Tonadu is weak towind , so Tifa with theEnemy Skill Sonic Boomis still very executable . I recommend usingTifa ’s synergy attainment , where her allies throw her up in the air to close up on Tonadu . Lastly , useFire attackson theBarnaclawonce it is in itsDefensive Stance .
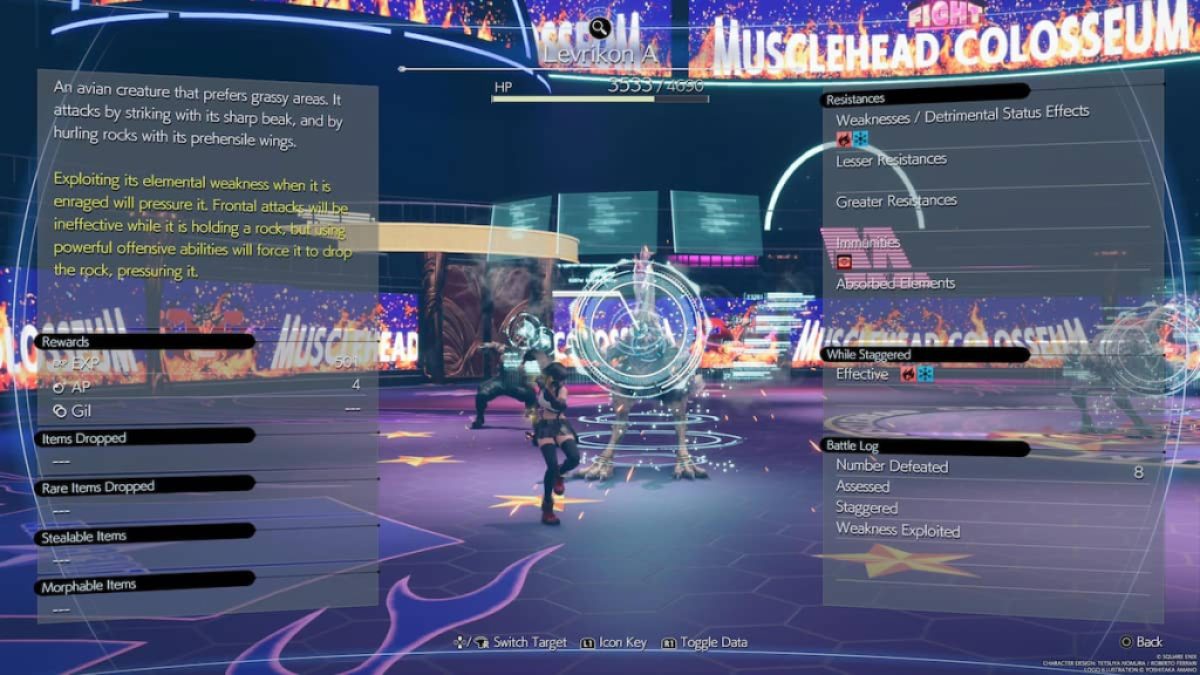
Pecking Order includes several hiss - similar enemies , such as Levrikon and Tonadu . In the second round of golf , you ’ll needfire and ice-skating rink attack on Levrikonandwind attacks on Tonadu .
Screenshot by Pro Game Guides
The first round is straightforward , as you only necessitate to fight three Levrikons . I suggest cut down the numbers down with Cloud’sTriple Slash , Firebolt Blade , and Prime Mode , as Levrikons principally deal with physical onset .
For the second round , I suggest using Tifa or Yuffie . I usedTifafor my run and mainly fought the Tonadus in the air . I dodge their attacks usingTifa ’s Focused Strike , as it has a dodge vivification prior to the strike , which also increasesTonadu ’s stumble bar .
Related : FF7 Rebirth Tempering Trials Guide – How to beat all shrine summons
Screenshot by Pro Game Guides
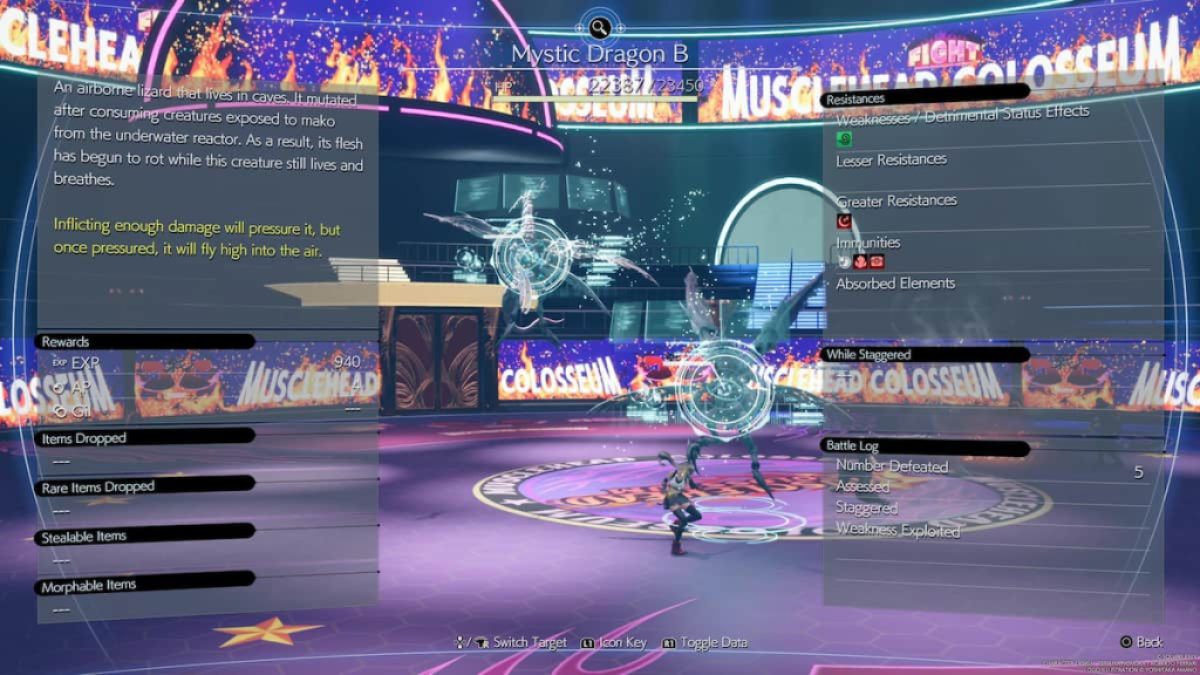
This challenge is the most hard I ’ve faced in the Musclehead Colosseum so far . In it , you ’ll fighttwo Mystic Dragonsin the first round andtwo Modded Sweepersin the second . So , the challenge include two boss fights per round .
For the first bout , I recommend usingTifa with Sonic Boom . Since Mystic Dragons tend to flee higher in the atmosphere when pressured , Tifa is your good airy armed combat optionfor them . In aerial fights , you ’ll want to utilizeTifa ’s Focused Striketo quickly stagger the Mystic Dragons and bring them down .
The second round is very tough as each Modded Sweeper hastwo limb and a main bodyto target . you may useYuffie with Lightning Ninjutsufor this competitiveness , as one of herFolio Nodesallows her to cover more damage tospecific partsof an foe . you’re able to also apply theRamuh Summoning Materiato quickly take out one of the Modded Sweepers .
Screenshot by Pro Game Guides
For more help withFinal Fantasy 7 Rebirth , take a flavour atBest Synergy Skills and Abilities in Final Fantasy 7 Rebirthhere at Pro Game Guides .
