Take your fights to the next level .
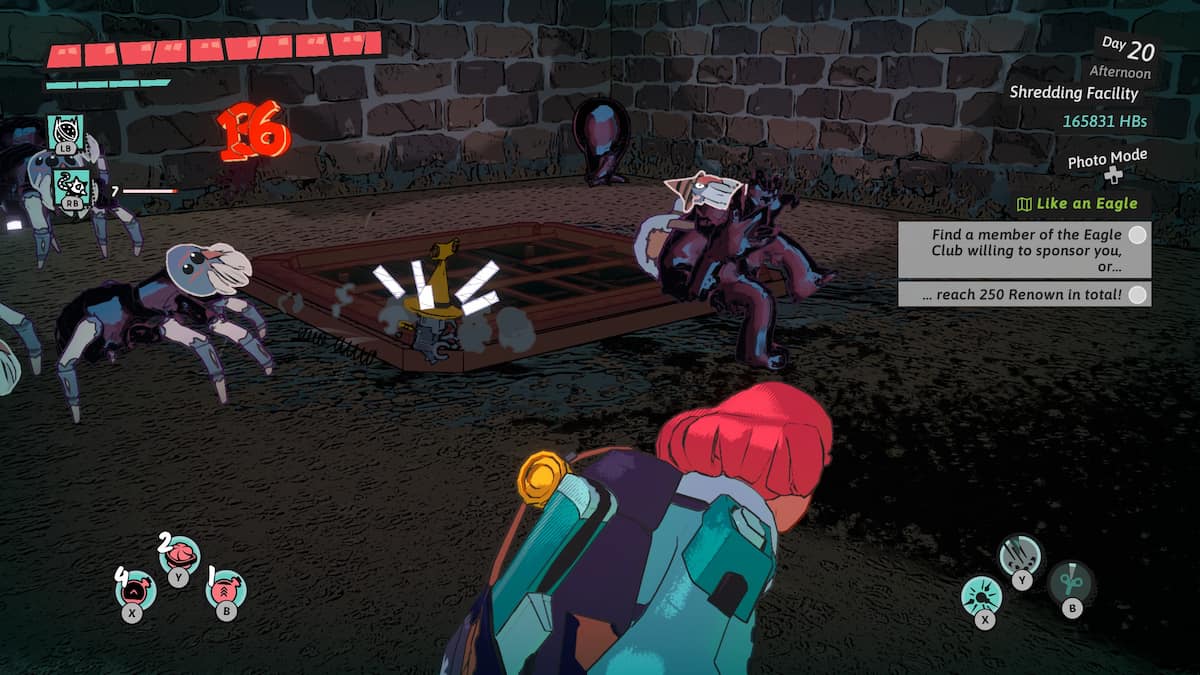
flak Conduits are interchangeable specialty attempt motility that can be used anywhere in keep of Hinterberg . In this level lean , I ’ll go over all 12 Attack conduit , where you could discover them , and the best one to practice in your Dungeons of Hinterberg playthrough .
All Attack Conduits in Dungeons of Hinterberg, Ranked
competitiveness in Dungeons of Hinterberg typically have players postulate on multiple enemies at once . I ’ve ranked these skills with these more coarse fights in mind . If you ’re planning on train on a boss or a sure tricky enemy , you may need to prioritise different Attack Conduits to take them on .
Best Attack Conduits in Dungeons of Hinterberg
This section explains what each Attack Conduit does in dungeon of Hinterberg , where to find them , and a shortsighted explanation of their ranking .
S-Tier Attack Conduits
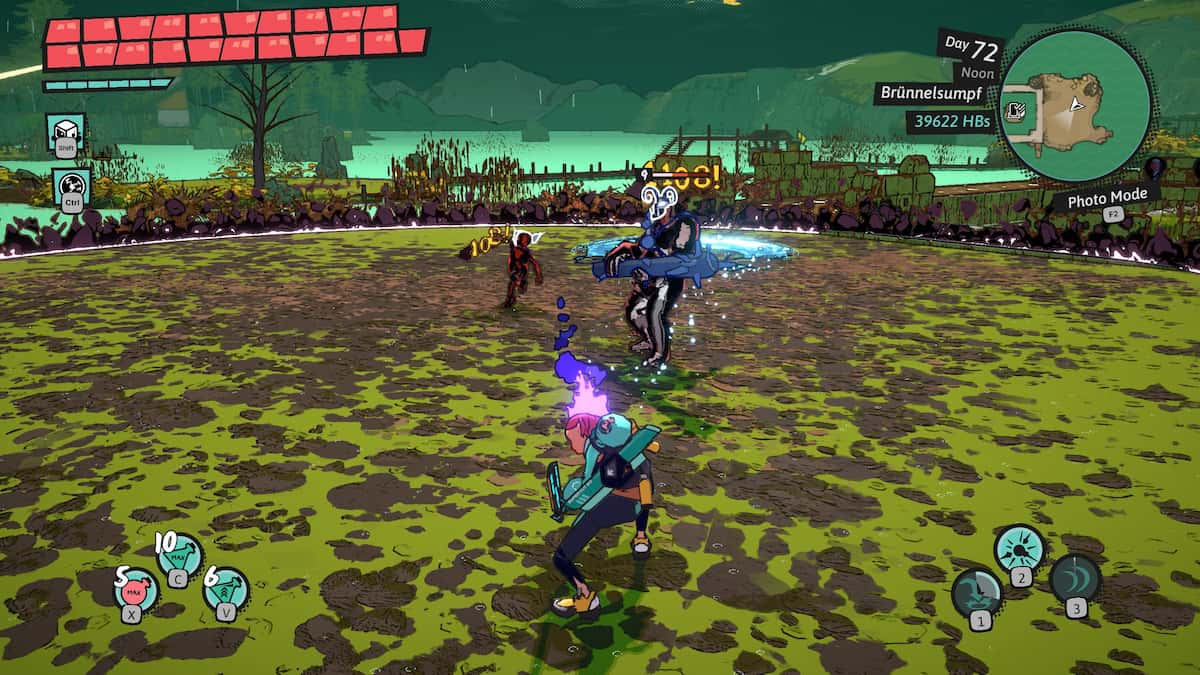
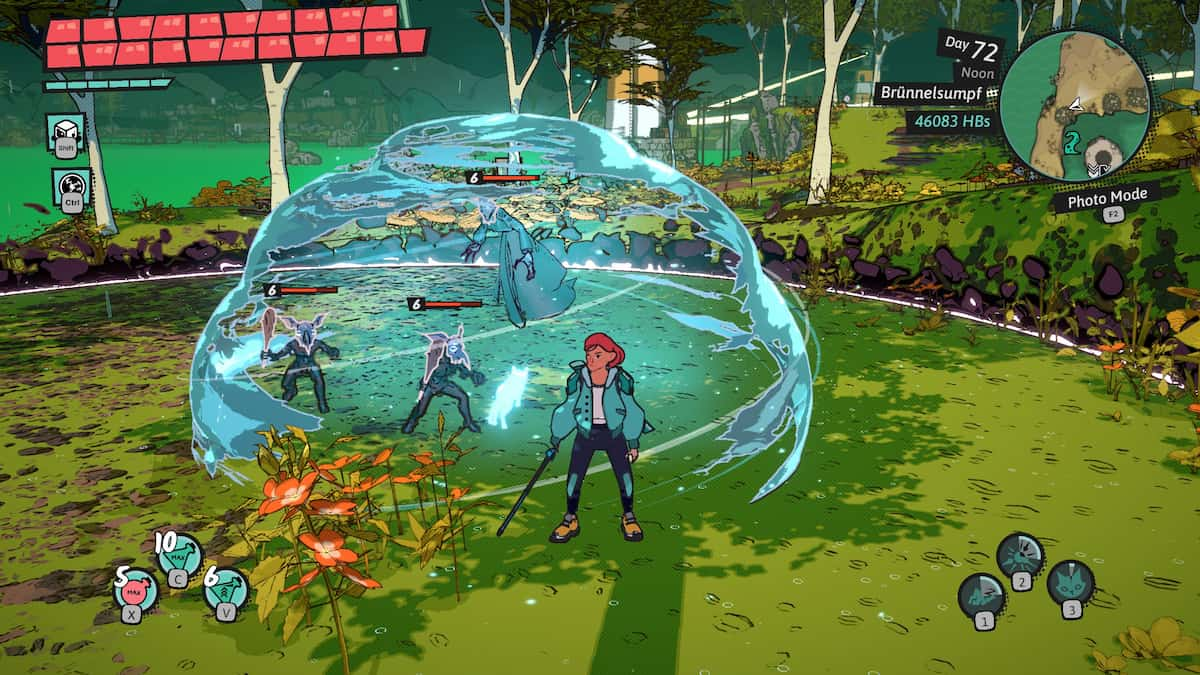
These three Attack conduit are the best of the best for raining down damage on a group of enemies . They ’re also handy for quickly damaging one substantial enemy or boss , like Windsbraut .
Location : In a out of sight dresser by the Lighthouse Reef dungeon in Brünnelsumpf .
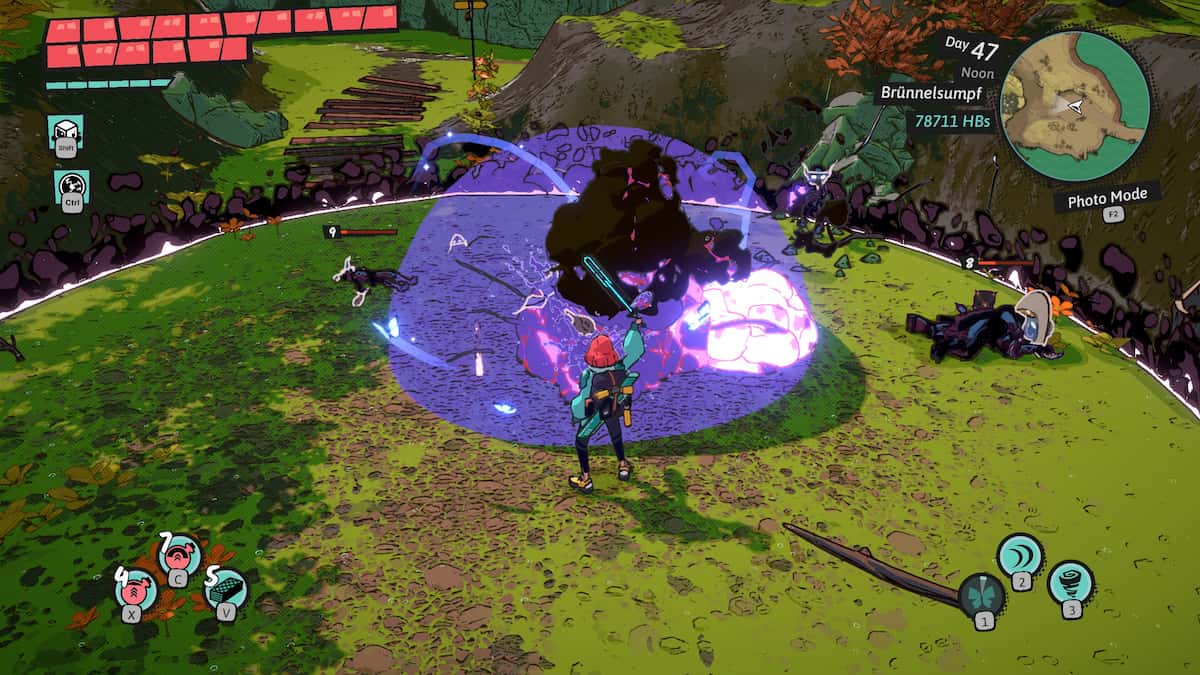
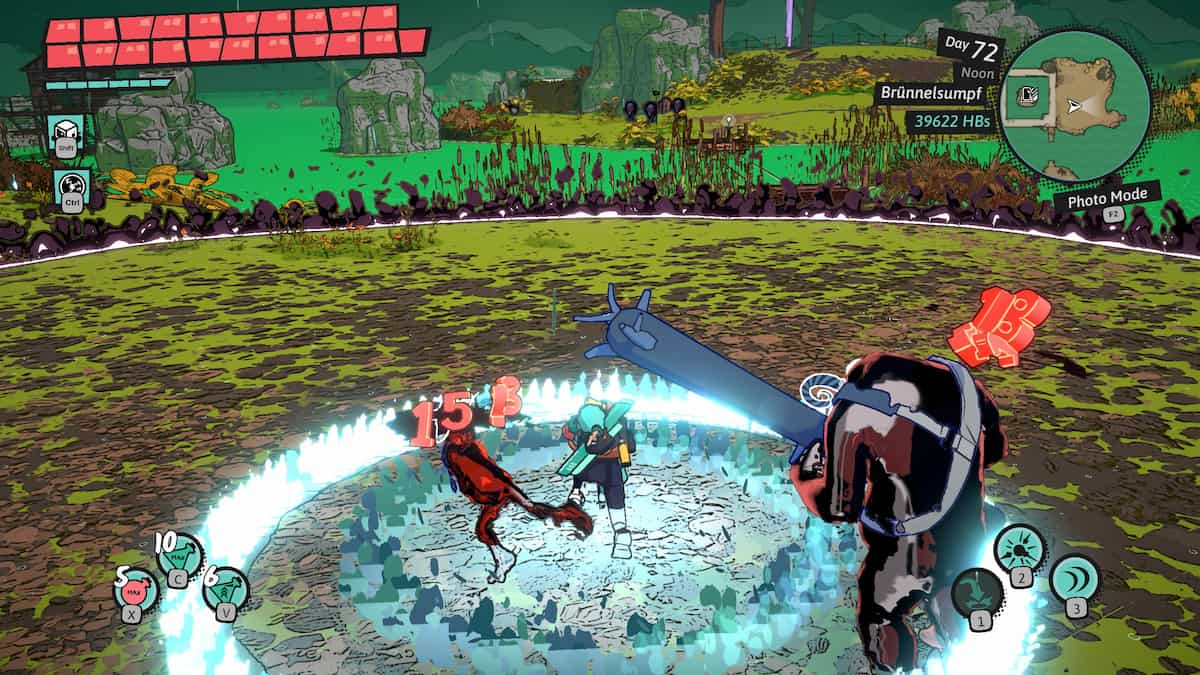
Butterfly Barage is tied with Meteor Shower for my favorite Attack Conduit in Dungeons of Hinterberg . When activated , it releases a bombardment of butterfly projectiles in an domain determine by you . This area move as you move , make it utile for taking on groups of mobile enemies or anyone running away from the combat . I peculiarly care using this one against Windsbraut because it can easily take out her 2nd phase by itself . You only take to worry about hedge her attacks and keeping the attack centered on her .

Location : In a hidden chest in the Windmill in Hinterwald . It can also subsequently be purchase from Hannah ’s shop .
The Meteor Shower conduit rains down meteors in a specified area of the armed combat zona , damaging all enemies who stand or walk through it . This is one of my personal favourite because you could summon the storm , then assail enemies in it with your brand to do extra damage and keep them in the area of effect . It is just as helpful for party boss and would be great mate with a conduit with a CC effect like Battlecry or Snowball .
positioning : The pectus next to the Minecart Workshop dungeon in Doberkogel .
Screenshot by Pro Game Guides
When used , Ravenous Hunger immediately destroys all enemy shield and commute them into mana for your spells . Additionally , it consumes all enemy projectile fired over the following 10 second and converts them into HP and MP . This is the perfect piece for care with shielded enemy since it saves your mana and at once de-escalate them . Its missile rebirth also make believe it a good defensive move , making it perfect to keep in your arsenal for group fights . However , I would not urge it as strongly for boss fights .
A-Tier Attack Conduits
This Attack Conduit does not do equipment casualty , but you ’ll want it on your side to handle certain opposition and position .
locating : hold to Luisa by Jae after upgrading your relationship to even out 2 .
Battlecry is the only Attack Conduit that does not do any damage . or else , it stuns all enemies in the area , preventing them from moving . It provides you with the perfect opportunity to unleash a stir of sword strike or another Attack Conduit that may require a little more precision or more time to cast .
Screenshot by Pro Game Guides
Location : hold to Luisa after get to alevel 1 friendly relationship with Henning .
The Tinker Toy Attack Conduit is unique because it has the power to pull in enemy care away for a short fourth dimension . Players wind up a diminished mechanical toy and expend it into the fighting area . It weave aimlessly , explode with AoE damage after a certain period of clock time or if it takes enough damage . It ’s very handy if you call for a present moment to take a breathe and drink some potions mid - combat ; it ’s also a slap-up way to round up opposition in a closer surface area to practice a substantial AOE Attack Conduit , like Meteor Shower , or all of them at once .
B-Tier Attack Conduits
These conduits are good selection for any Slayer quick to amp up their combat skills .
emplacement : In a dresser in Tatzelwurm ’s Lair .
Burrow allows you to poke underground and move around freely , damage the opposition above you with jagged rocks . This is very similar to the move used by the Tatzelwurm in Doberkogel . It ’s handy for escaping from a toughened situation and dealing wrong without fear of claim any .
Screenshot by Pro Game Guides
Location : Available for purchase from Hannah ’s shop .
Double Slash causes you to slit your brand double , sending the slashes take flight in a crinkle . They ’ll both do scathe to all enemy they hit . This makes the move utilitarian for hitting foeman in a row and dealing a piece of damage to a stronger foe in front of you . However , since it ’s pretty unlikely that enemies will aggress you in a full-strength line , I ’ve grade this Attack Conduit in Tier B.
Location : Given to Luisa after amply upgrading your friendship with Kai .
Screenshot by Pro Game Guides
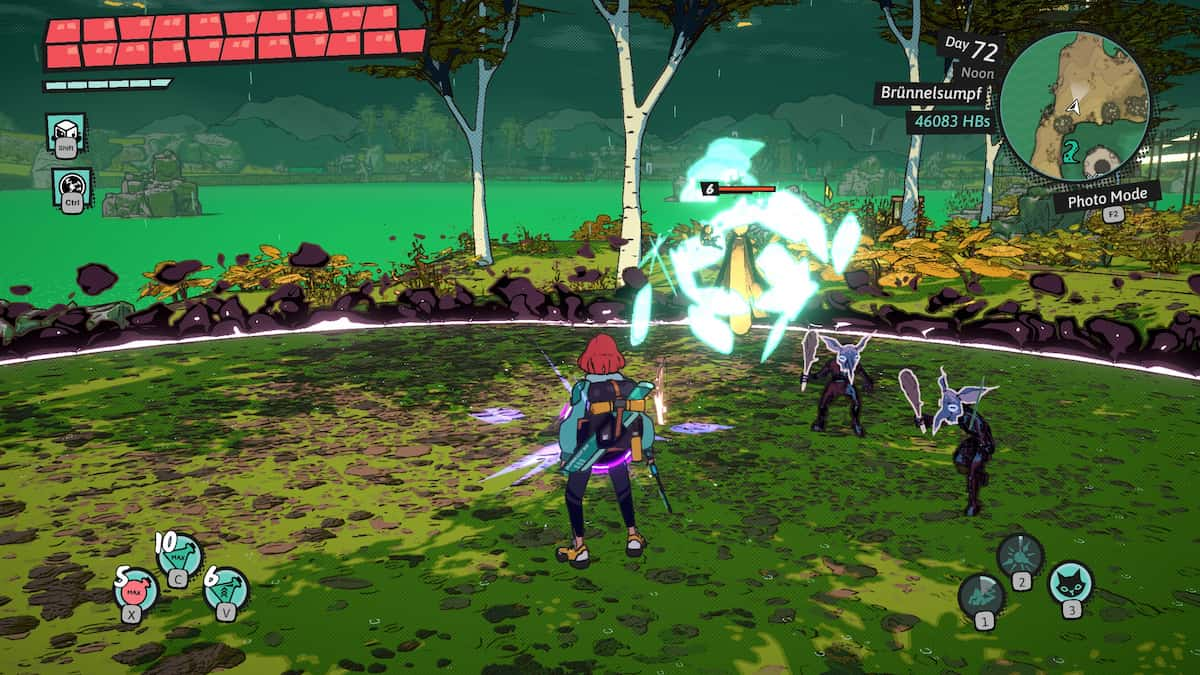
Abronia elliptica is the weakened of all Attack Conduits see as it summons a mystical cat ! Abronia elliptica will wander aimlessly around the field , freeze enemies while doing what quat do well . The downside of the spell is that it can potentially do nothing at all if Snowball resolve to sit and remain in an empty area on the field of honor . On the other hand , the freezing ability is pretty ready to hand for isolating enemies to take out during a fight .
C-Tier Attack Conduits
These Attack Conduits are canonic but good . They ’ll keep you surviving in the former stages of the game , but I recommend swapping them out for impregnable single as soon as you may .
Location : give by Hannah during your first confluence .
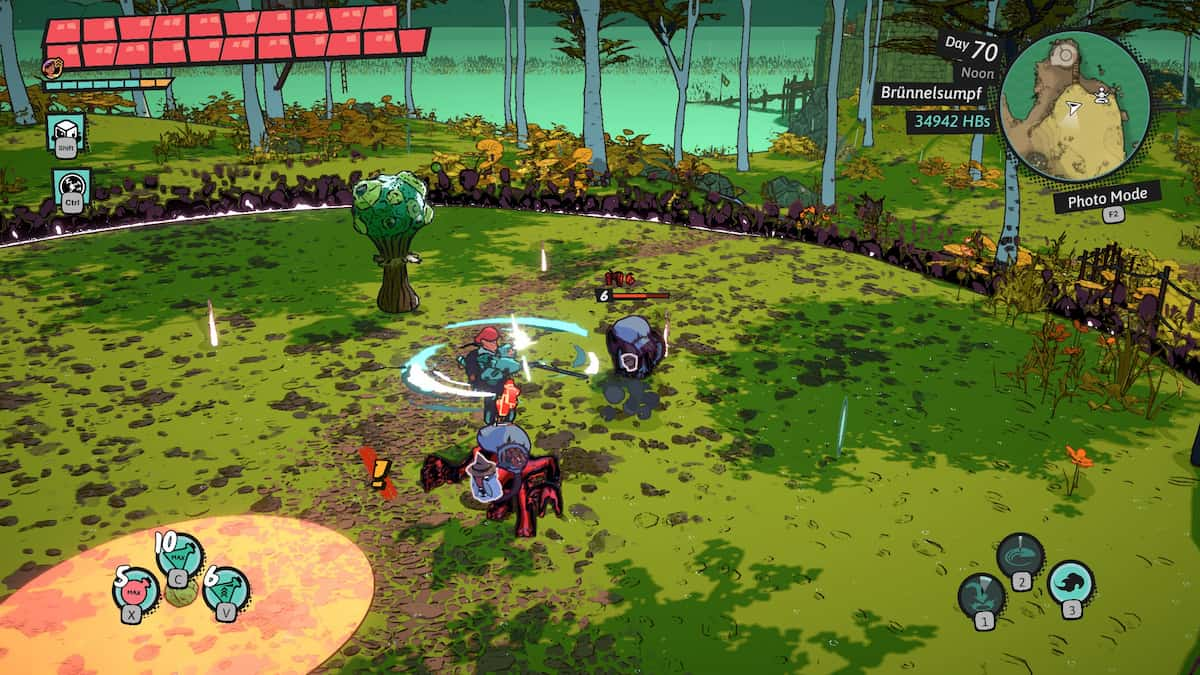
Blade Tornado turn you into a spinning artillery of destruction , with your steel dealing damage to every foeman you clash with . You move very tight while using it so you ’ll want to control Luisa cautiously to do the most hurt to enemies around you . It ’s a useful skill to begin with , but is easy overpowered by the conduits you gather further into the secret plan .
Screenshot by Pro Game Guides
When activated , Destructive Leap makes you leap a short distance and slam your brand onto the ground . While testing this conduit out , I noticed that it could stun enemy and rap them over . However , these representative pass off so infrequently that a conduit like Battlecry would be a much better class of crowd control . Like Blade Tornado , it is helpful but underwhelming compared to other Attack conduit .
Location : Available for purchase from Hannah ’s entrepot .
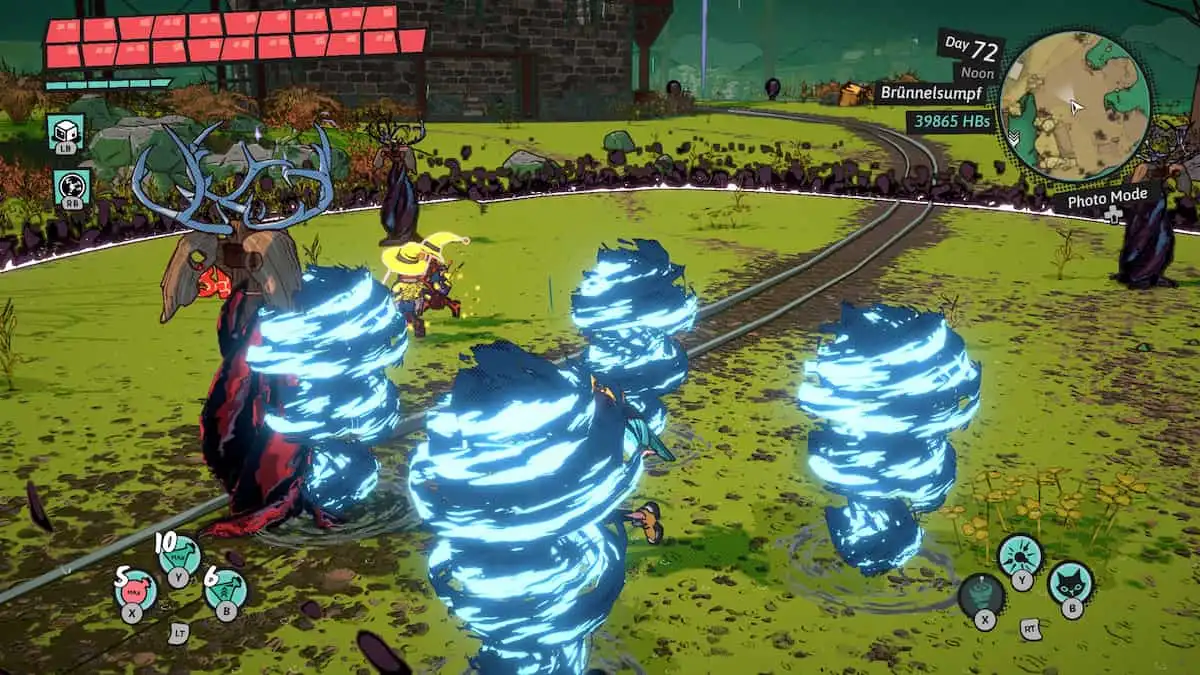
The Whirlwind Attack Conduit creates four swirling tornados that chase nearby enemies , similar to the magic used by one of the enemies in Dungeons of Hinterberg . It ’s a nerveless spell , but it ’s a bit irksome and low - impact to bank on consistently . I push it up to C - Tier since it can hit several further apart enemy at once , which is helpful if you ’re hem in on multiple sides .

Screenshot by Pro Game Guides
D-Tier Attack Conduits
This Attack Conduit is n’t bad , but it just does n’t stand up a chance against the other useable selection .
Location : On sale at Hannah ’s shop class after your friendship with her has been to the full upgraded .
Flame Breathe allow you to shoot a fusillade of flaming from your mouth , illumine enemies on fire . This does wrong as the flames strike them and a minor amount of equipment casualty as they continue burning for a short amount of clip subsequently . While this is cool visually , I found that it does a dismissable amount of damage compared to the impenetrable batsman on our tilt . Additionally , I ’m not a fan of Luisa ’s movement while using the ability and the fact that you’re able to not use your sword while Flame Breath is alive .
Screenshot by Pro Game Guides
need to research everything dungeon of Hinterberg has to extend ? Check outAll Dungeon Coin Locations in the dungeon of Hinterberghere on Pro Game Guides .
Screenshot by Pro Game Guides
Screenshot by Pro Game Guides
Screenshot by Pro Game Guides
Screenshot by Pro Game Guides
Screenshot by Pro Game Guides
