Motally crazy ! [ EXTREMELY LOUD INCORRECT BUZZER SOUND ]
Having some fuss with the font and motes puzzles in the Exegesis mission of The Final Shape ? For long - time instrumentalist , this one might seem a breeze , but for anyone who has n’t play the Prophecy keep , not a whole pot gets explain .
Here we ’ll go through the basics of what you demand to do to thump the puzzles , and the grease monkey for the boss fight too .

How to do the Mote puzzle in The Final Shape
The basic principles of mote puzzles involvetwo forms of motesandtwo form of fonts . There are dismal and easy molecule , and then there are dismal and light typeface . As you might anticipate , your aim is to get the matching molecule into the matching fonts , but as you might expect , there ’s a bit more to it than that .
for get motes to expend , you ’ll want to wipe out an ' Eater of Light and Darkness ' , which are Hive Knights that will be spread out around any area in which you need motes . Do n’t occupy about running out by the means , as they respawn infinitely until the puzzle is completed .
1A - Light Font
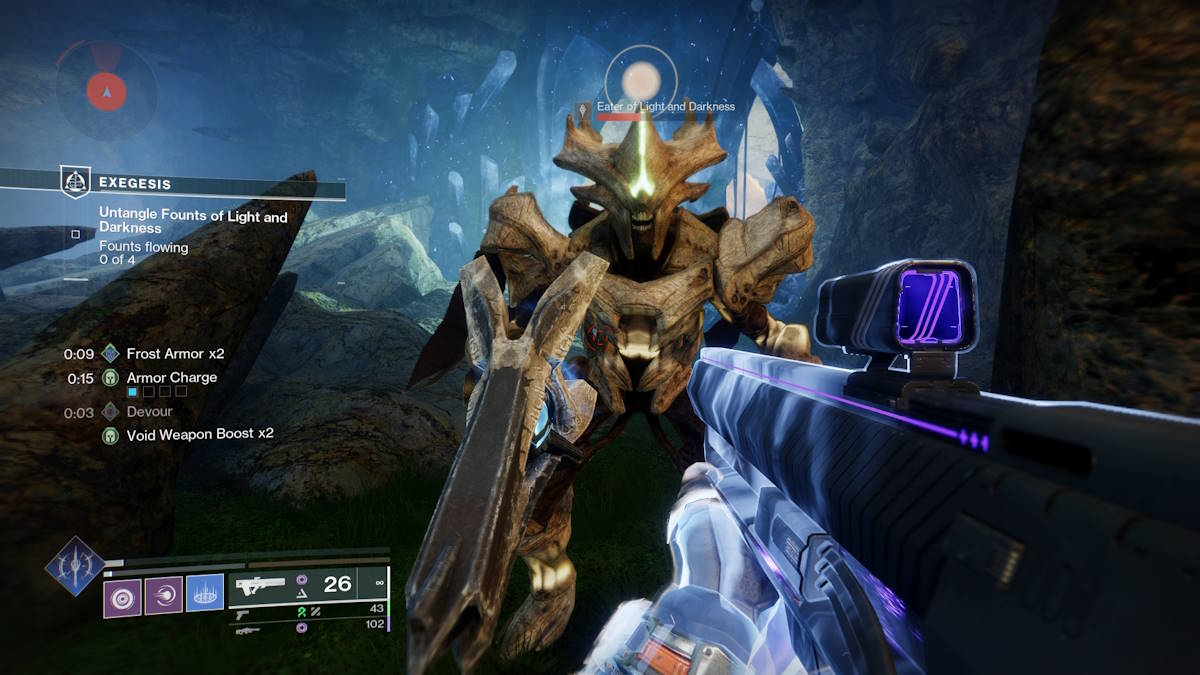
Screenshot by Pro Game Guides - Eater of Light and Dark
1B - Dark Font
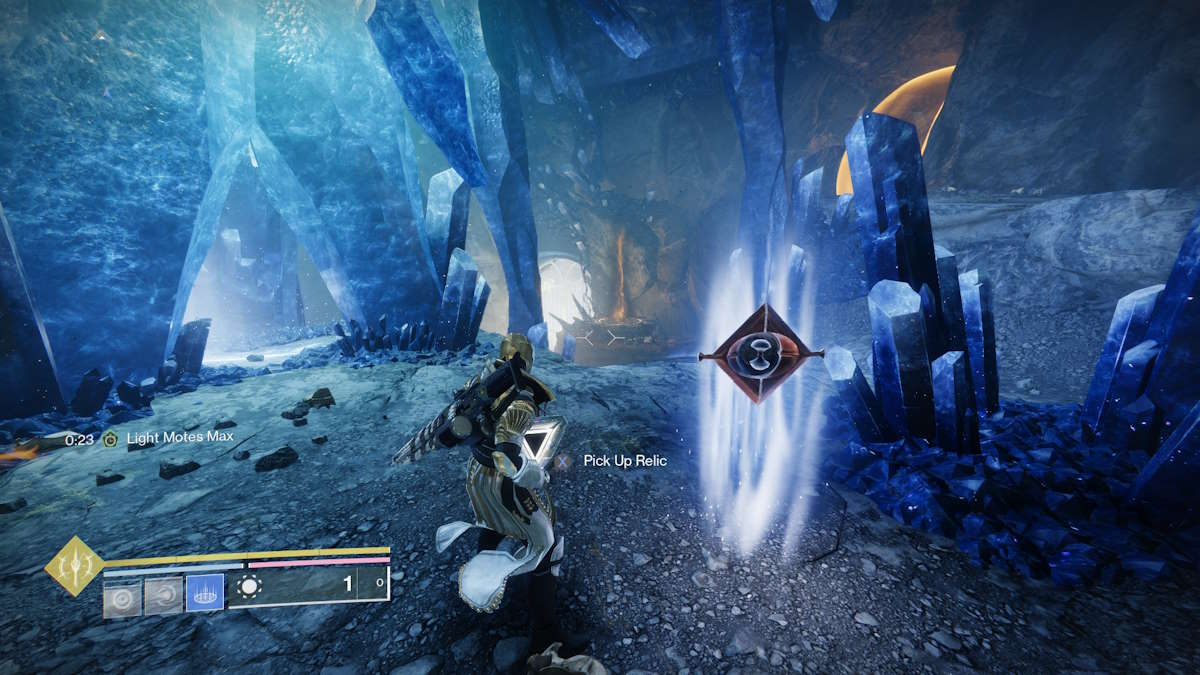
Killing these guys will make them to dropdarkmotes , which you ’ll of class take to the dark fonts . How do you get ‘em to drop abstemious motes then ? Well , that involves the use of aRelic Shield , which can be wielded as both a dick of United States Department of Defense and a arm .
Killing an Eater of Light and Dark with one of these ( you’re able to use your standard melee button to attack whilst wield it , ( R1on Controller andCon K+M ) will have them to drop light mote alternatively of grim ones , but this shield will have another use before too long that we ’ll discourse by and by . finally , you ’ll come across a room with four fonts , with two of each type . This mystifier has a petty fleck more to it than any others before it , and it certainly bewitch me off guard as I dally my way through the military mission on automatic pilot .
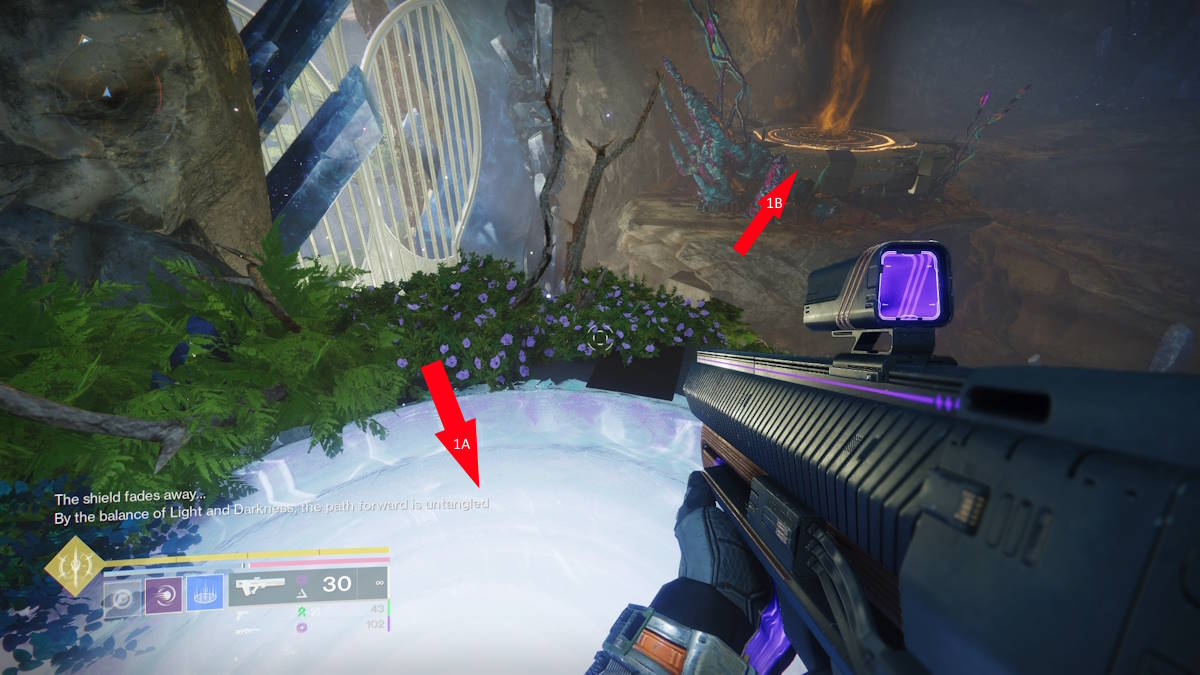
Image by Pro Game Guides - Light and Dark Fonts
You ’ll of course ask motes , but the relic shield wo n’t be usable as soon as you go in , meaning you ’ve got to find it first . for do so , head teacher left as you manoeuvre in . You ’ll see a light mote on the primer coat and a path ahead . You ’re appear for a small , brilliantly well-lighted hole in the wall which you ’ll want to jump up to , and snaffle thecrystalline key . You’ll need to take that key back the path you came , and over to a doorway that will be lock for you . Inside that locked elbow room is the shield you ’ll need to complete the puzzle .
Now with the shield in deal , you may go about solving the puzzle . As cite earlier , there are four full fonts to sort out here , with two light and two darkness . One of each is on a paries , and one of each is on the floor , and this prison term we have to make certain we ’re doing it in the correct order .
The order is as follows -
Screenshot by Pro Game Guides
Light Wall
Dark Floor
Light Floor

Image by Pro Game Guides
Dark Wall
After make out this puzzler and moving on through , you ’ll be confronted with a boss who has a special automobile mechanic too . We ’re mentioning it here because it has more to do with that shield of yours , but this one is even less complicated .
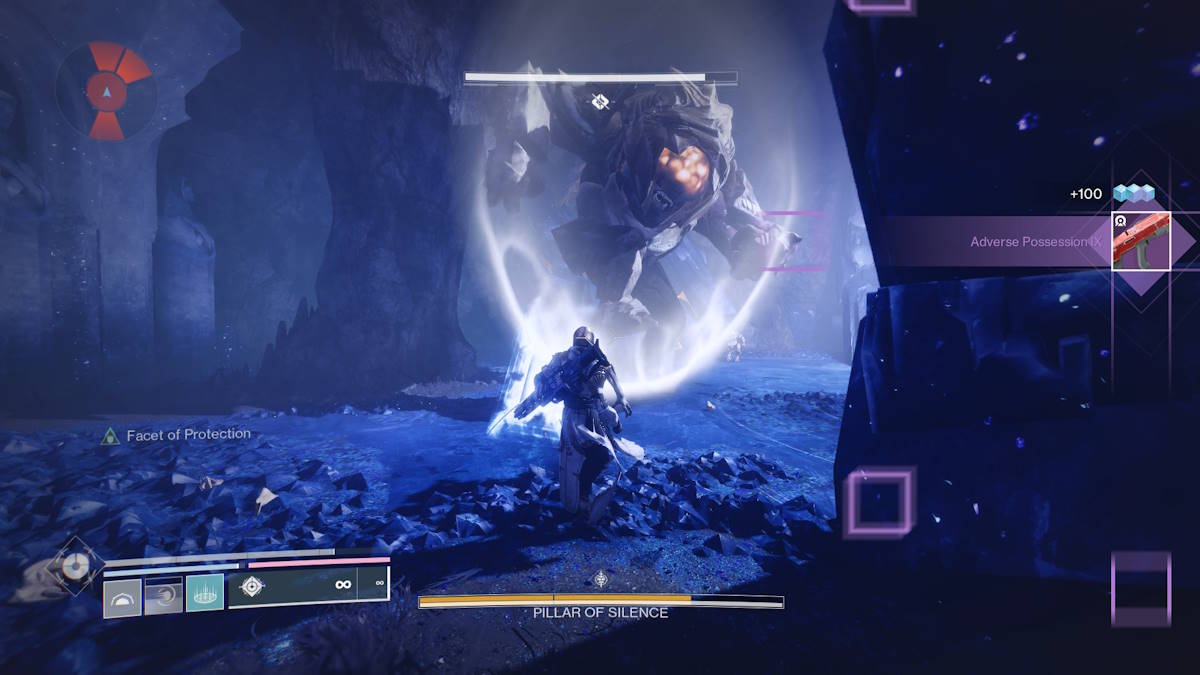
How to Defeat Pillar of Silence in The Final Shape
The Pillar of Silence , much like any Hive Ogre , is a major annoyance . Be thrifty not to get caught in his crosshairs for too long , and do n’t get swamp by mobs . Other than that , dealing with him your first time wo n’t even be the full fight , it ’s just an unveiling to his vulnerability mechanic .
What you ’ll want to do is , whilst take hold the shield , go and melee a bunch of enemies . Killing enemies whilst holding the shield will allow it to ( very apace ) charge up a Super . When it ’s charged , run up to the big tight git , and touch off that shield Super . ( Same as your veritable super , L1+R1on Controller , Fon K+M.)This will cause him to drop his shield , and allow you to do harm . Do n’t rot all of your big stuff on him in this first skirmish though , as he ’ll retreat before long and reset his wellness later on on anyway .
In that 2d face-off , the boss fight back right , you ’ll have to deal with both the big guy , andsome more fonts . Thankfully again , it ’s simple , as all you need to do is set off both the single light and individual dark fonts , which will mobilise the ogre , and then it ’s a simple case of using the shell super to drop his shield again . You ’ll have access to a shield to get clean motes , so just take a quick virtuoso around when you go in the arena .

Image by Pro Game Guides
And with him dealt with , the ease of the mission should be a squeamish breeze into a bit of a nostalgic surface area for any Veteran thespian out there , and a prissy paracausal outing for those that are n’t . If you ’ve enjoyed this guide or find it helpful , see out our other Destiny content here at Pro Game Guides , like our breakdown of all the upcomingExotic Class Item Perks , or if you ’re one unlucky player , we ’ve got aFix for the 3D Audio Bug .

Image by Pro Game Guides

Screenshot by Pro Game Guides - Light Wall

Screenshot by Pro Game Guides - Dark Floor

Screenshot by Pro Game Guides - Light Floor

Screenshot by Pro Game Guides - Dark Wall

Screenshot by Pro Game Guides
Screenshot by Pro Game Guides
