I do n’t think I can ever look at Alexander the same way ever again .
The Bonny Gaol in the Shadow of the Erdtree DLC for Elden Ring is a strange , strange place with some haunting insights into the nature of a vulgar foeman , and a beloved fan - preferent fictional character . But , it ’s a keep , so it ’s also catch some goodies lay away away .
Where to find Bonny Gaol in Elden Ring
To reach theBonny Gaol(3)(which I keep incorrectly spell out as ' Bunny Gaol ' ) you ’ll first need to reach the Bonny Village , an as unusual place with hatful of nude , peculiarly prosperous , and rather distressed folks running around with monumental knife .
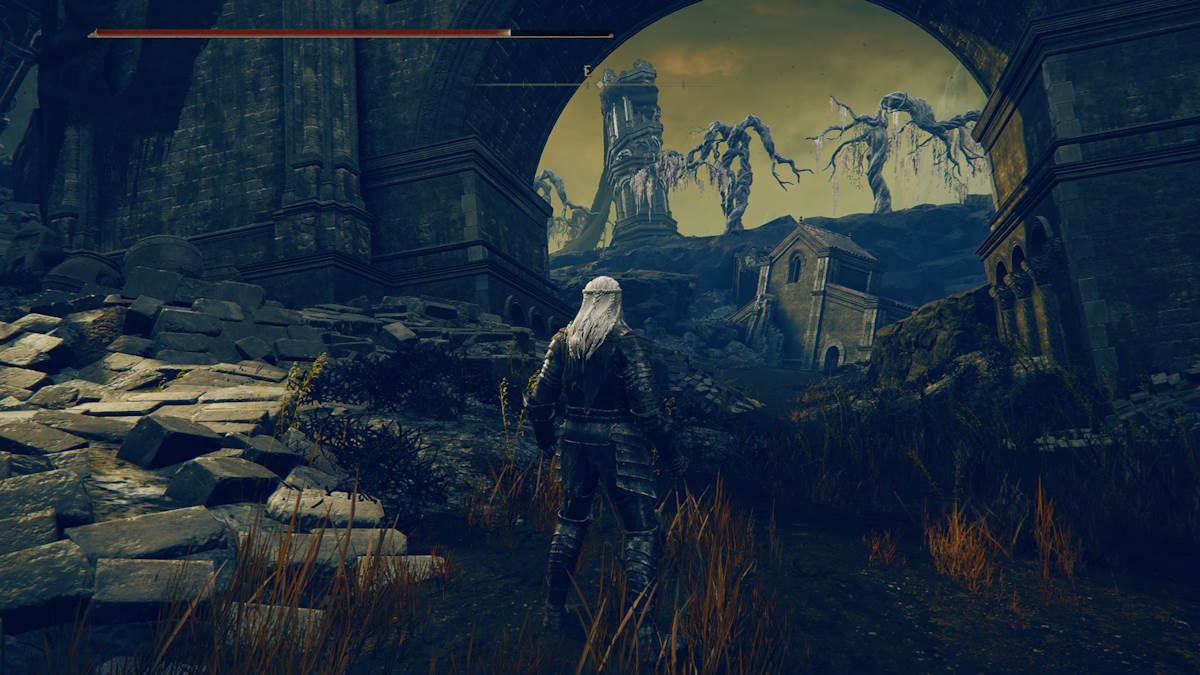
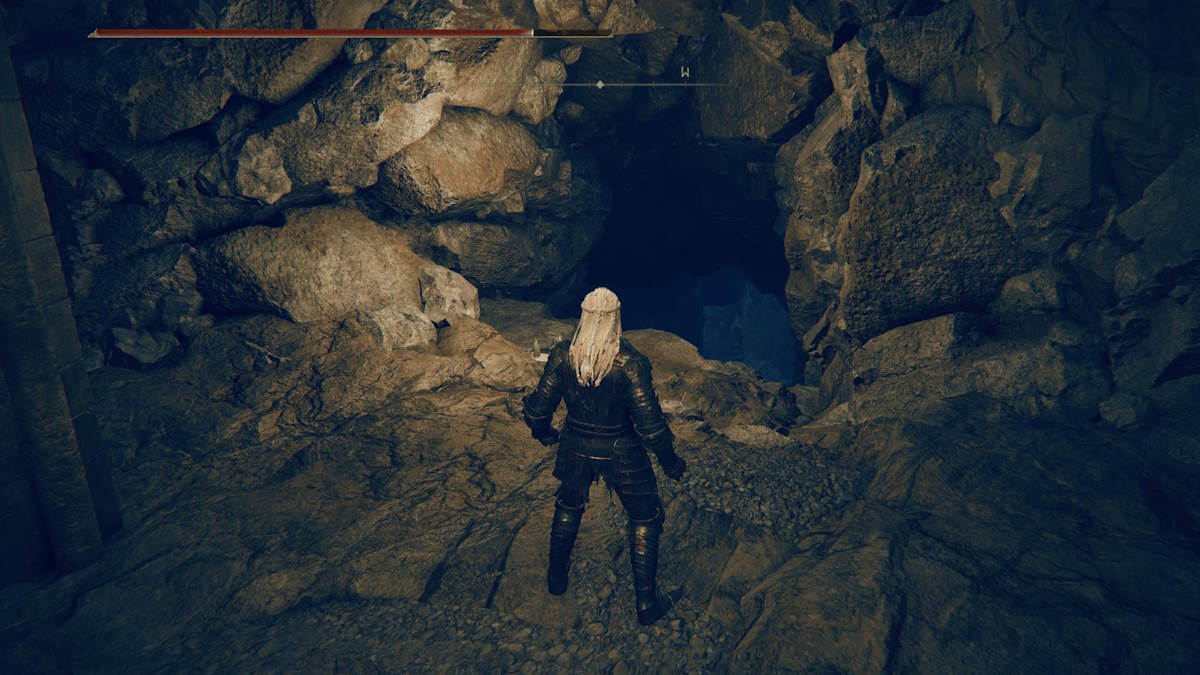
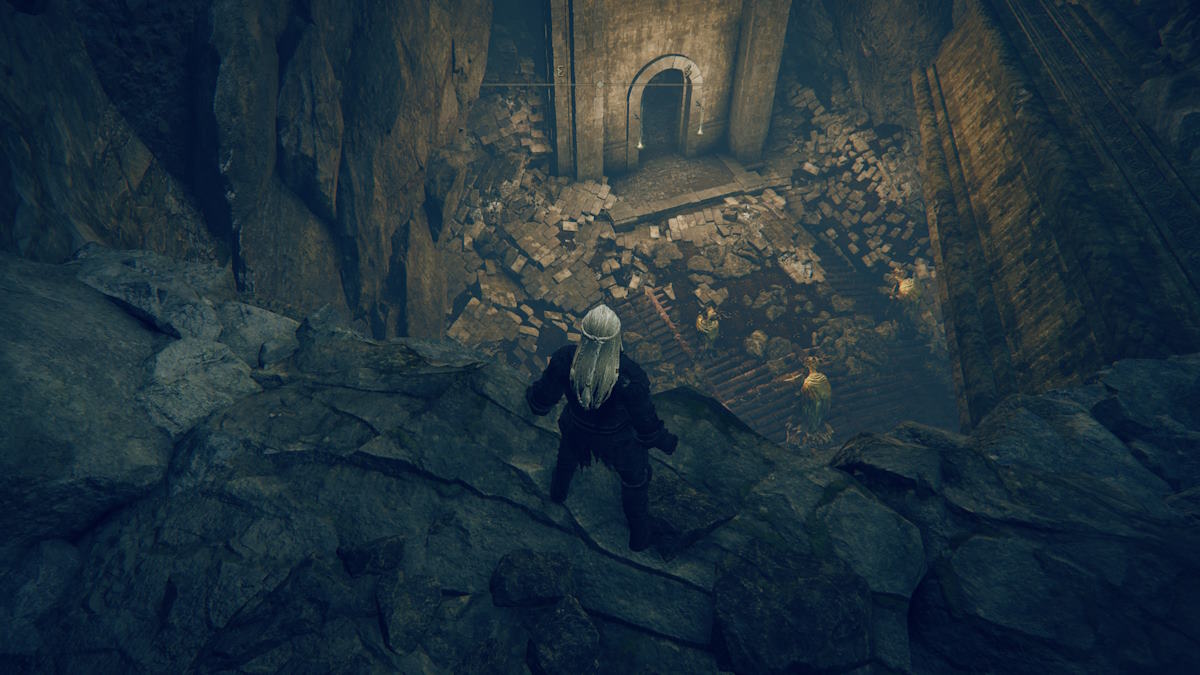
you may get here briefly after getting through the 2nd major boss , Rellana , and getting to Scadu Altus . From theHighroad Cross Site of Grace(1 ) , head east towards theMoorth Ruins ( 2).From the Moorth Ruins Site of Grace , head down the path and under the vainglorious arch . go along on until you see a course on the left , and follow it to find a building sunken into the ground . From there , you ’ll need to take the air off the balcony and down into a chasm , where there ’ll be two dogs to watch out for . expect around for a path through the rocks , and continue on . You ’ll come across yet another drop - down , this one with some foreign tusk folks below . From here it ’s yet another drop down onto a balcony , and then off into a expectant cavern . From here , continue straight on to find a ravel that will contribute you flop to theBonny Village Site of Grace .
Once you ’re here , you ’re liberal to look around and arrest out some of the … sights . ( It ’s jars , shadow people , and au naturel golden people . ) But there ’s also a few delicacy around , so delve to your tenderness ’s content . Otherwise , head down the path into Bonny Village and take the first rightfield you see , which is n’t far from the Grace . You ’ll see a large rope bridge , which you ’ll need to cut across to attain the Gaol . Once across , continue directly on , but see out for the two scorpion who ’ll jump out to try and grab you . The entrance is easy to spot , as it ’s on the cliff wall on the rightfield .

Continue through the room ahead , and take the threshold on the left . From there , you ’ll take to jump down into the big open wooden hatch .
From here , you ’ll have a way of life ahead of you , and a way of life behind you . Thepathahead of you(1)leads you towards the route forward , but thepath behindyou(2)will lead you to aStalwart Horn Charm +2 Talisman(which raises your Robustness stat ) should you choose to chase after it . If so , there ’ll be some squealer in your way , but otherwise , it ’s a neat guesswork . Keep go until you reach a ladder , rise up , and claim your spoliation from a corpse in a electric cell . you may either drop back down the ladder , or stick out out the hole in the side of the cell .
When you ’re done , carry on on the track ahead . watch over out though , as the course ahead has plenty of gook , which you ’ll think back from the substructure secret plan . They ’re still queerly tanky , but also take more of a punch here , so it ’s honorable to avoid them . You ’ll be pose with what calculate like adirect path ahead(1 ) , but this is jolly of a trap , as the only matter at the end of the way of life in the lead is a broken rune pickup , and some more muck hold off to catch you . rather what you ’ll want to do ( unless you ’re absolutelyfiendingfor 500 runes ) is take thepath on the left(2 ) , which is easy to miss at first . This is the proper path forward , and will lead you to a small waterfall and present you with a declamatory cavern filled with a touch amount of jars .
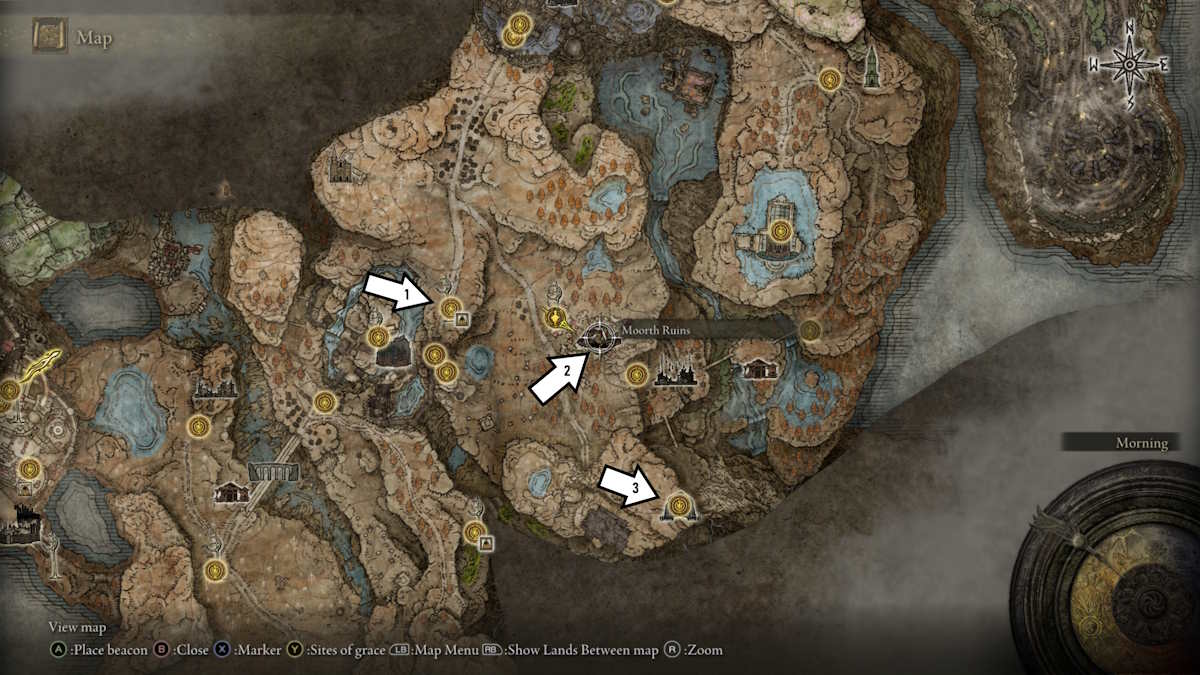
Image by Pro Game Guides
compress on the relatively straightforward way , being cautious of the ample Living Jars walk around , and keep on until you reach another large assailable room . You ’ll be able to see the chief gate here , and you ’ll ask to make your direction through some cell with some more meatball and tail human being before attain another large jar elevator that will lead you down to the bridge to the boss arena .
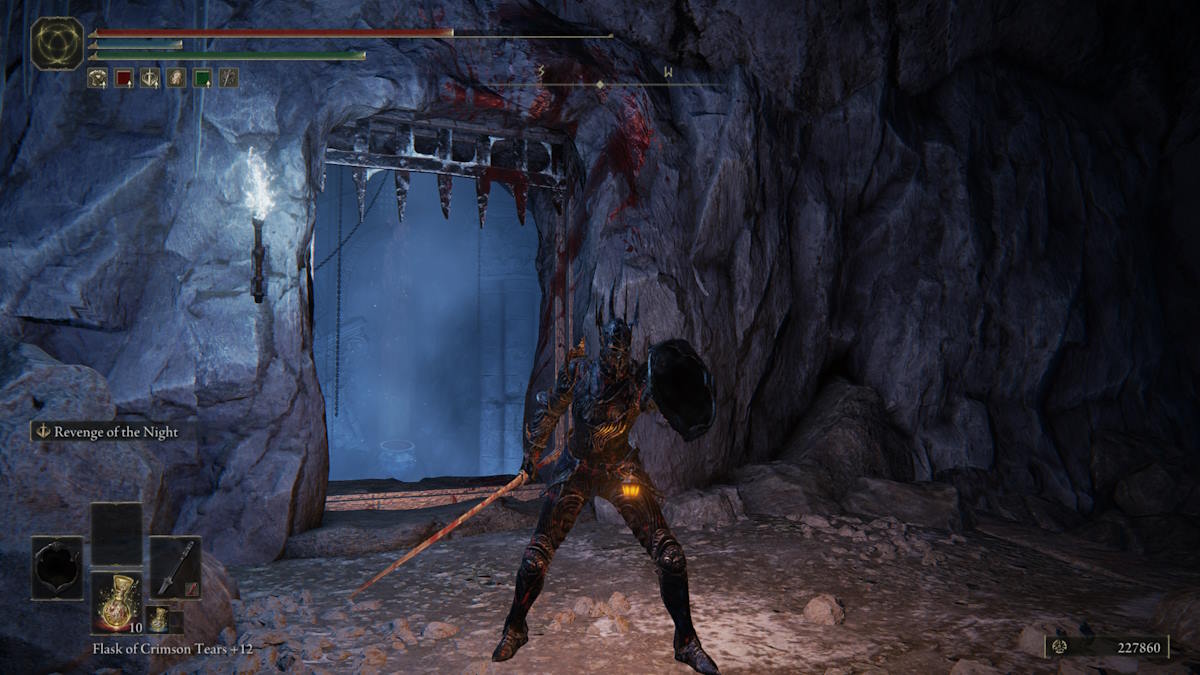
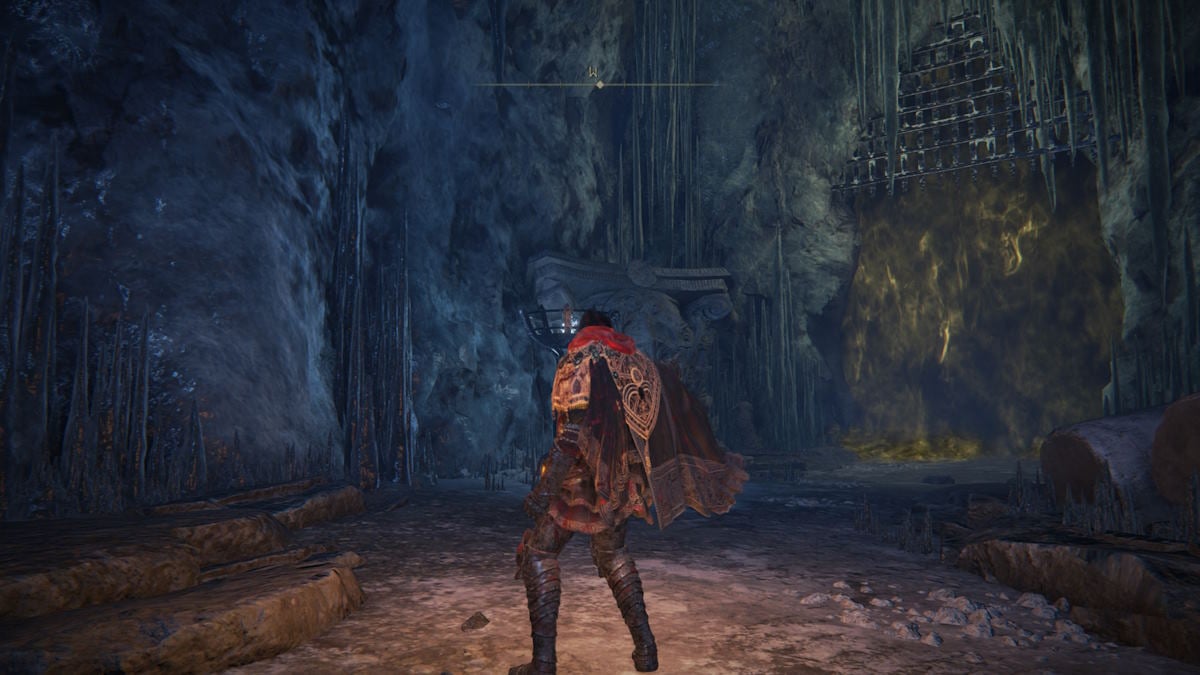
When you get to the bottom of the elevator , do n’t rush off just yet . If you stay or hop-skip straight back on , it ’ll take you up an extra few ' floor ' and go you to an area with some very important items . You ’ll have to fight some more shadow men and meatballs , but your rewards for doing so are the Armor of Night ( on the table decently as you get off ) and the Shield of Night ( in a room to the left hand of the lift ) . These are both very , very silklike , lending themselves well to a light - armored build with a taste for shield counterpunch .
Curseblade Labirith Boss Guide - Tips & Tricks
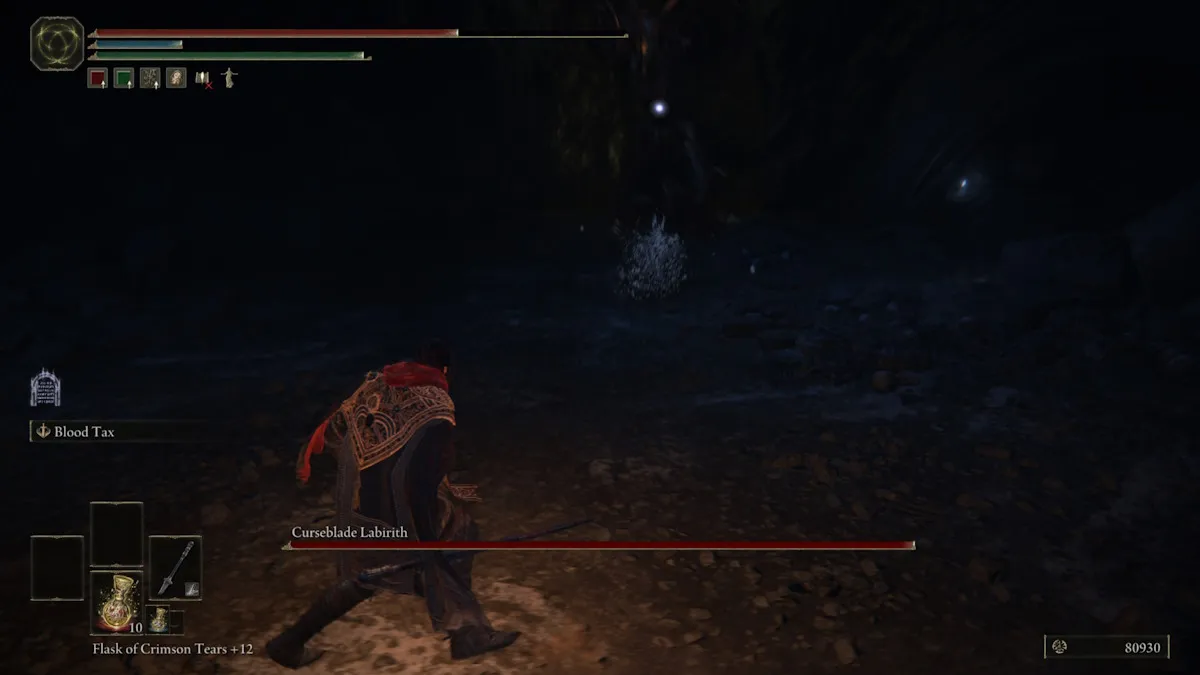
CursebladeLabirith is n’t asurprisinglytough fight considering the caliber of the DLC at large , but it ’s still a tough fight regardless . Labirith does gamy hurt , spate bleed , and can even vaporize into phantom at will . On top of that , as a Curseblade , Labirith also has some crazy farseeing attack combos which can drain you of stamina and force you into a panic roll .
As with any Curseblade , longanimity and timing are your best plan of attack here … along with a honorable weapon . You ’ll want something with decent sang-froid damage , as thankfully Labirith is quite downcast on poise . You ’ll want to hold off for the end of a farsighted blast chain , carefully timing your stratagem and endeavor to circumvent forwards as opposed to backward , as this can cause Labirith to overshoot their onset . Once it ’s over , give ‘em a charged heavy , and hopefully a adept few should be enough to break poise and permit you either a moment to heal or contend some extra damage .
When Labirith pops their smoking , stick around aside as it ’ll deal damage if you get too close . They ’ll then go unseeable , and when they emerge they ’ll do so with a very quick attack that dealsmassivedamage if it connects . Thankfully , their reappearance amount with an audio queue , so you ’ll know when to dodge when the penury stand up . you may pressure them out ahead of time by moving as far aside from their smoke as you may , or hugging the bound of the orbit . Do n’t stay here too long though , as the last thing you want is to get pushed up against the bulwark .
Screenshot by Elden Ring
Keep altercate until they drop , and then harvest the reward , which in this display case is anAsh Summon forCurseblade Meera , which means you too will be able to post some blooming , disc - wye pain towards whatever honcho you might come across next .
If you ’ve found this guide helpful and are looking for some more Shadow of the Erdtree content from us here at Pro Game Guides , check out ourBelurat , Tower Settlement WalkthroughandourCastle Ensis Walkthrough .
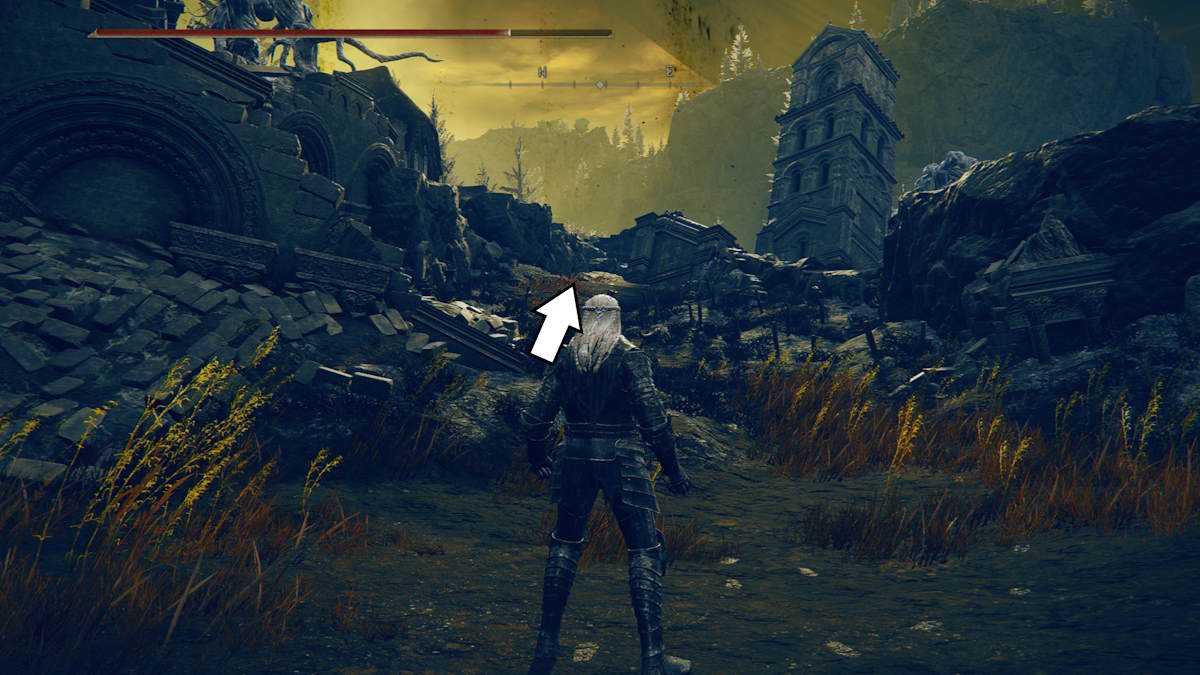
Image by Pro Game Guides
Screenshot by Pro Game Guides
Screenshot by Pro Game Guides
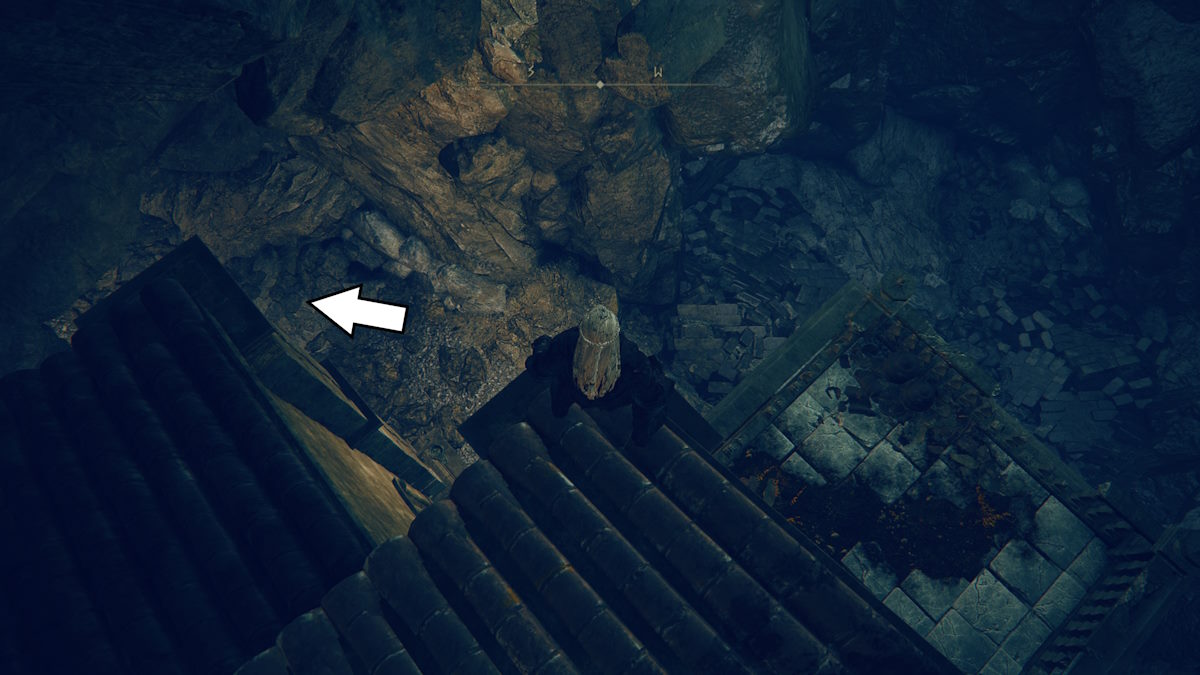
Image by Pro Game Guides

Image by Pro Game Guides

Image by Pro Game Guides

Screenshot by Pro Game Guides

Screenshot by Pro Game Guides

Image by Pro Game Guides

Image by Pro Game Guides
Image by Pro Game Guides
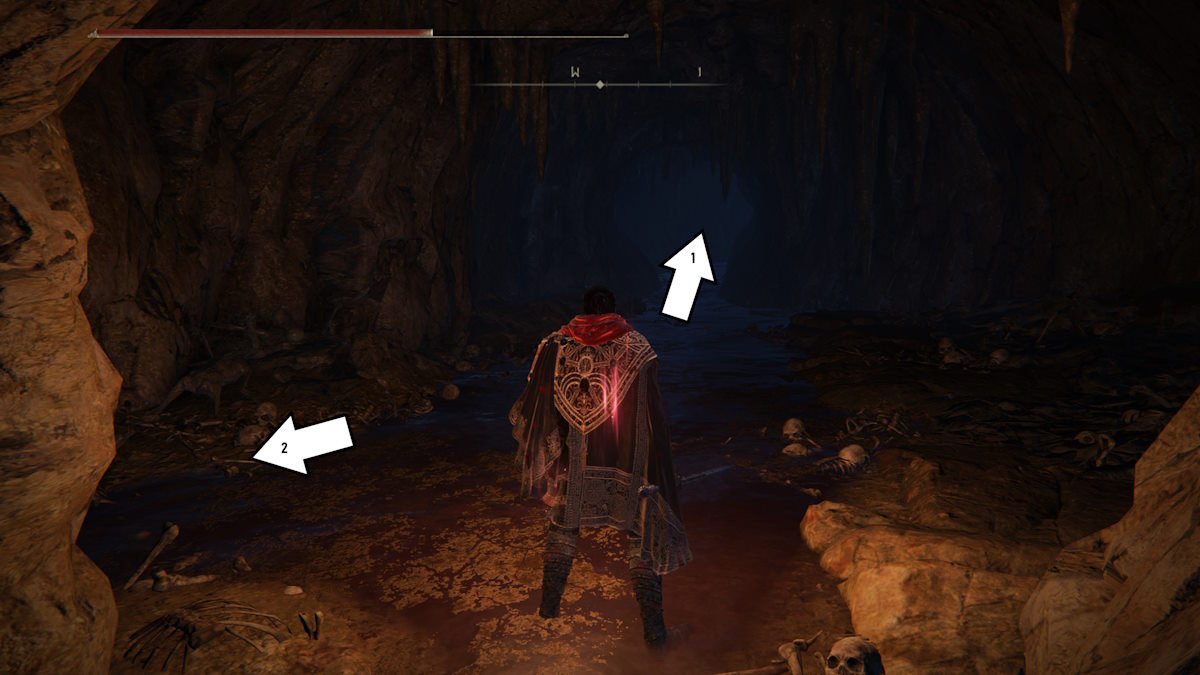
Image by Pro Game Guides

Image by Pro Game Guides

Image by Pro Game Guides

Screenshot by Pro Game Guides
Screenshot by Pro Game Guides
Screenshot by Pro Game Guides
Screenshot by Pro Game Guides
