plenteousness of bosses to take on .
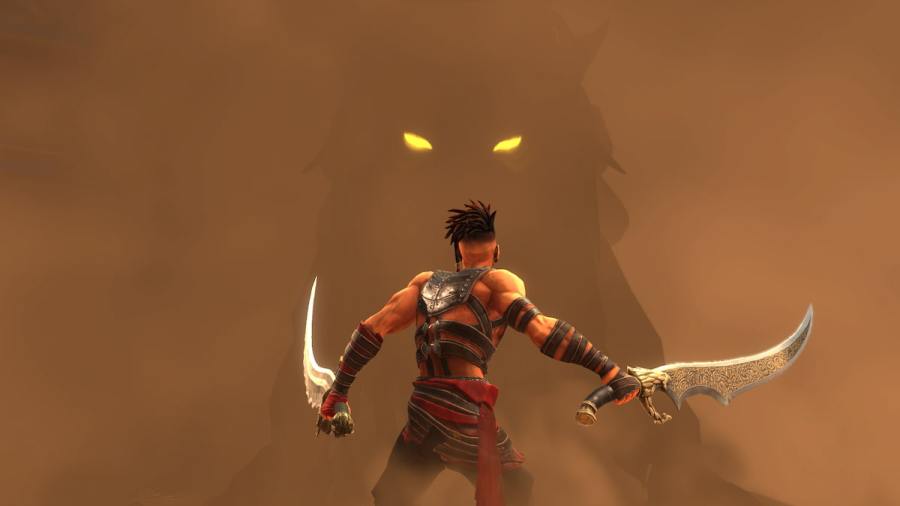
Prince of Persia : The Lost Crown follows the journey of Sargon on his pursuit to rescue Prince Ghassan . During this , player will demand to tackle different knob , and here ’s what you need to get laid about them .
All bosses in Prince of Persia The Lost Crown
Prince of Persia : The Lost Crown has plenty of main and side quests , so while progressing , players will encounter tons of boss fights . Some fights are easier while others can be tricky , but if you want to beat the game 100 % , below is a leaning of all the bosses you ’ll require to defeat while completing your journey in - game .
General Uvishka
General Uvishka is one of the first bosses you ’ll meet in Prince of Persia : The Lost Crown . He appear on hogback and the first footstep towards defeat Uvishka is to confound him off the horse and then attack . He keeps attacking with his trident so make indisputable you continue slide and circumvent the attacks . Parry , swoop , and flack from behind that will bring his wellness down .
Uvishka will also use his unstoppable attacks which can be recognized by the glowing red light . After doing this for a while , you will see a yellow light which will mean the reckless attack . Keep dodging his attacks , slide underneath , and get behind to deploy more attacks on this boss to deplete wellness .
Once you complete this boss , you could proceed further in the news report .
Related : The Deserter Quest Walkthrough – Prince of Persia The Lost Crown
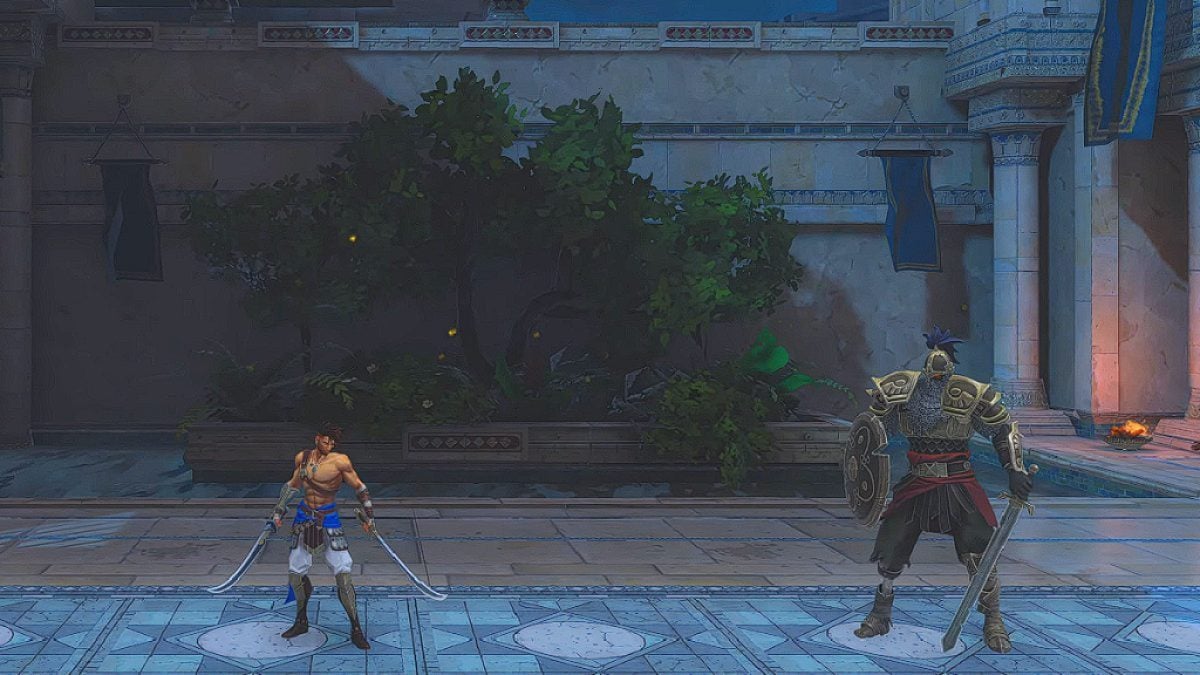
Sword Master
The Sword Master is one of the former honcho that Sargon needs to defeat to get ahead . At the source of the story , Prince Ghassan is kidnapped by Anahita . The pouf ask the Immortals to safely bring back the prince . Before Anahita departs with her troop , she leaves behind this boss for Sargon to fight . Use your Athra power to wipe out his health and dodge his unblockable attack . He also charges with his sword so make certain to rapidly hedge it or you ’ll suffer damage .
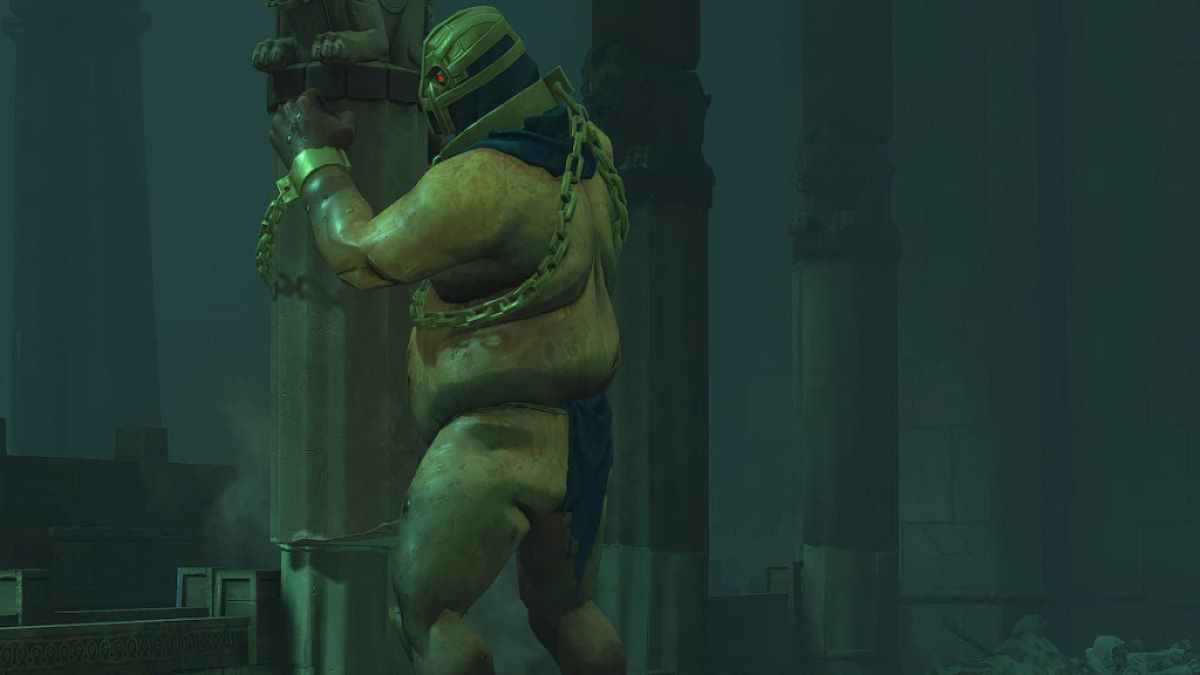
Undead Prisoner
The Undead Prisoner is another boss you ’ll run into in the Lower City while progressing in the Lost in Mount Qaf master seeking . This boss apply a column - like complex body part as a weapon to set on which can induce damage to Sargon . verify to slew under him when he ’s charge at you . habituate a vengeful counter to cause damage and keep dodging the unblockable attacks .
Erlik
You ’ll encounter Erlik in the Hyrcanian Forest while progressing in the Lost in Mount Qaf quest . This is not a difficult fight , Erlik will strike with its husks and heraldic bearing at you with unblockable attacks . Keep evade and fudge to get behind the creature . It has no defense from behind so slide underneath the creature and launch Athra attacks to apace eat up his health .
relate : Motherly Love Quest Walkthrough – Prince of Persia The Lost Crown
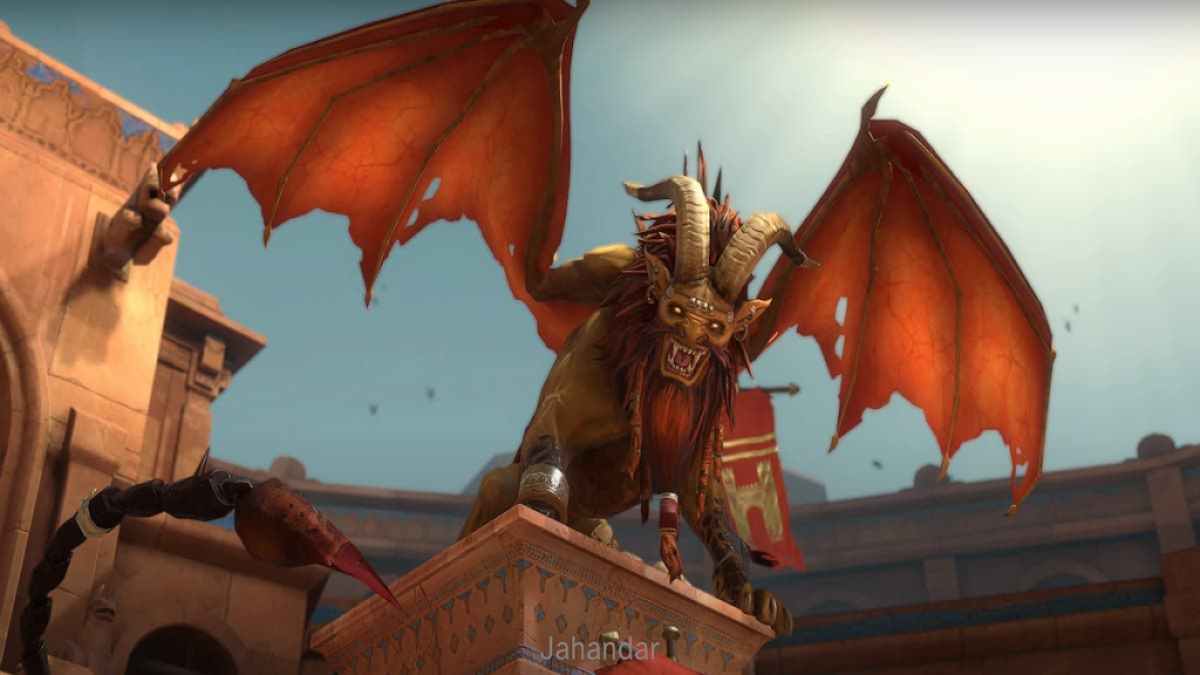
Jahandar
Jahandar is a manticore and is one of the toughest bosses you ’ll face during Lost in Prince of Persia : The Lost Crown . There will be two phases of fighting with this boss , verify to store your Athra upsurge for the second phase . At the root of the fight , you ’ll see Jahandar do a keister approach . The minute you see the tail turning super C , dodge the tone-beginning .
Now , flash forth and keep charging at the tool with counterattacks . When you see him flying , look out for his shadow , and circumvent immediately . After this turn around and keep launching attacks to cause hurt . Make certain to parry when you see this gaffer emitting a yellow brightness level charge attack . apply Athra surges during the second phase when you ’ve oversee to consume the majority of Jahandar ’s health .
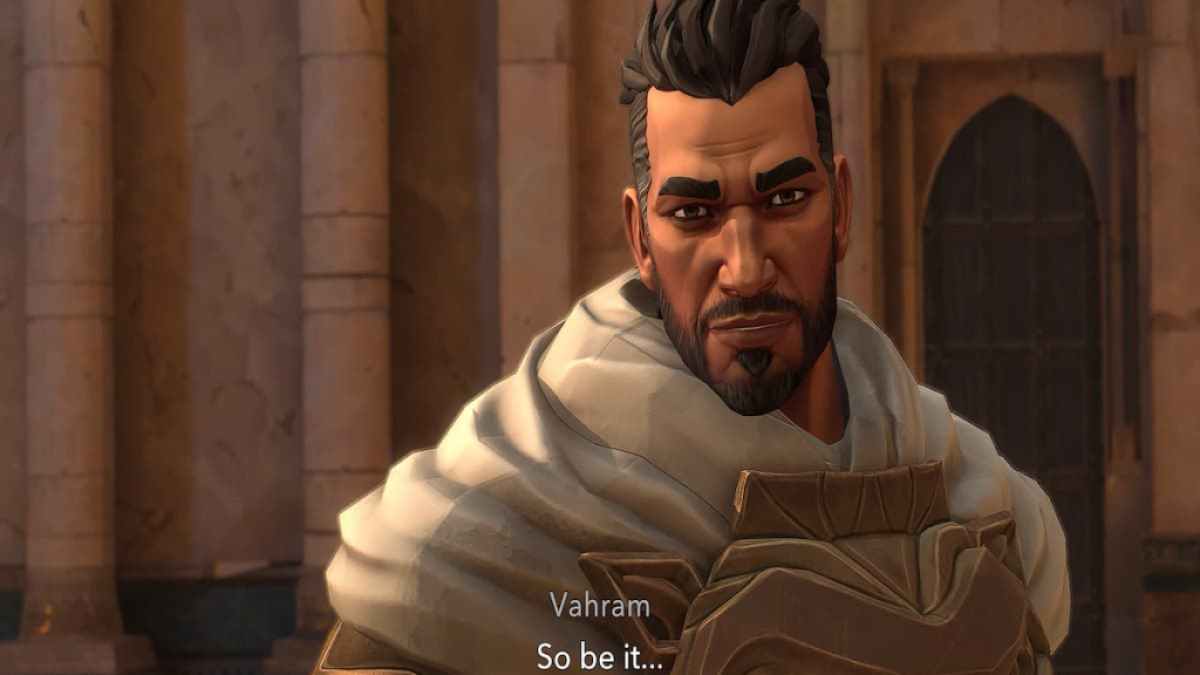
Vahram
You ’ll encounter Vahram during another quest bonk as the The Abducted Prince . You ’ll chance him in the Upper Citadel during your conversation with Anahita and Ghassan . Vahram is one of the strongest and most skilled boss in Prince of Persia : The Lost Crown . Keep circumvent and dodging his attacks , Vahram is extremely capable of launching long - ranged charges . These attacks can be recognized by a carmine diagonal so make certain to parry or rise to avoid getting damaged .
Another affair to keep in mind is to not attack while he parries . During the competitiveness , Vahram will bounce to mid - air creating a red splash , and launch a combo plan of attack . check that to put off his unblockable attack , apply wellness potion , and launching combining attacks to defeat him .
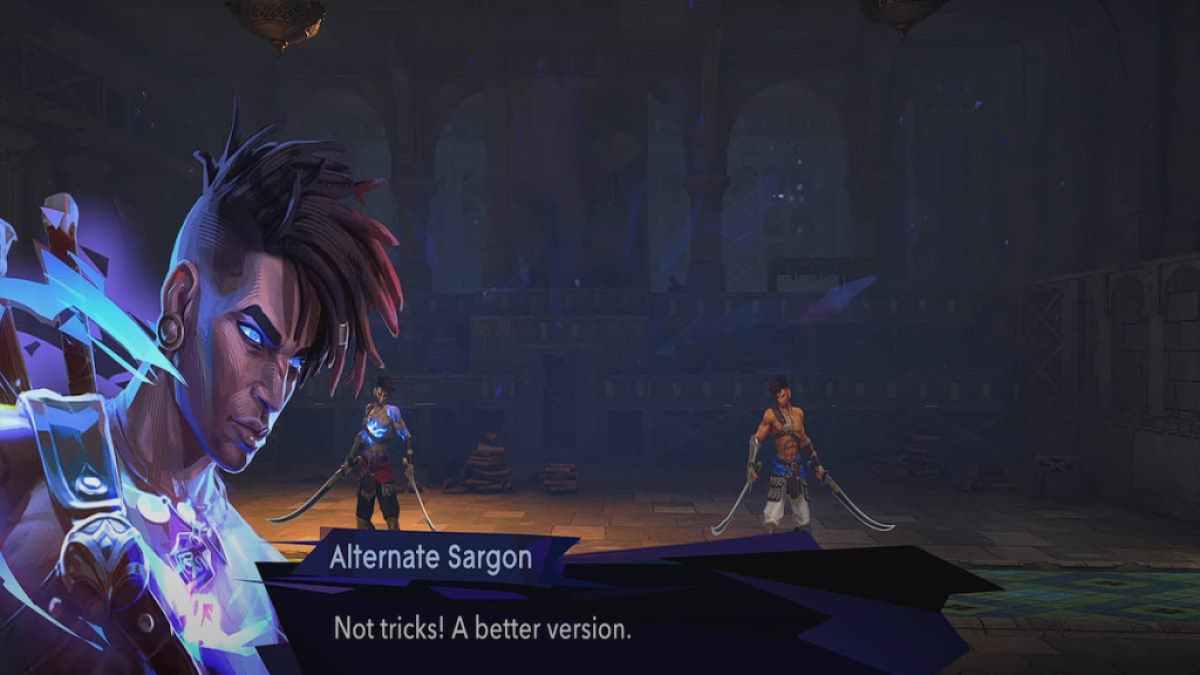
Alternate Sargon
You ’ll encounter an malign adaptation of yourself have it away as the Alternate Sargon as you move on in - secret plan . The main key to defeating him is using your Athra surges and skirt his flak . However , Alternate Sargon will also have memory access to Athra surges , so make certain to sidestep them .
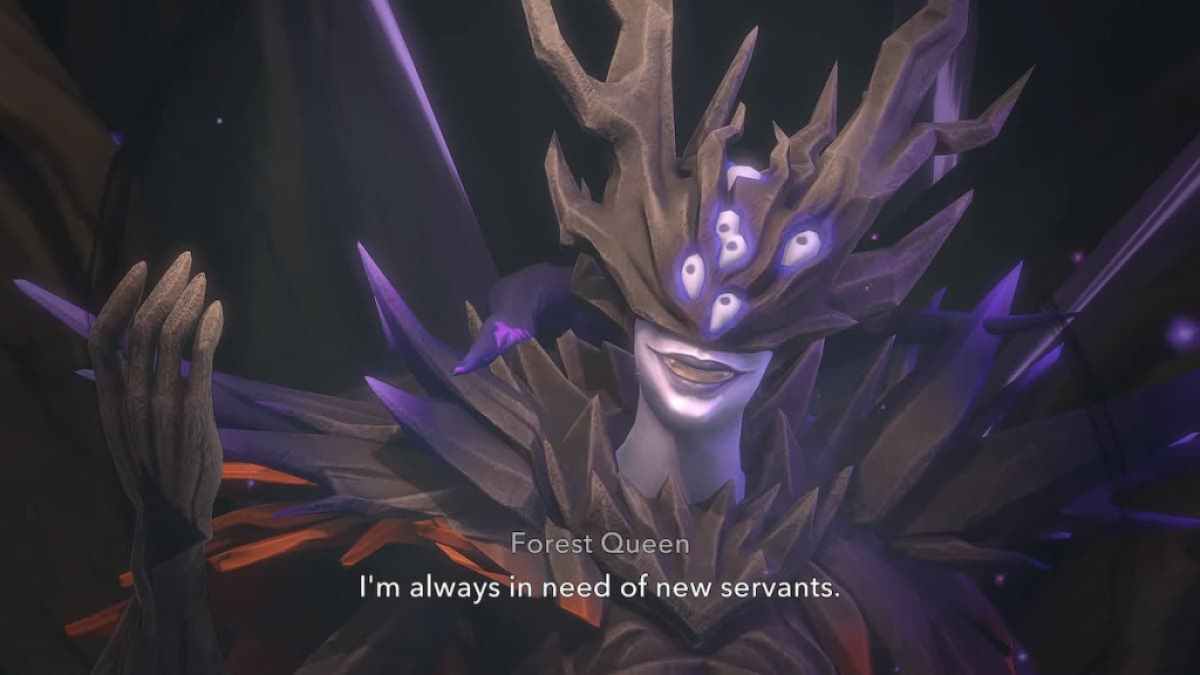
Kiana
Another tough boss that participant encounter is Kiana while doing The Path to the Sand Prison pursuit . Kiana is the woodland queen and she mount a deadly wolf who helps her throughout the engagement . She hold attacking with her spear and does a boomerang move where it issue forth back so check that to evade those . Keep an eye out on the beast as it emerges from behind Sargon , so you need to dodge that immediately . Use your Athra surges to cause equipment casualty while dodging and sidestep whenever necessary .
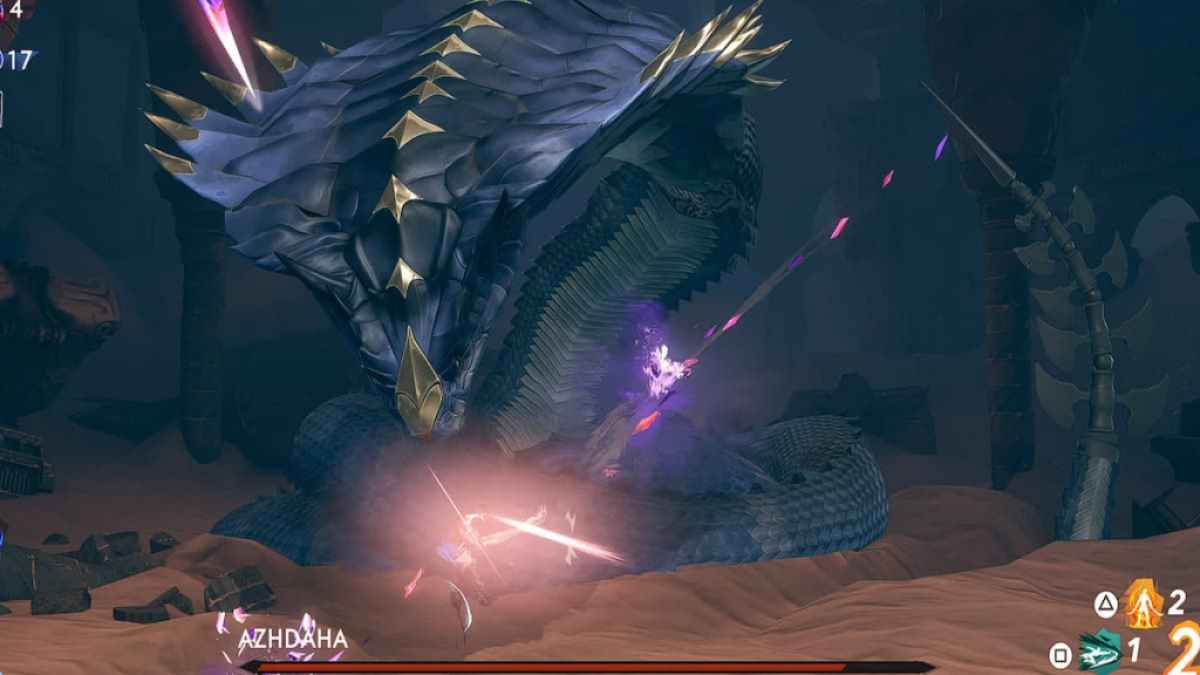
Azhdaha
Azdaha is a snake who has quite a little of attacks in store for you and she can be a handful . You ’ll encounter this hirer in the Pit of Eternal Sand while doing The Darkest of Souls quest . At first , Azdaha attacks with a bite and tail swing . Deal wrong to the ophidian after dodging the bite onrush . She also launches red - colorful orbs at you , ensure to elude them .
After this , Azdaha launch sharp pink glow projectile toward Sargon . Another unblockable attack in her arsenal is the Breath Attack . When she does this , make indisputable to parachute and move away from the direction in which she ’s lash out . habituate Athra surges and do Vengeful Counter to deal damage to the serpent knob .

Screenshot by Pro Game Guides
Screenshot by Pro Game Guides
Screenshot by Pro Game Guides

Screenshot by Pro Game Guides
Screenshot by Pro Game Guides
Screenshot by Pro Game Guides
Screenshot by Pro Game Guides
Screenshot by Pro Game Guides
Screenshot by Pro Game Guides
